The STARSHIP-M1 was originally designed based on the Starship SN8 & SN9.
If you want to upgrade the heatshield tiles on your STARSHIP-M1 to SN10, SN11 & SN15 standards, please follow the instructions below:
How to print the heatshield tiles?
All the heatshield tiles are really straight forward to print. All you need to do is load them into your slicer software (e.g. Cura), select your desirable settings (e.g. layer height, infill percentage, etc.) and slice the parts. I used 0.25mm nozzle, 0.1mm layer height to print these parts
Please note: I already saved the STL for each part in the orientation I printed them on my FDM printer. Hence, when you load the STL in your slicer software, you don’t need to orientate them again, unless you want to try to print them in a different orientation. Also, I used Raft to ensure these Heat Shield Tiles stick well to the build plate
How to install SN10 Heatshield tiles?
So now you’ve got all your new parts printed? – great!, let’s upgrade your STARSHIP-M1 model!.
You need to purchase some double-sided duct tap for this upgrade
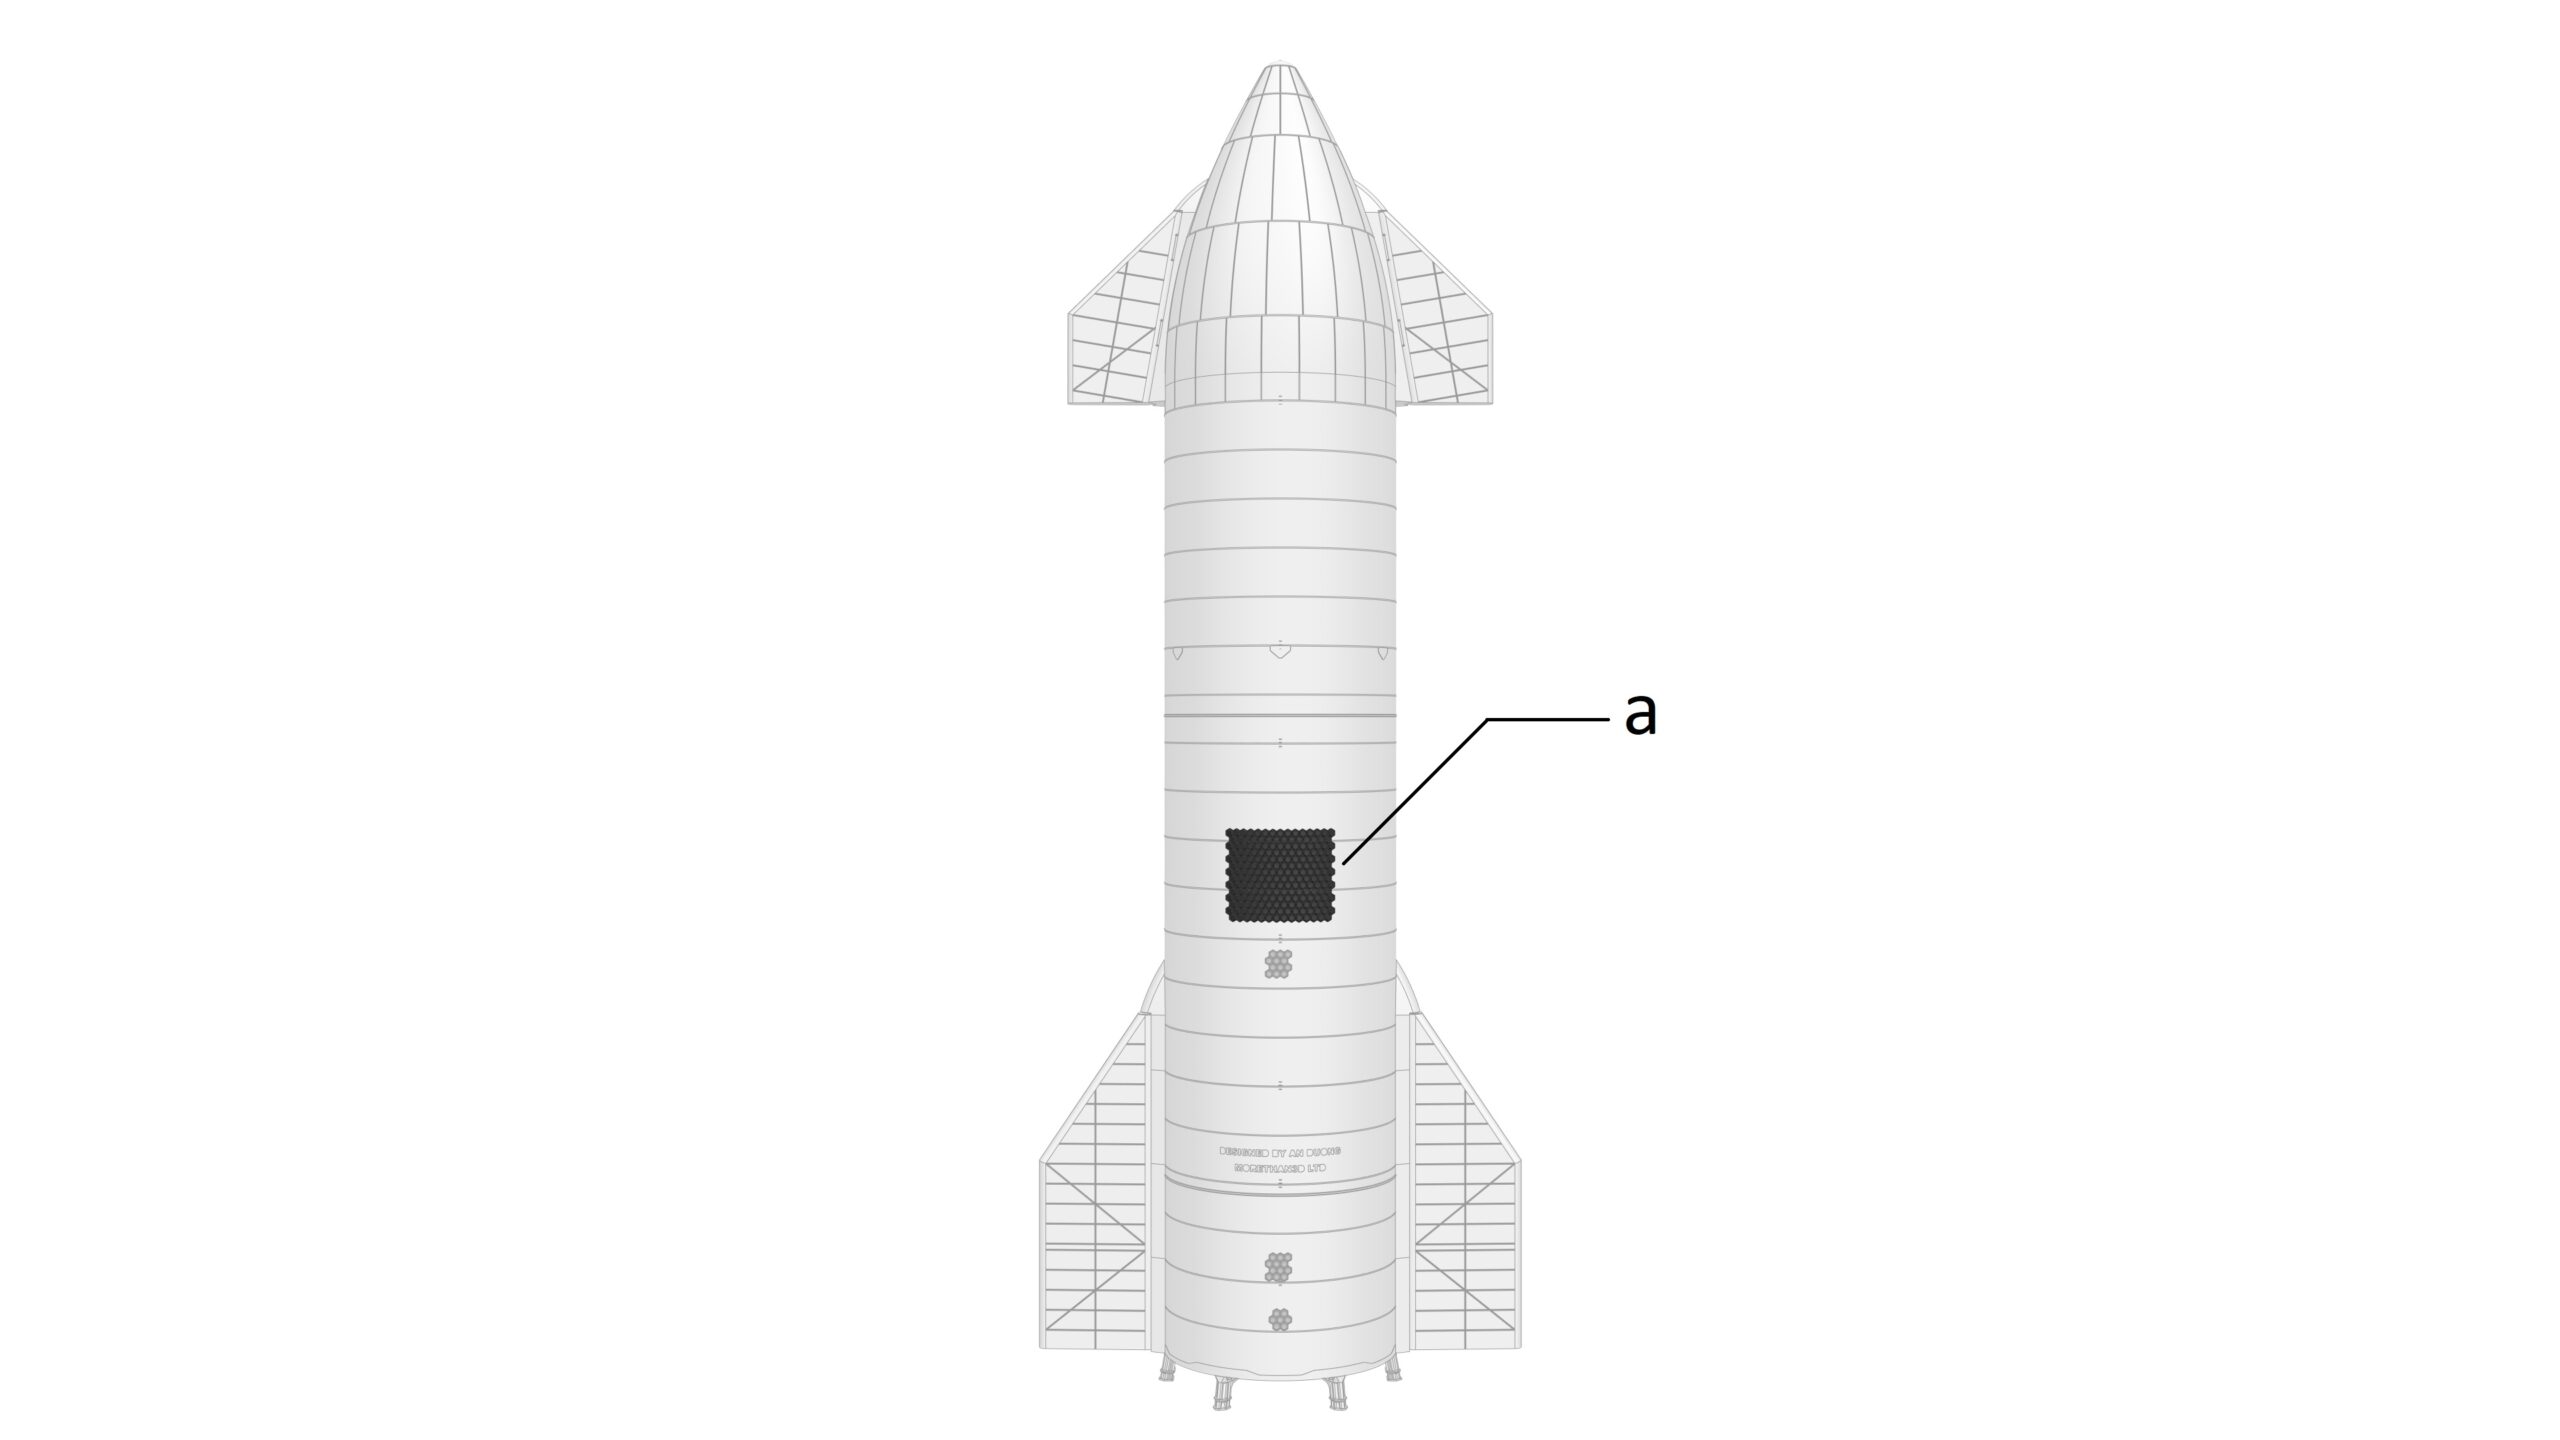
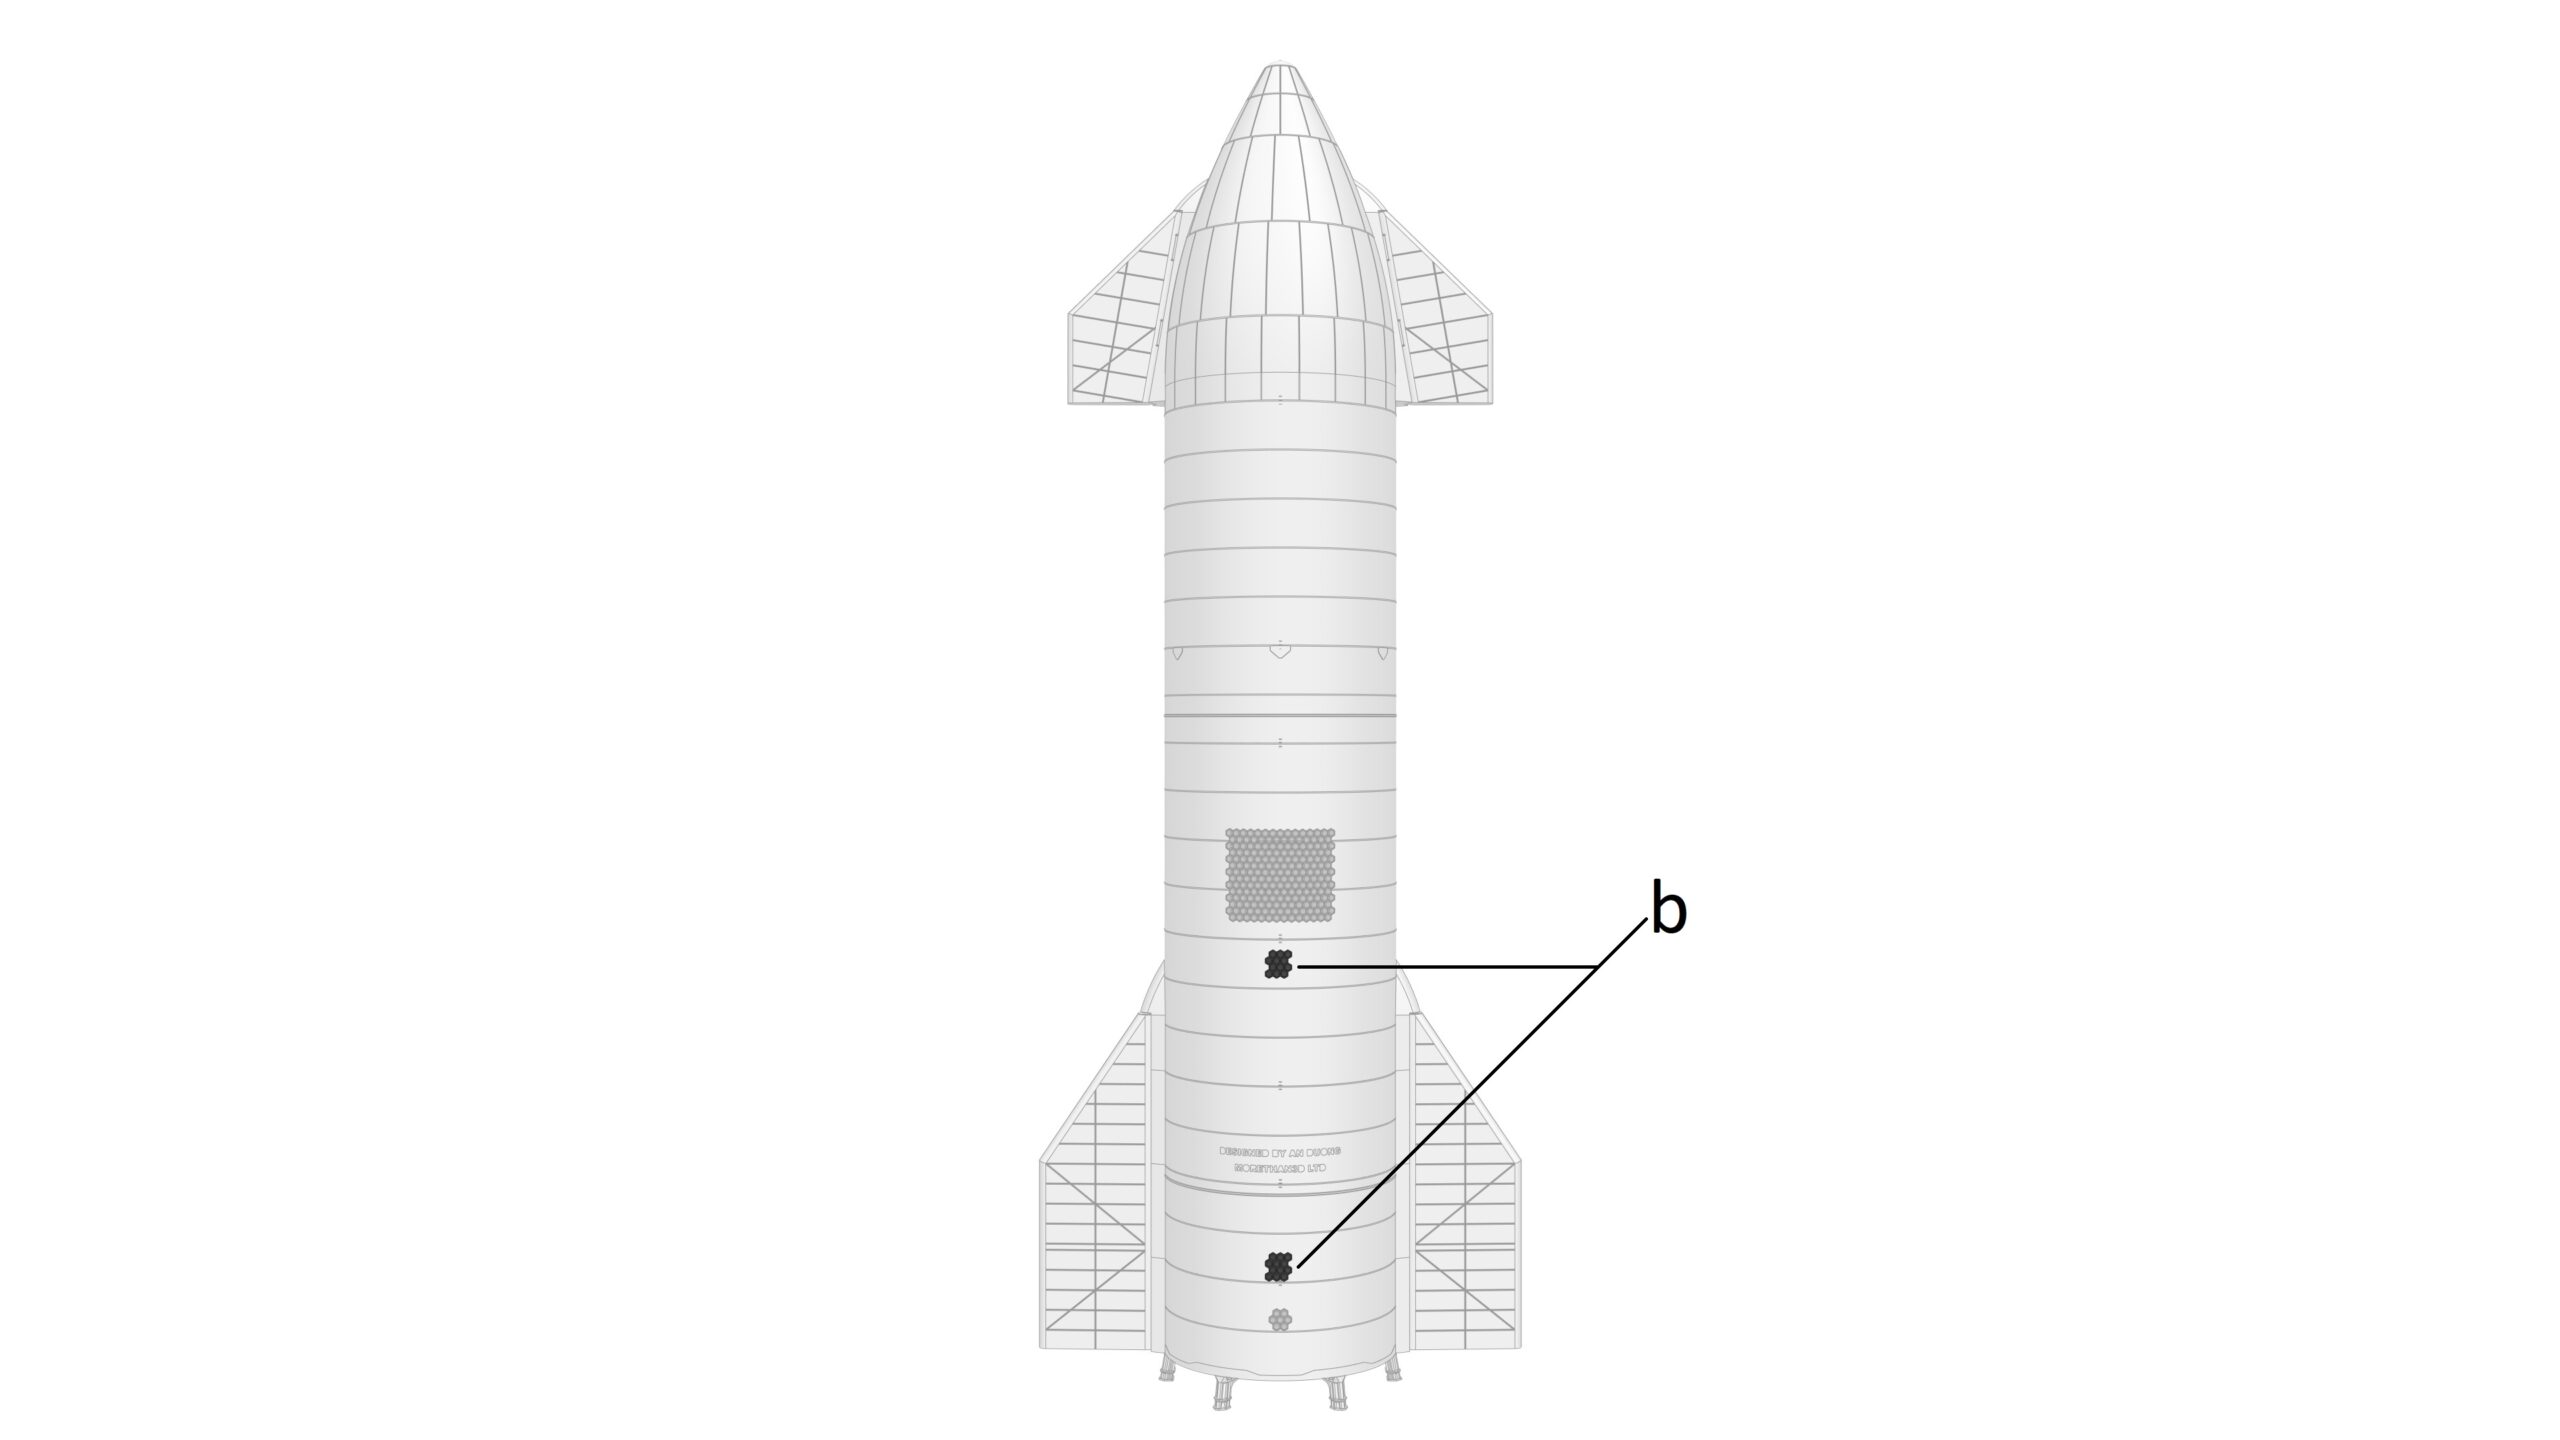
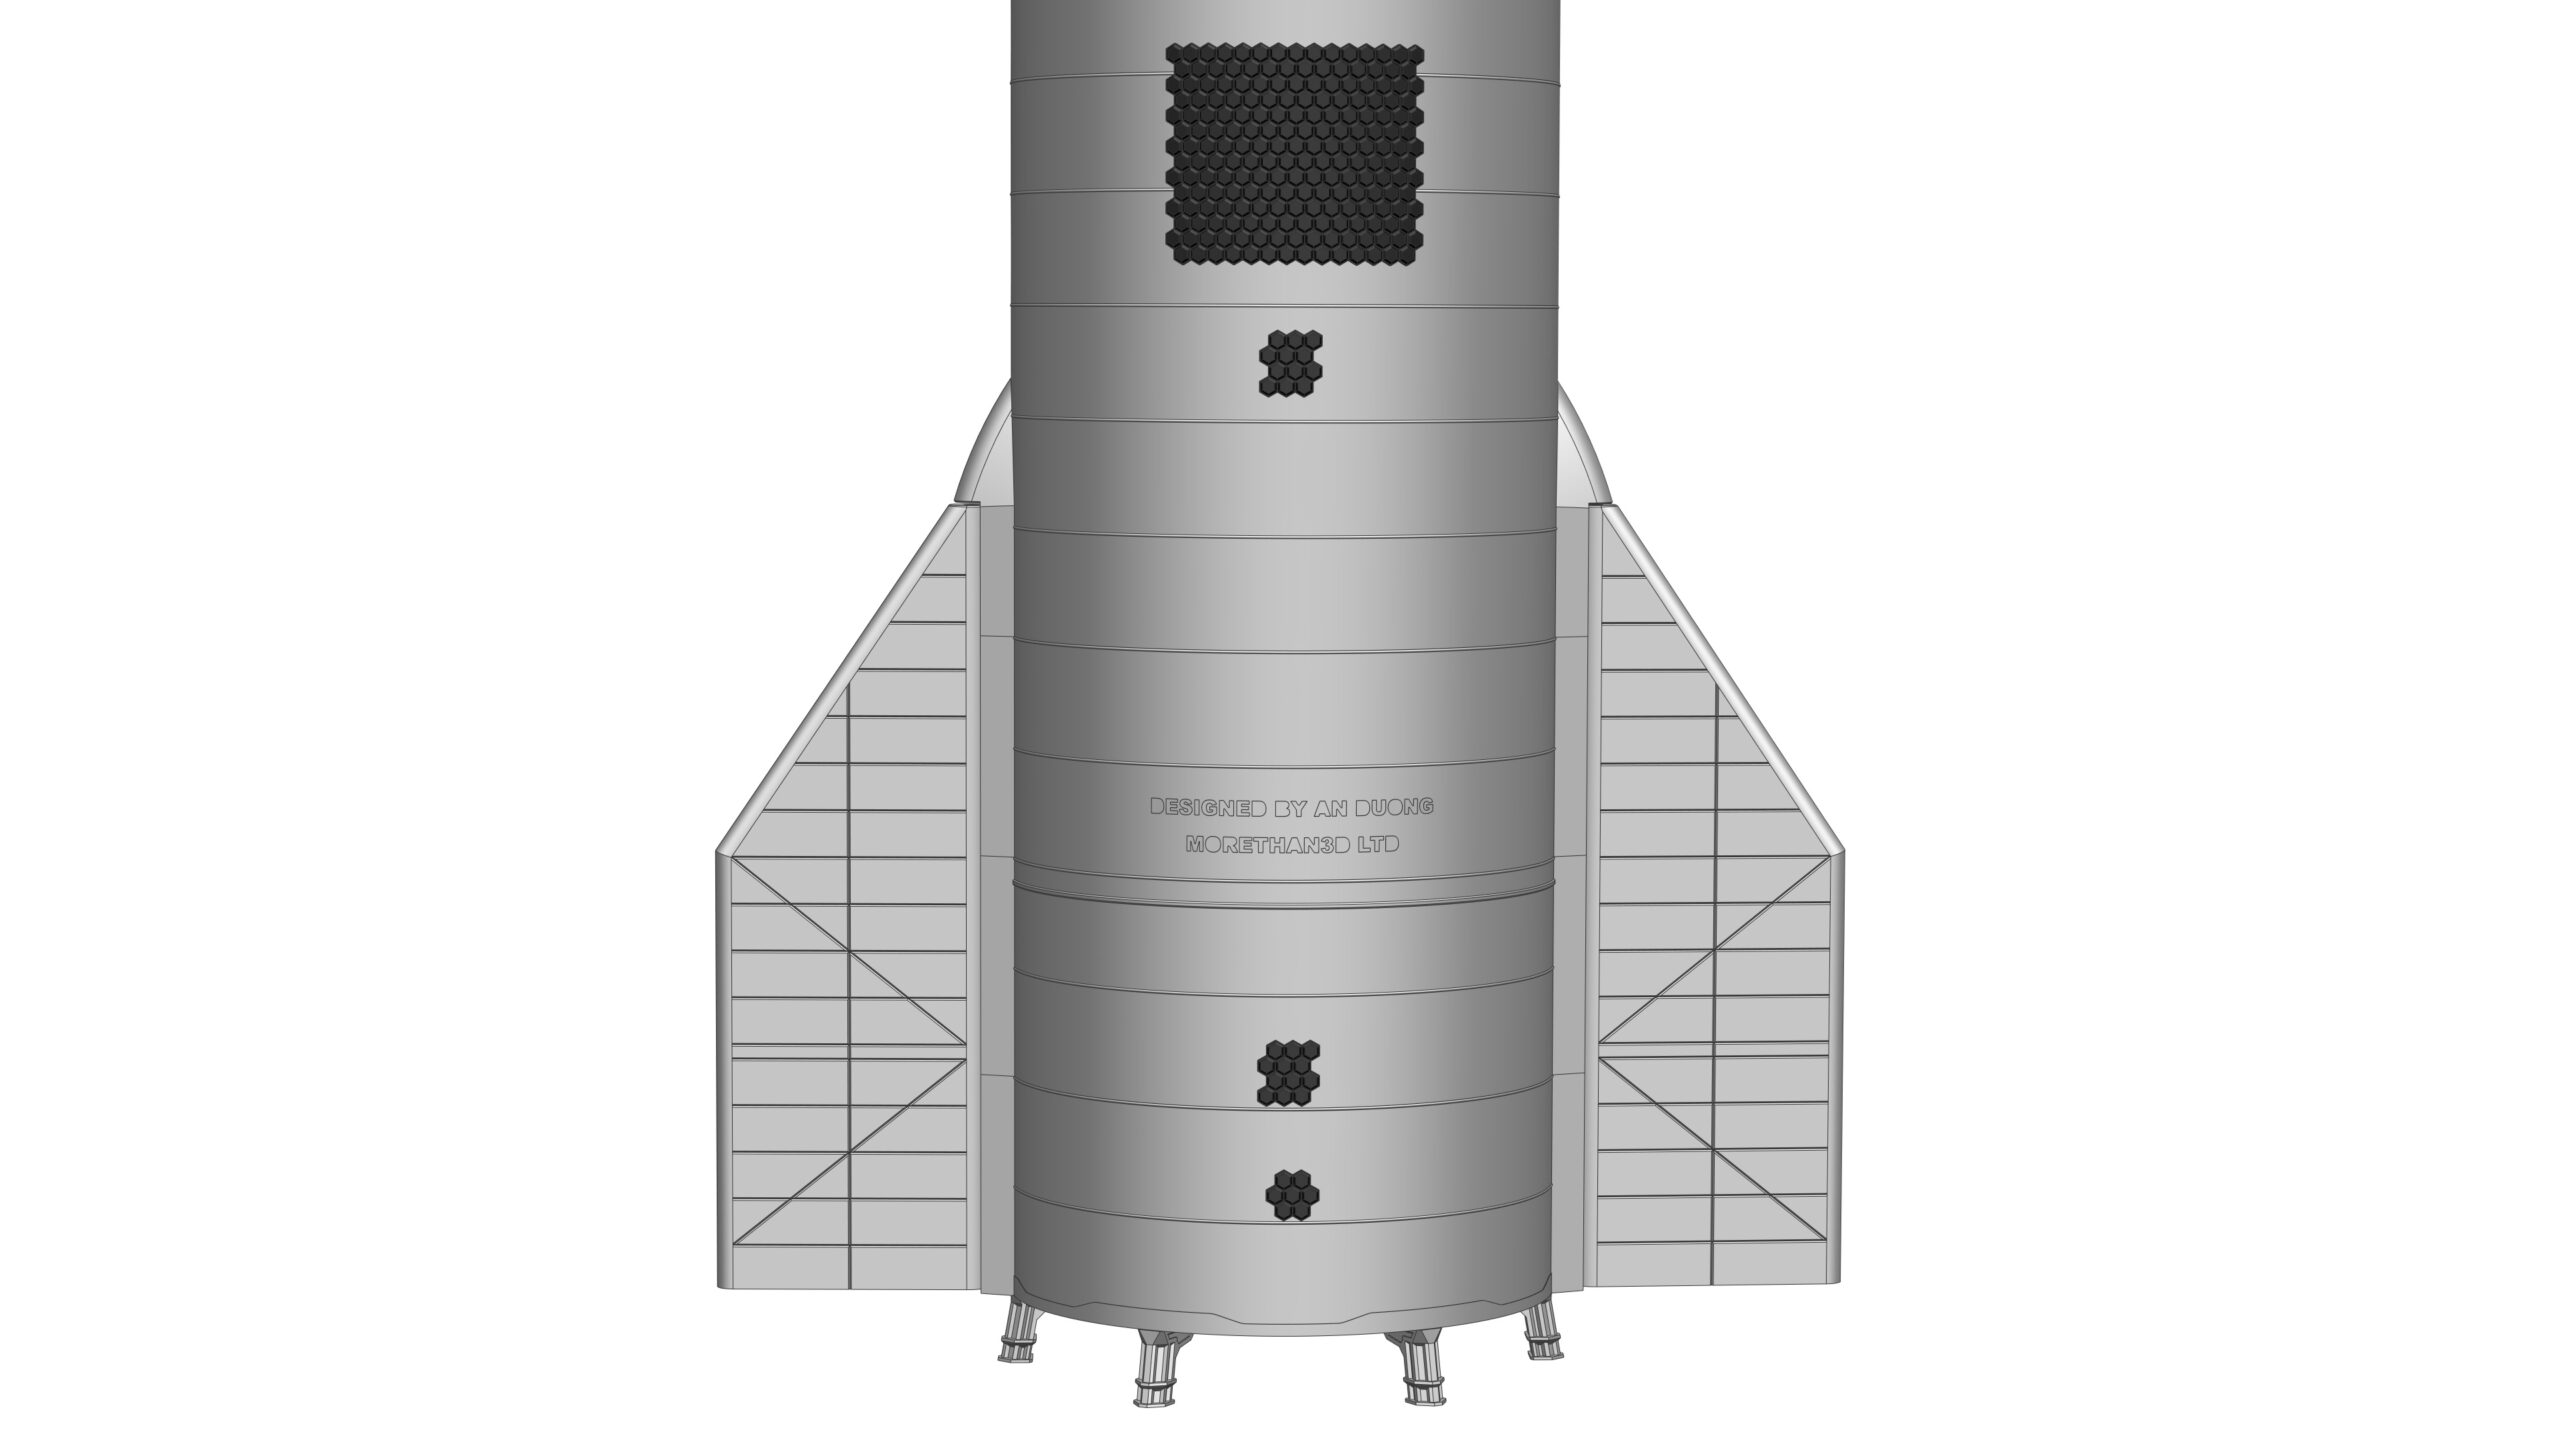
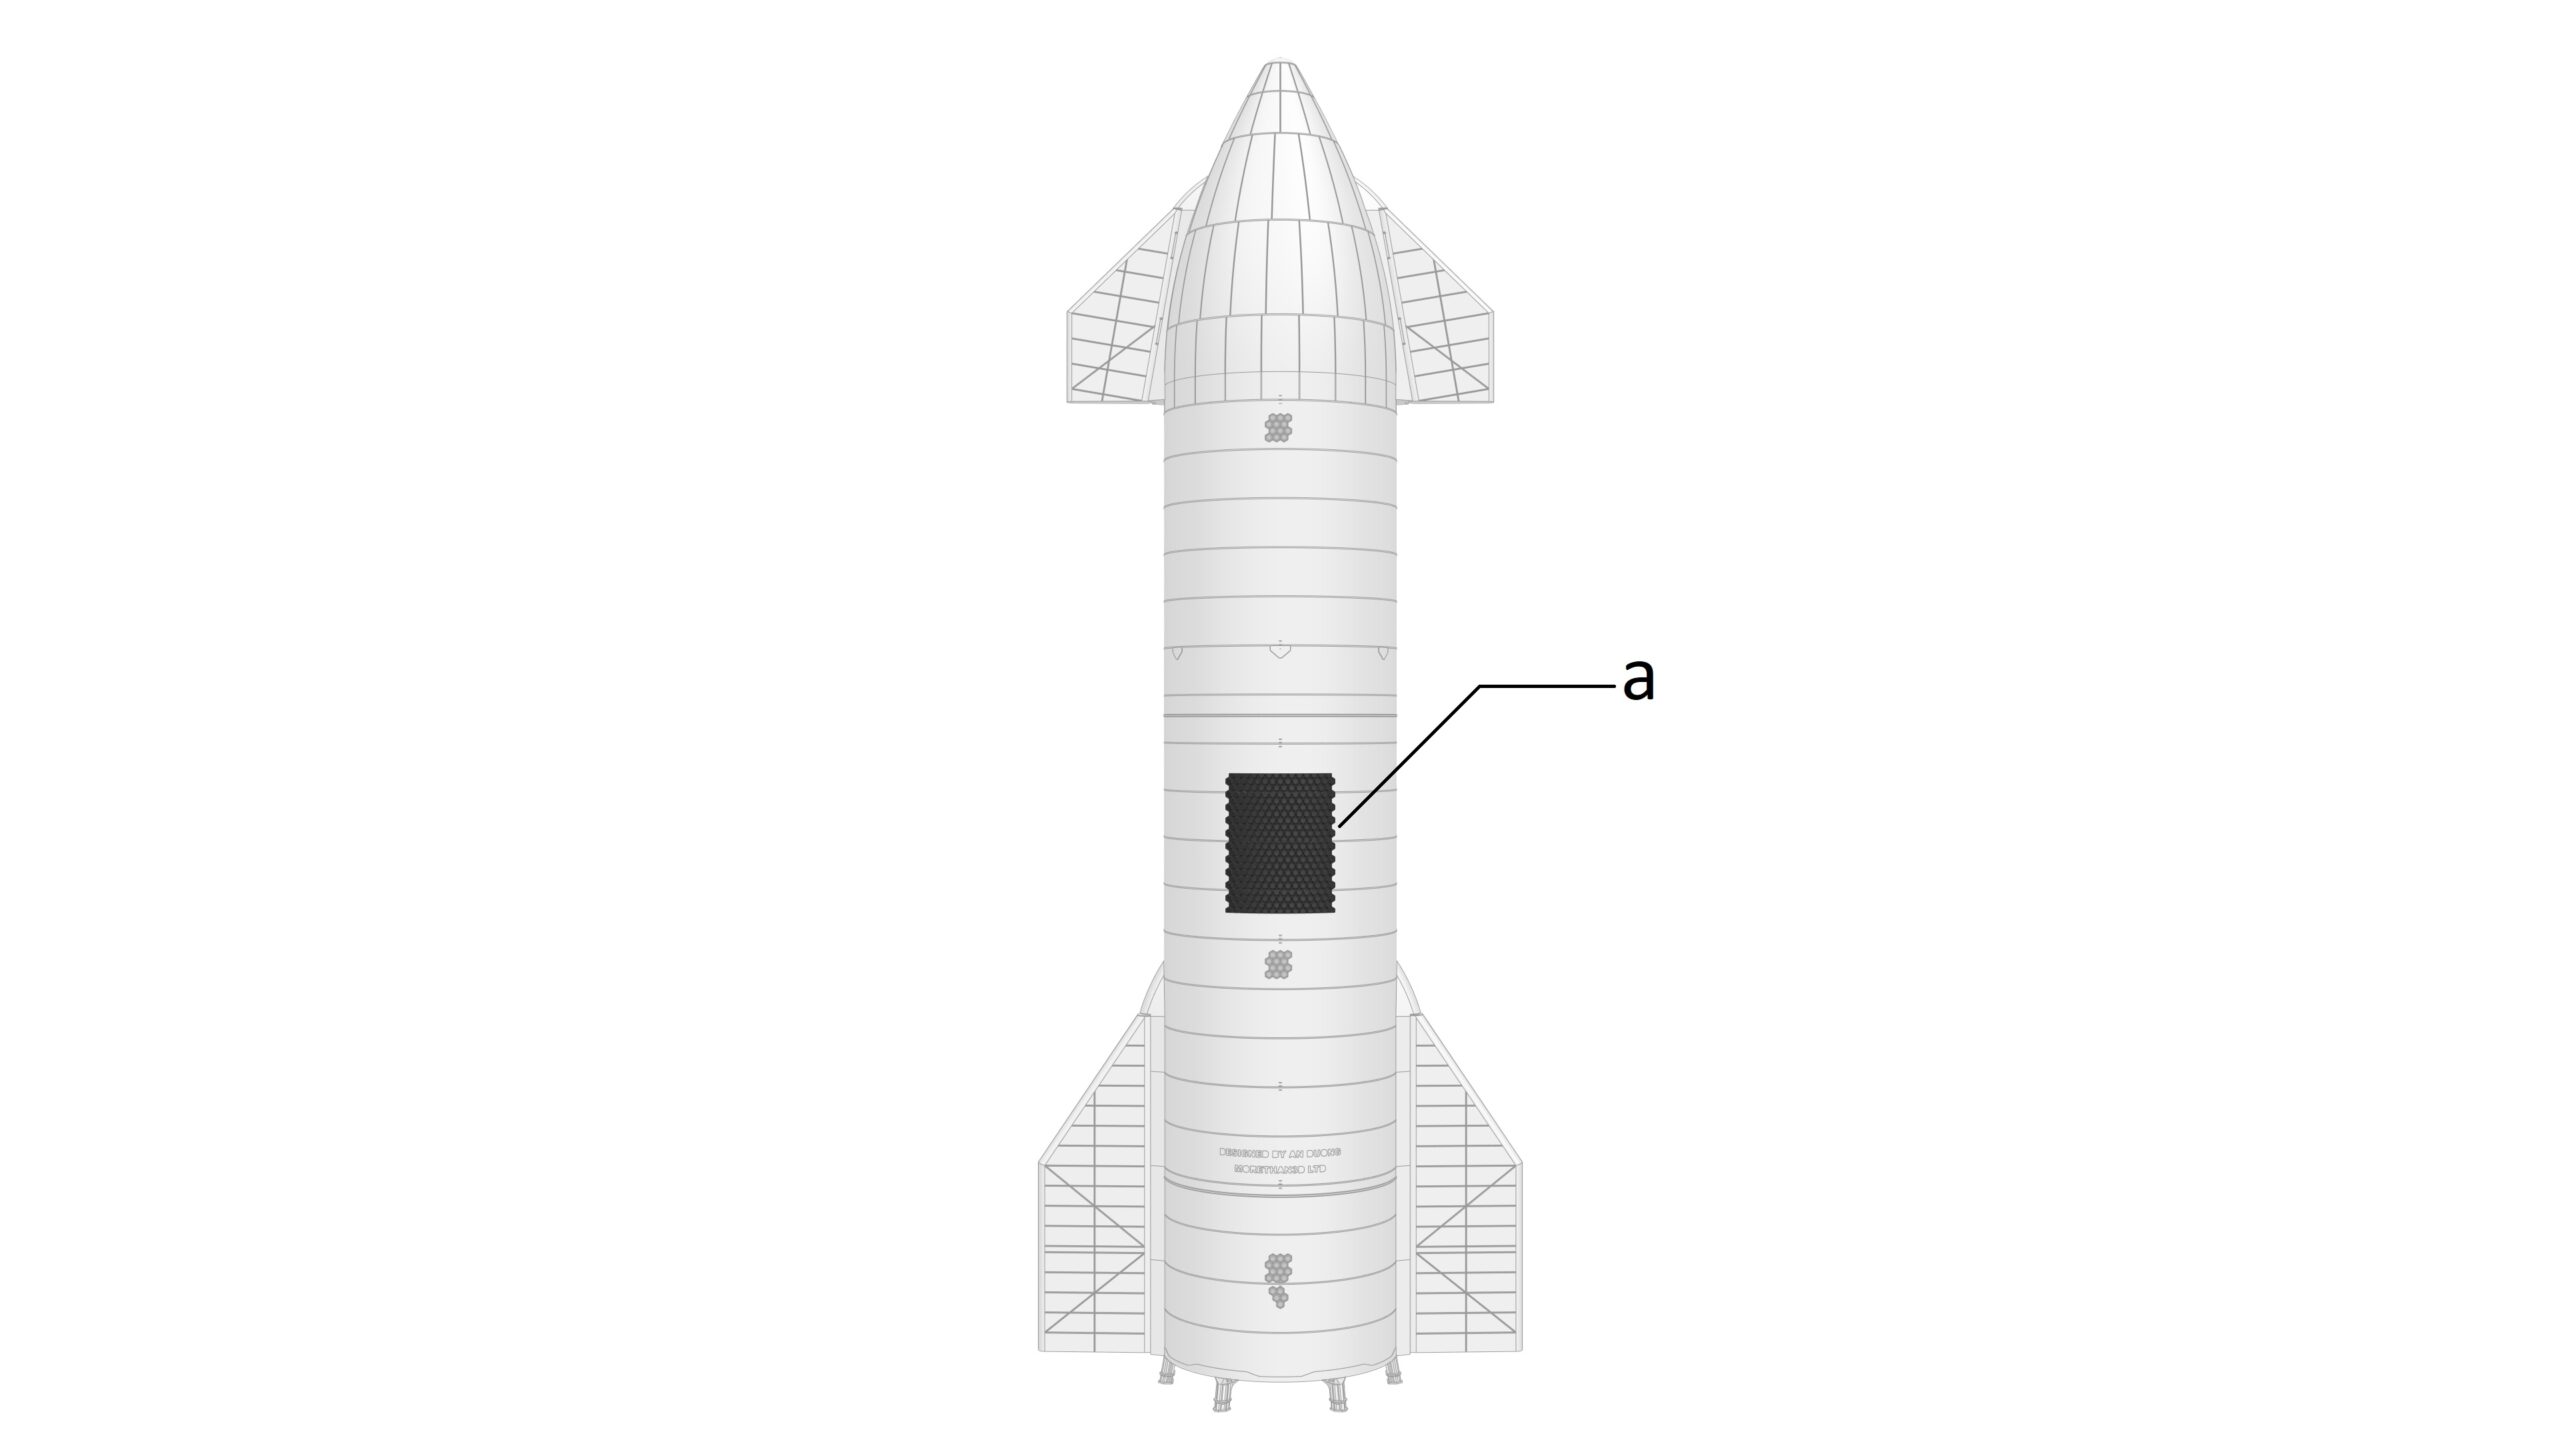
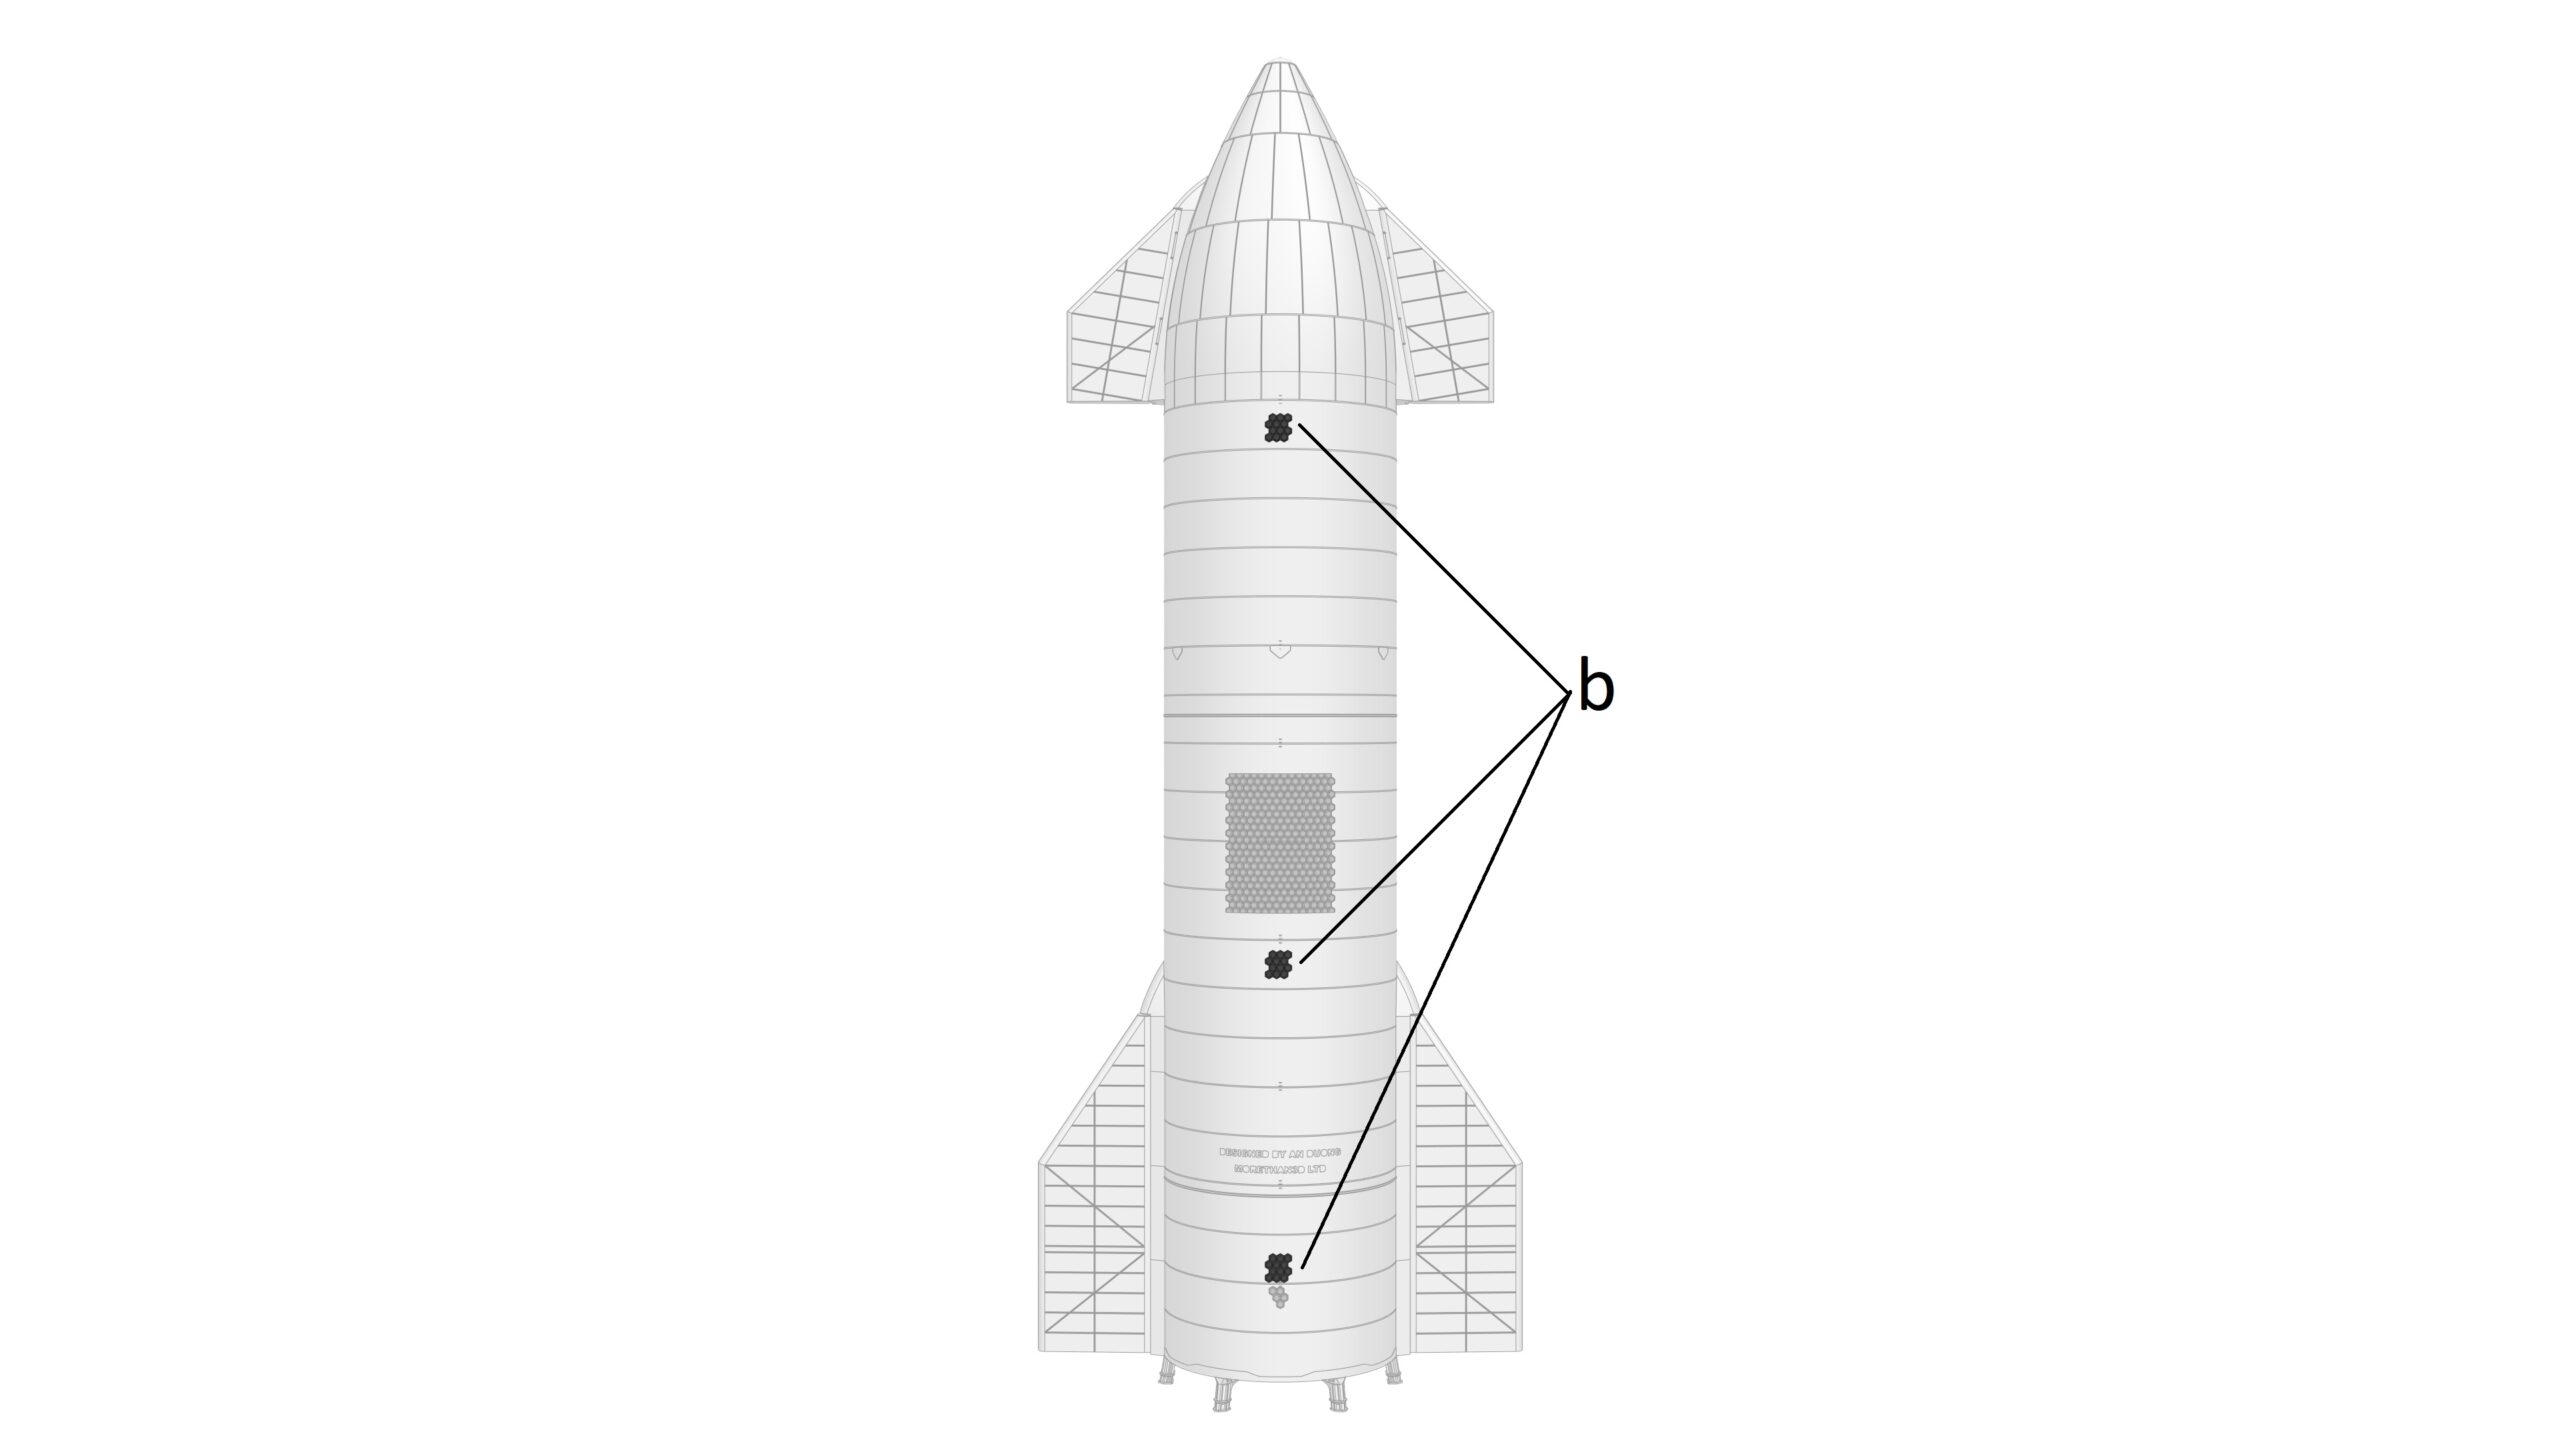
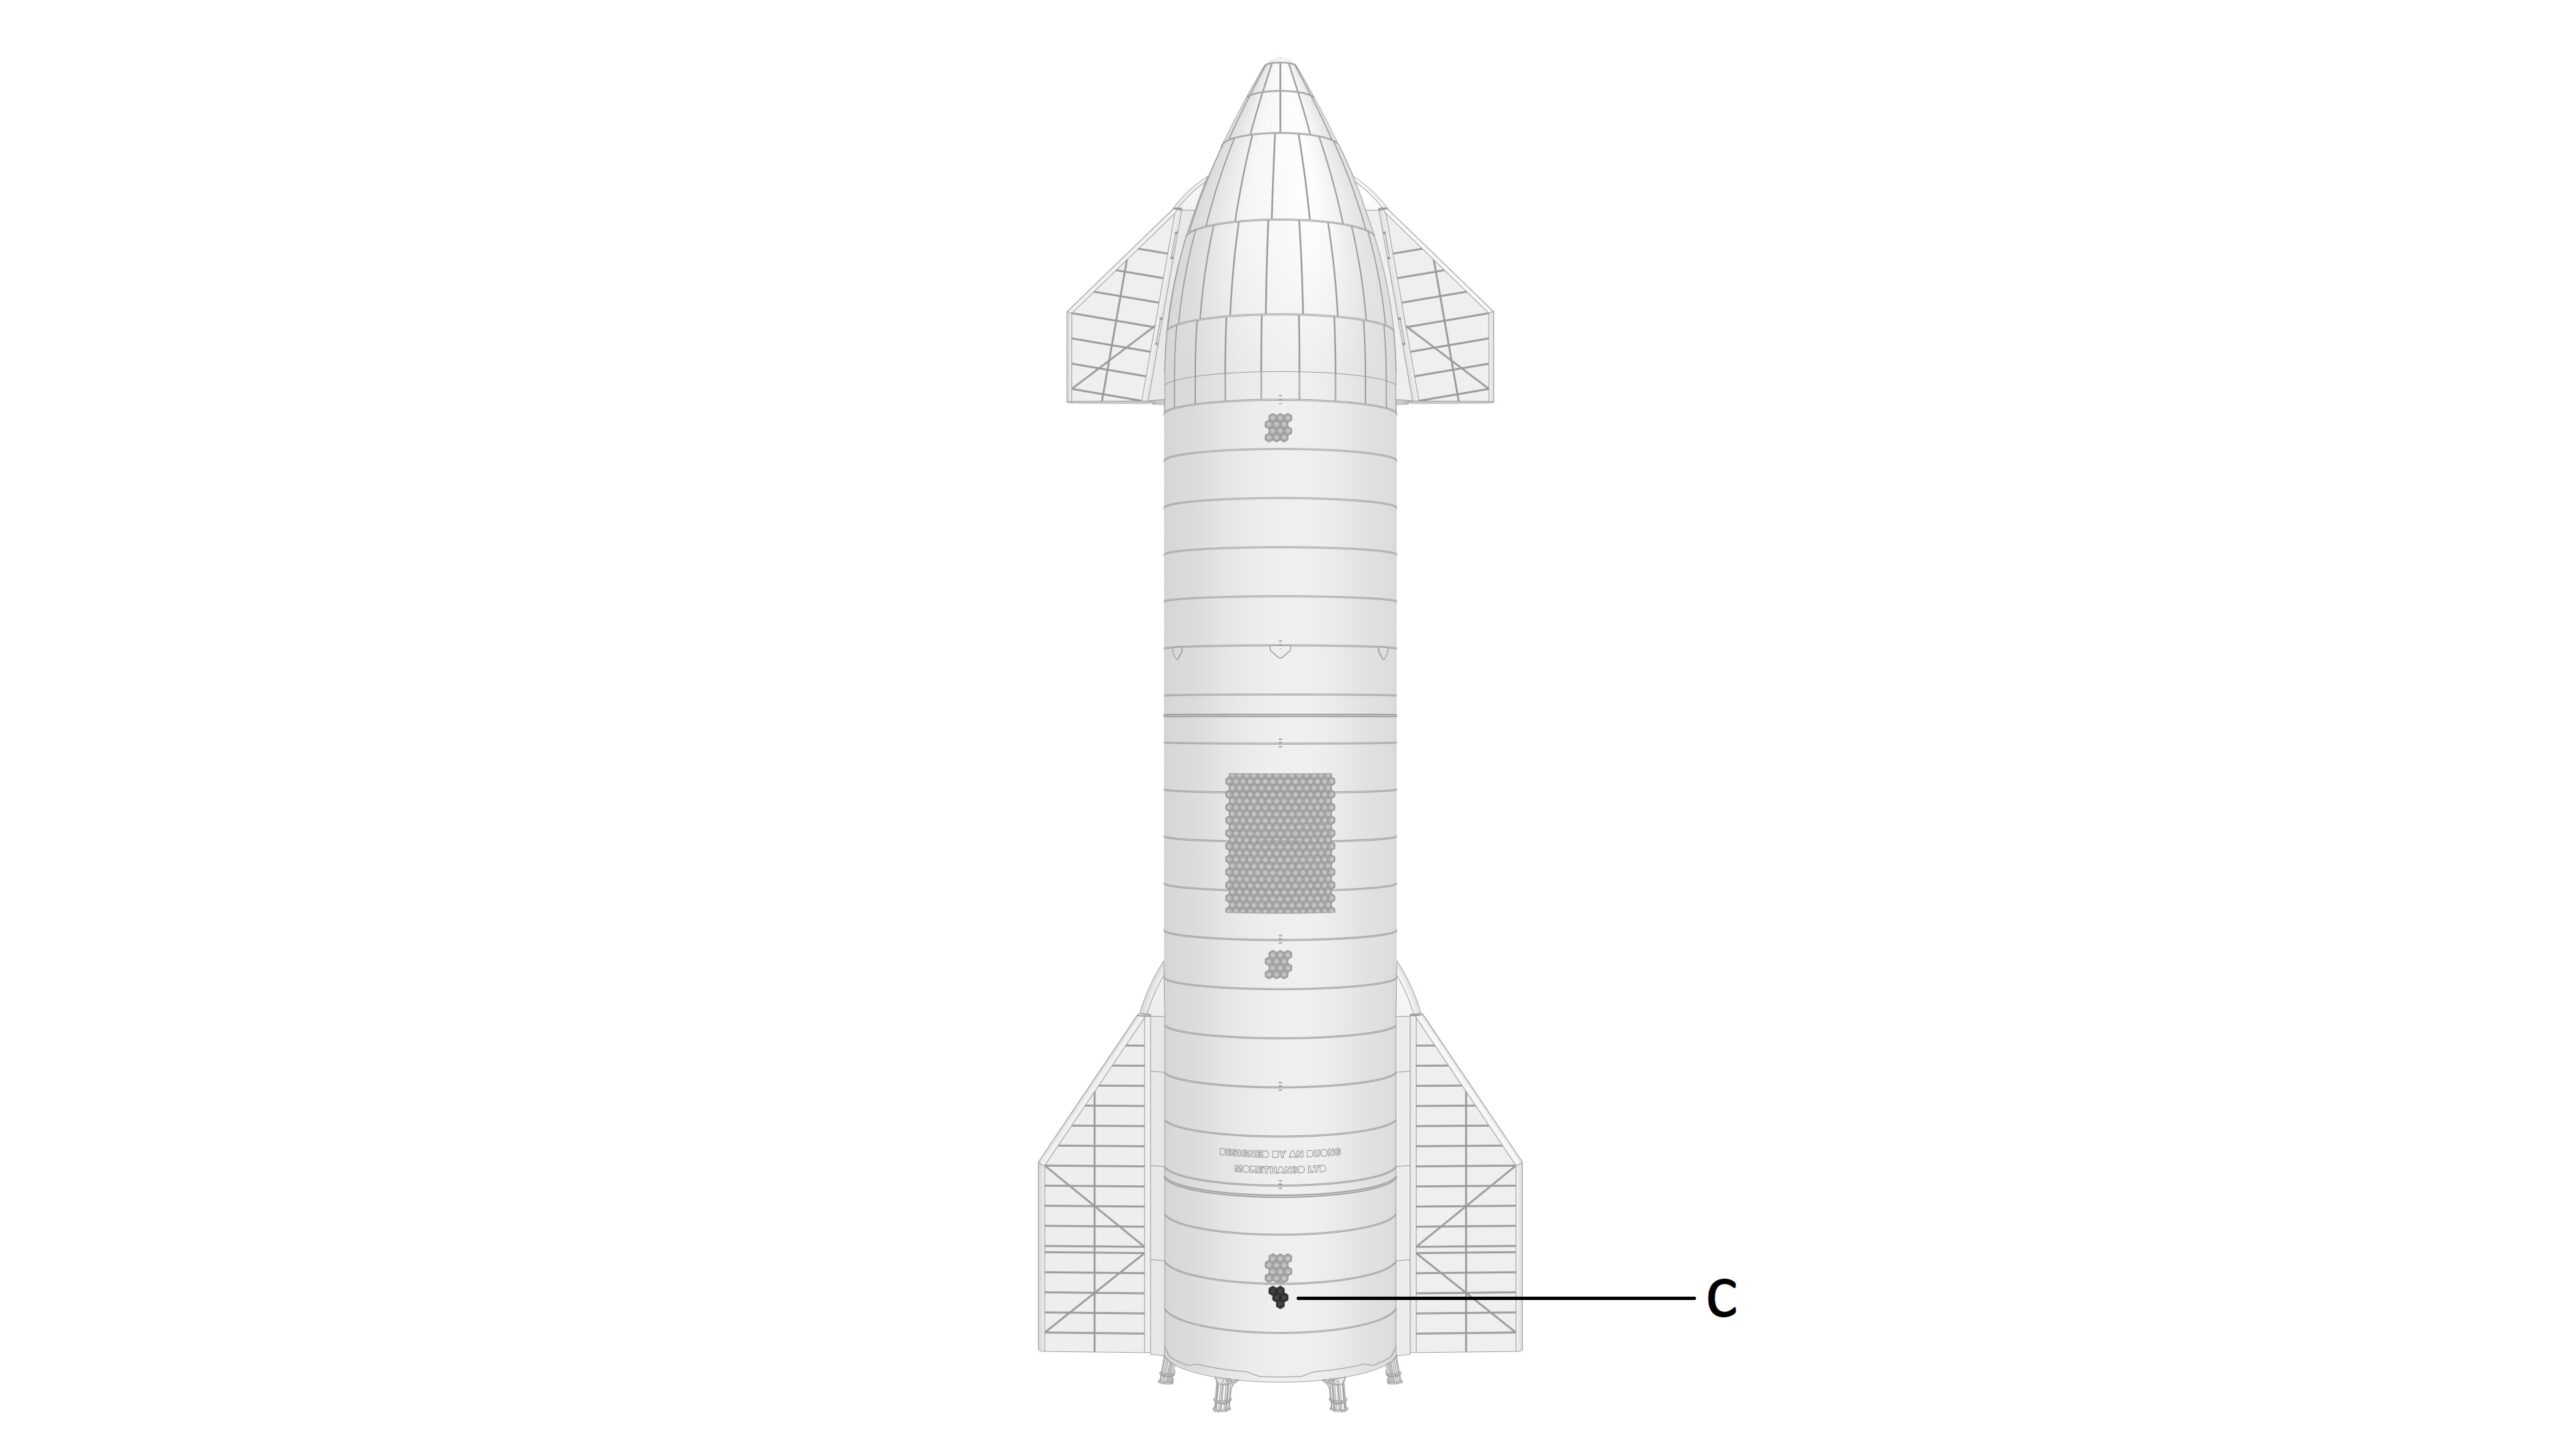
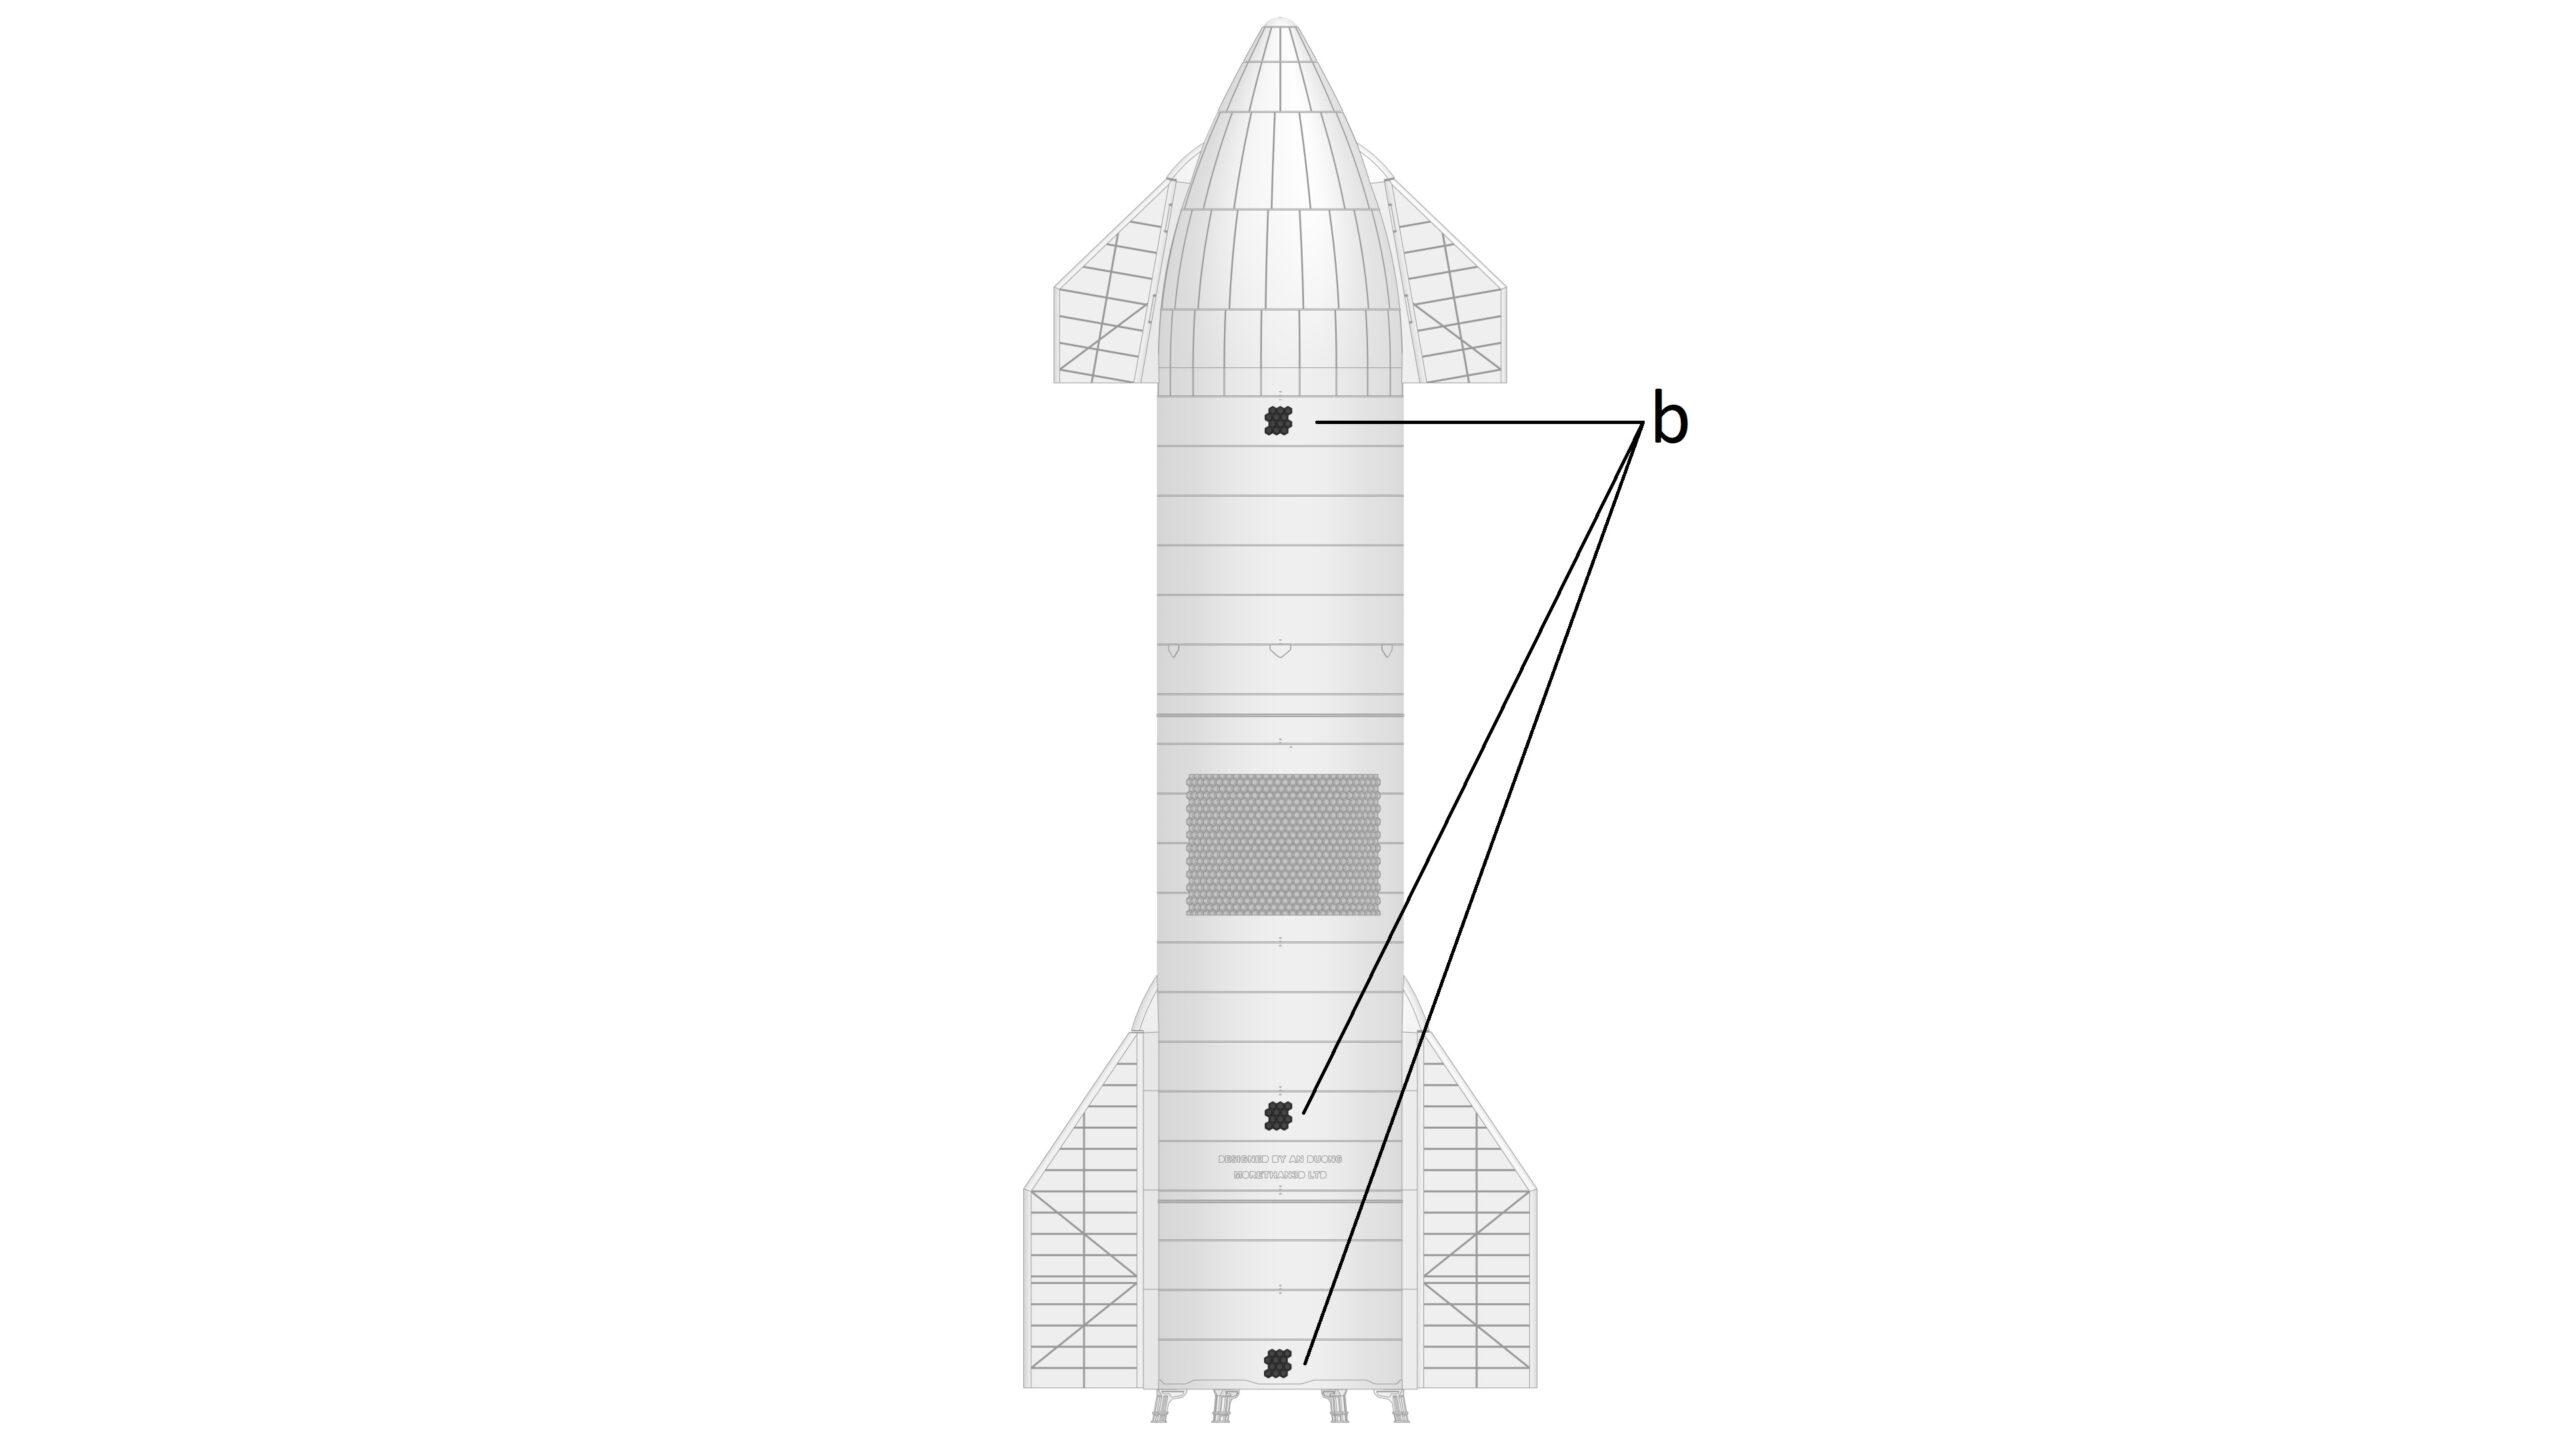
What you need (refer to the photos below):
- 1x Heat Shield Assembly_SN10_1 (a)
- 2x Heat Shield Assembly_SN10_2 (b)
- 1x Heat Shield Assembly_SN10_3 (c)
Assembly process:
- Remove the original Heat Shield Tiles on your model
- Stick some double-sided duct tap to the back of each new Heat Shield Tiles
- Apply the new Heat Shield Tiles on the model as per pictures below