How to Print & Assemble The JET-M1

How to print this model?

If you want to save this How-To instruction as a pdf file (and print it out later if needed), simply copy the URL of this page and paste it to https://www.printfriendly.com/ . Printfriendly will generate a printer-friendly pdf of the page with all the texts and images for you.

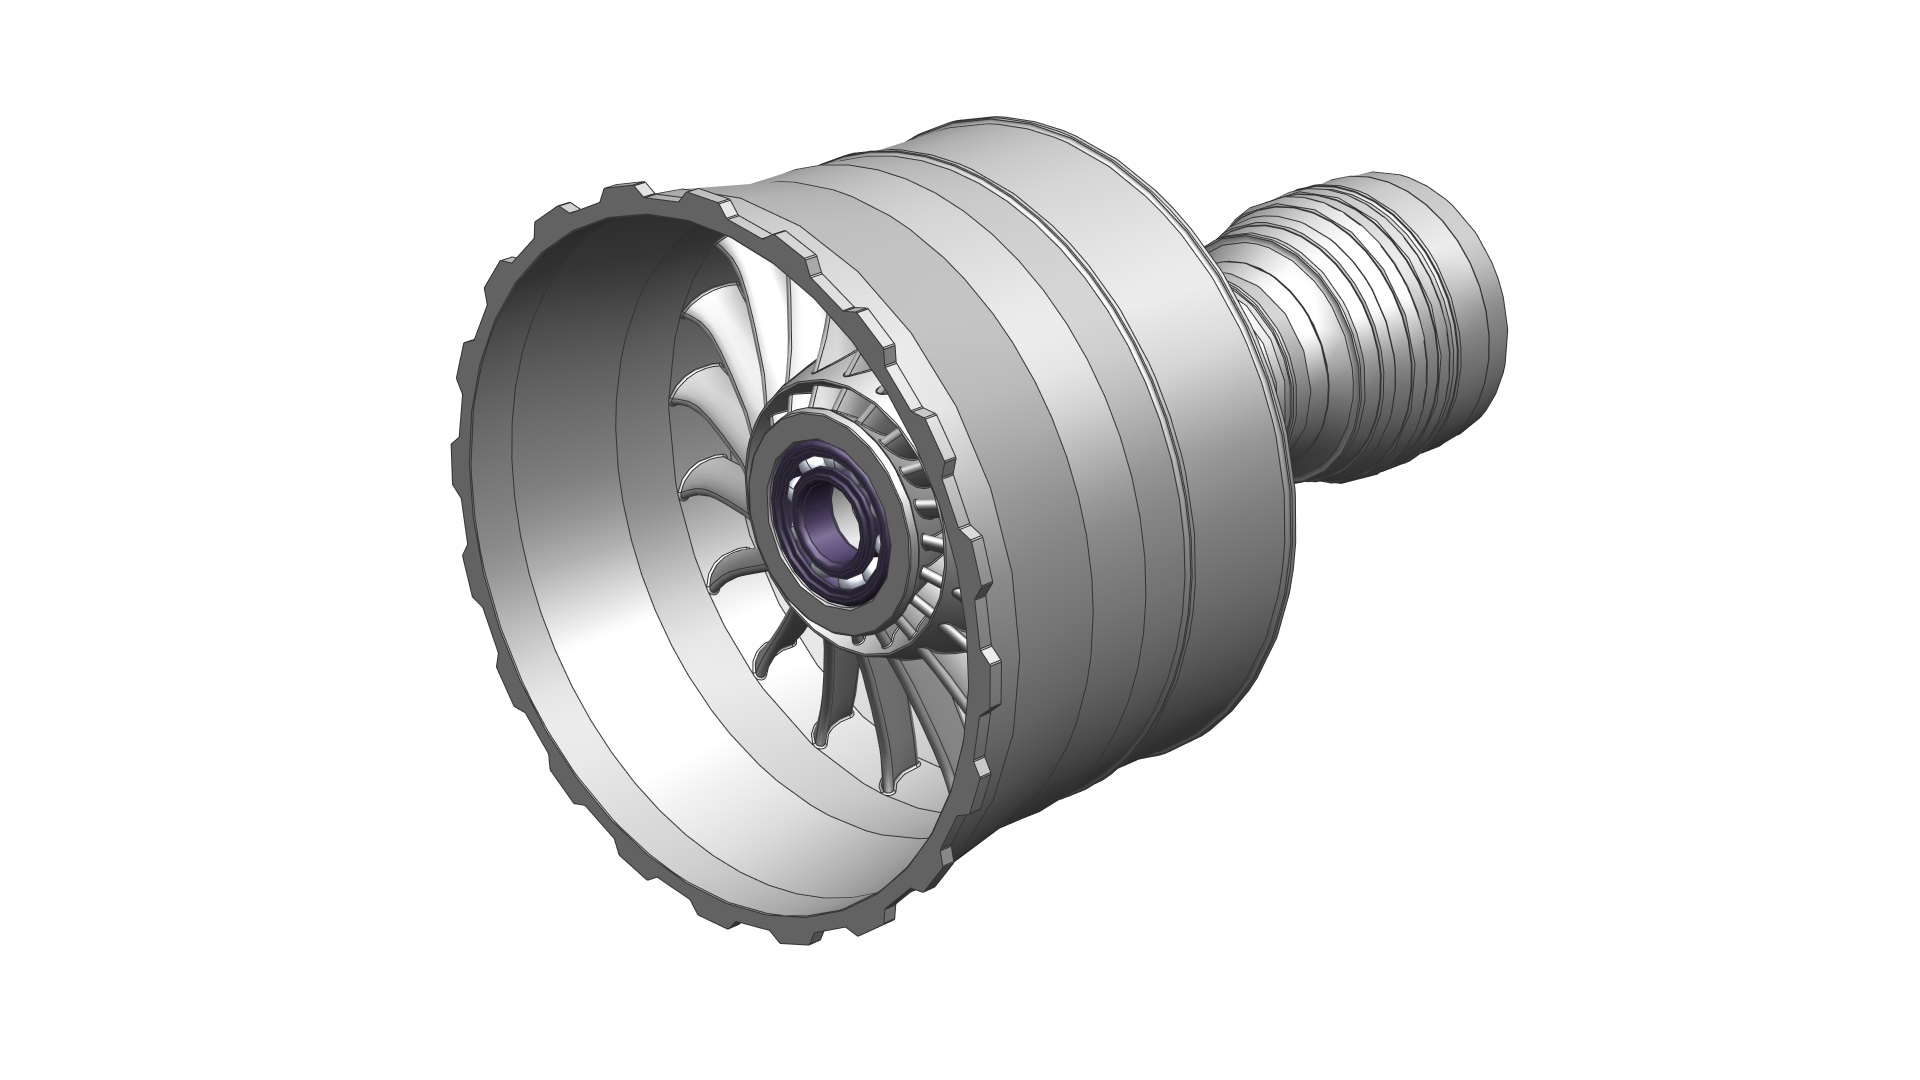
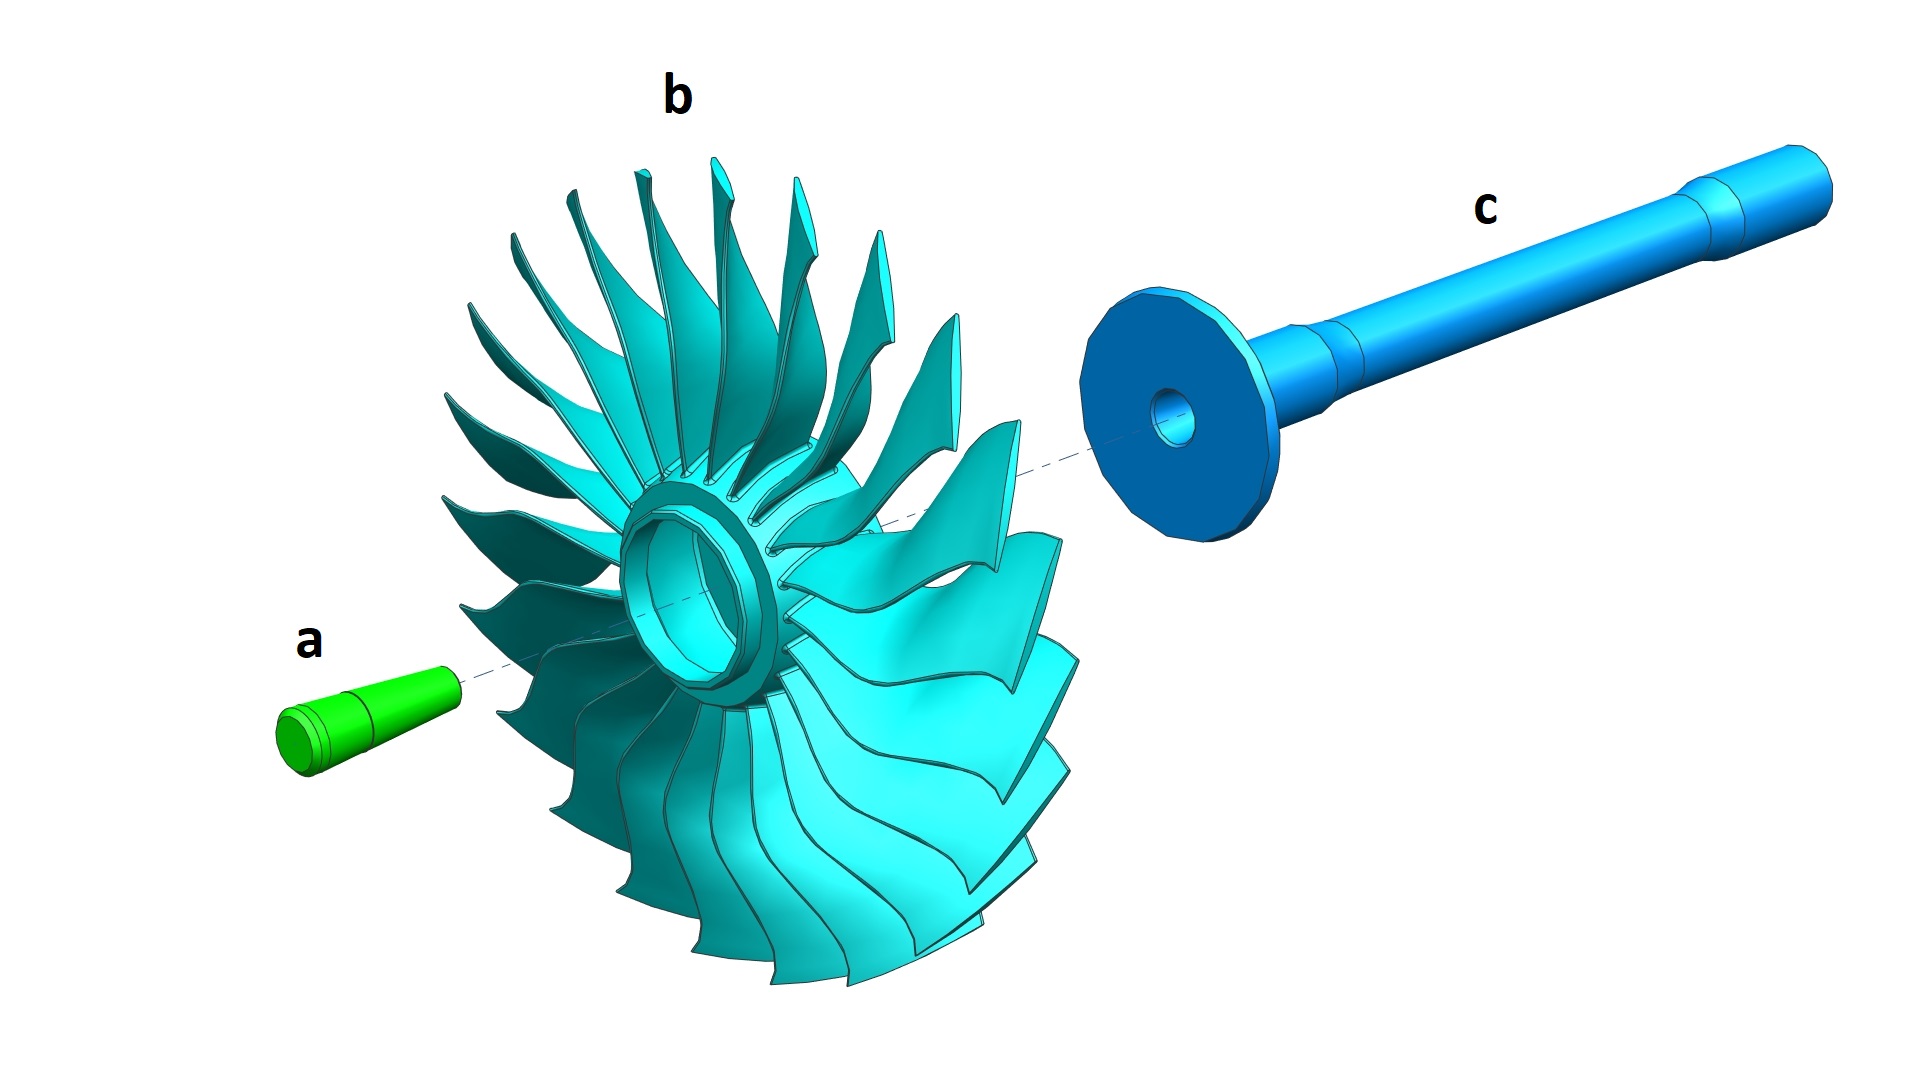
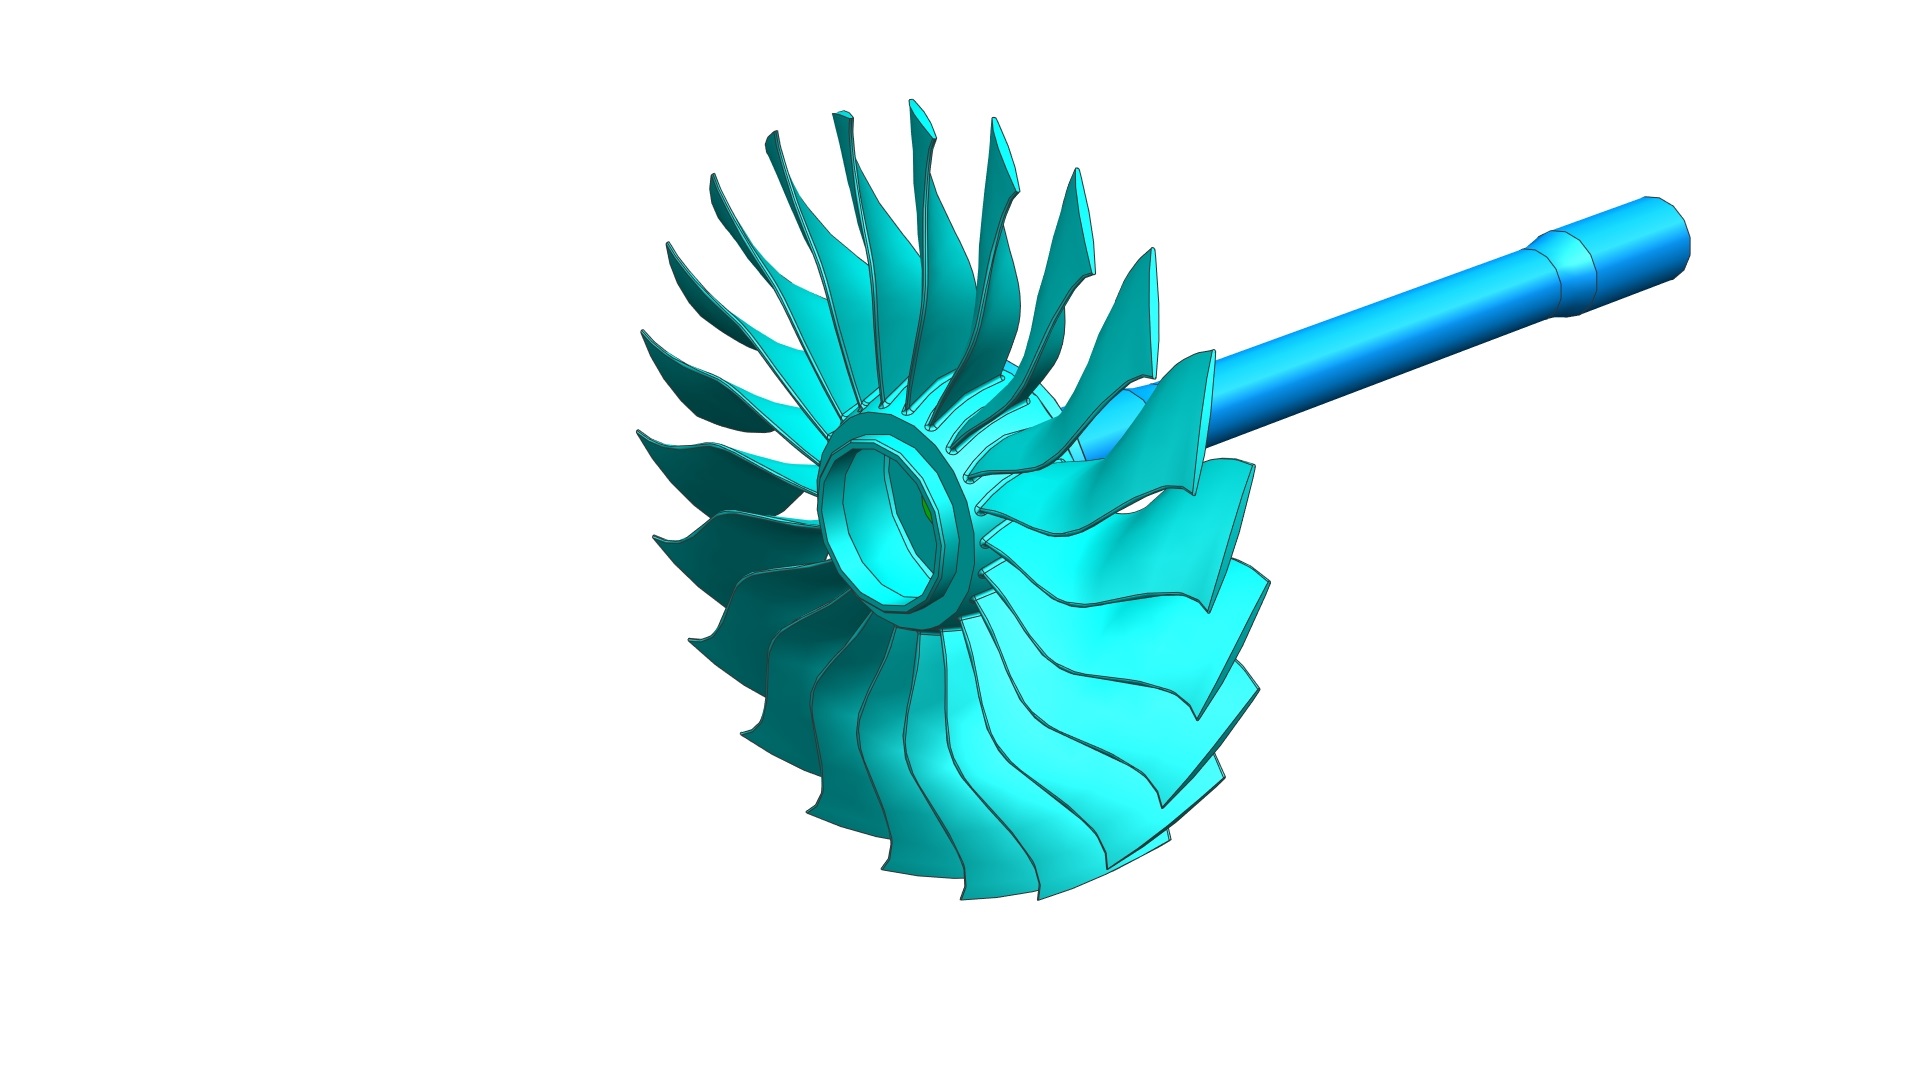
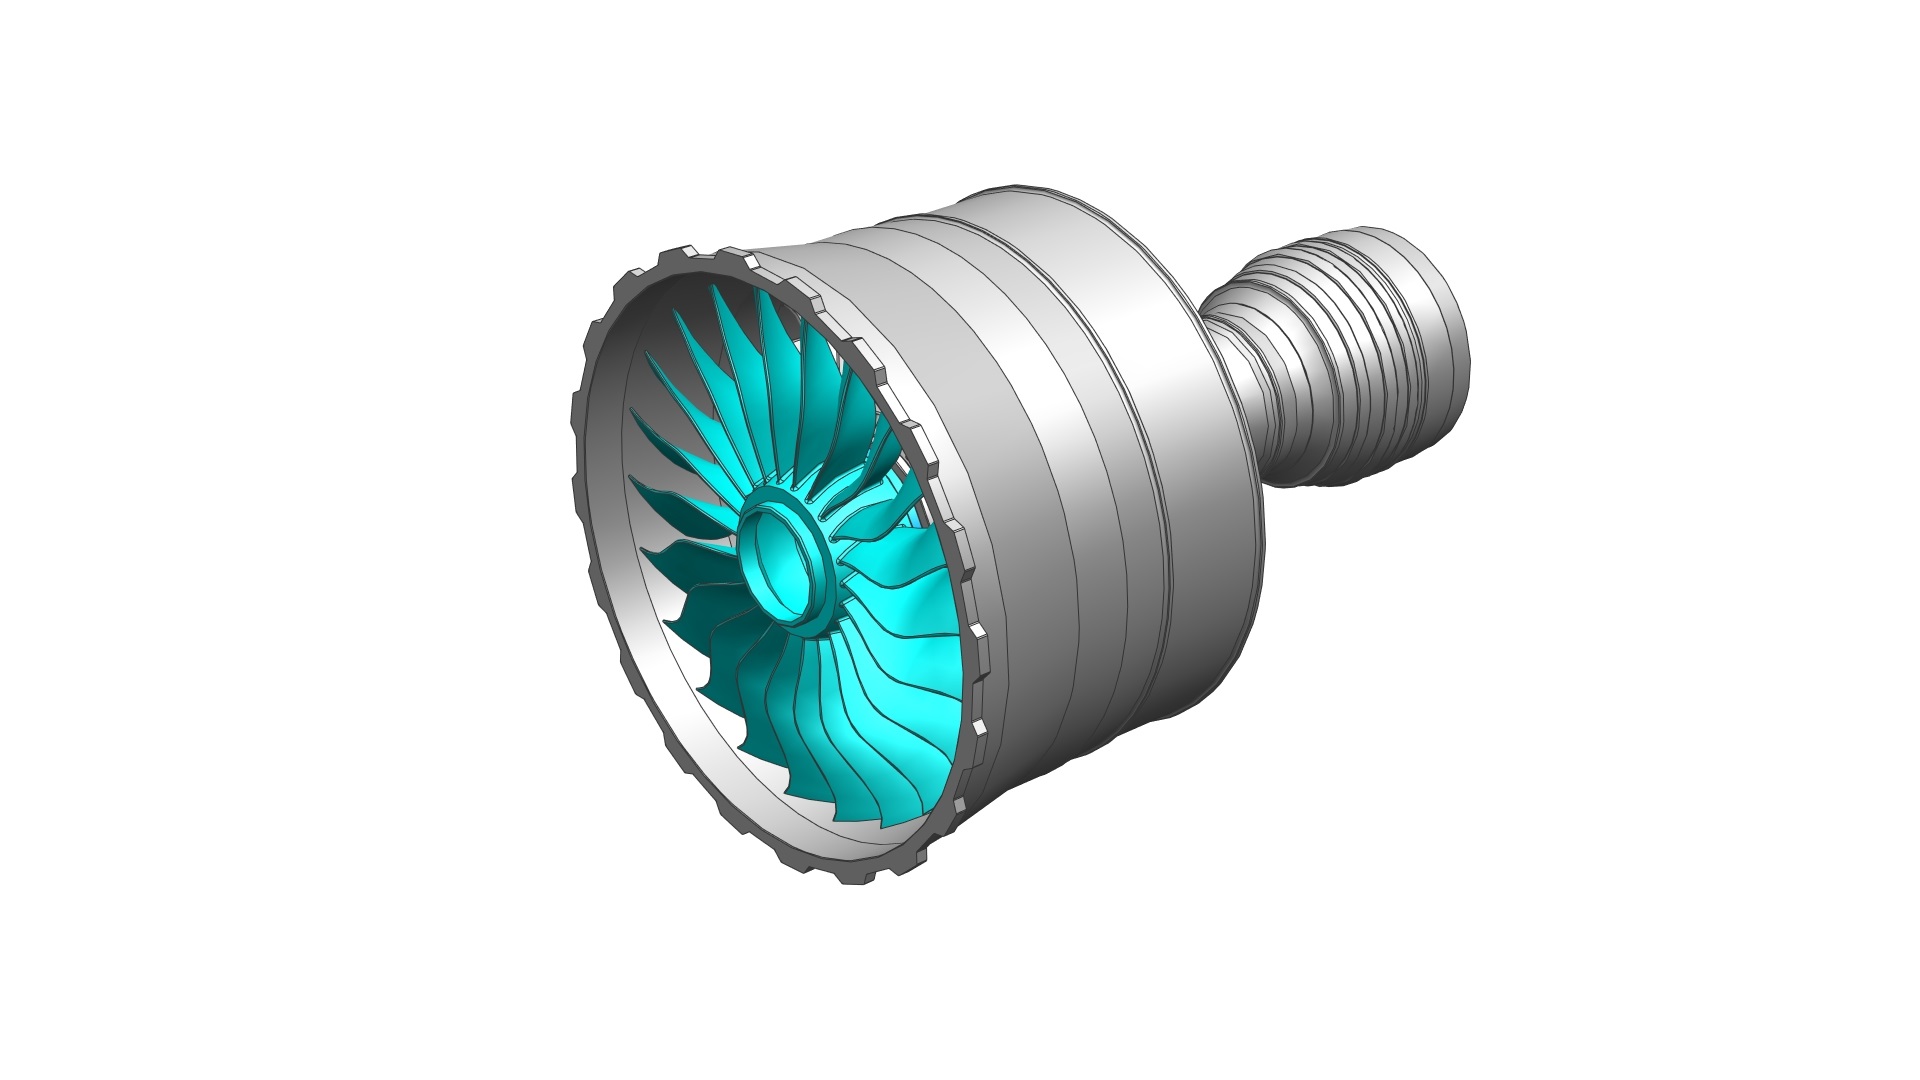
Most of the STL files are really straight forward to print. All you need to do is load them into your slicer software (I use Cura), select your desirable settings (e.g. layer height, infill percentage, etc.) and slice the parts. I used 0.4mm nozzle 0.2mm layer height to print all parts for this model

Here are some tips:

  • Nose Cone: If you have a dual-extruder 3D printer, you can print the Nose Cone and the Nose Cone Stripe at once. Simple load both parts in Cura, select both and right click, select “merge”. Now you can assign each nozzle for each part.

    If you don’t have a dual-extruder 3D printer, you can simply print the Nose Cone in black and paint the slot (which was meant for the Nose Cone Stripe) in white.

How to assemble this model?

So now you’ve got all your parts printed? Great! Let’s assemble the model!

This model is super simple (yet impressive) to assemble. However, before we start, you’ll need to purchase some super glue and magnets to put this model together:

  • 5 mm dia x 3 mm thick N42 Neodymium magnets (LINK) | Qty: 6-off
  • Deep Groove Ball Bearing: 17mm I.D, 35mm O.D, 10mm R.W (LINK) | Qty: 2-off
  • Super glue (LINK) | Qty: 1 bottle

STEP 1: Assemble the Engine Casing

What you need (refer to the photos below):

  • 1x Engine Casing (a)
  • 2x Ball Bearing (b)

Assembly process:

  1. Press fit two ball bearings to the front and rear of the Engine Casing.

Note: : Use super glue if needed..

STEP 2: Assemble the Fan module

What you need (refer to the photos below):

  • 1x Location Pin (a)
  • 1x Fan (b)
  • 1x Fan Shaft (c)

Assembly process:

  1. Use super glue to permanently attach Fan to Fan Shaft.

Note: : Use Location Pin to align Fan and Fan Shaft together.

STEP 3: Assemble the Fan module to Engine Casing

What you need (refer to the photos below):

  • 1x Fan module from STEP 2
  • 1x Engine Casing from STEP 1

Assembly process:

  1. Slide the Fan module into the Engine Casing. The Fan Shaft should pass through both ball bearings located at the front and rear of the Engine Casing.

Note: : Ensure that the Fan module is pushed all the way into the Engine Casing. At the end of this step, the Fan should spin freely

STEP 4: Assemble the Nose Cone

What you need (refer to the photos below):

  • 1x Nose Cone (a)
  • 1x Engine Assembly from STEP 3 (b)

Assembly process:

  1. Press fit the Nose Cone to the front of the Fan module

Note: : Use super glue if needed


STEP 5: Assemble the Exhaust Nozzle

What you need (refer to the photos below):

  • 1x Exhaust Nozzle (a)
  • 6x Magnets (5mm dia x 3mm thick) (highlighted in RED) (b)
  • 1x Engine Assembly (c)

Assembly process:

  1. Fit all magnets into the holes of the Exhaust Nozzle (use super glue if needed)
  2. Place the Exhaust Nozzle at the rear of the engine

Note: the Exhaust Nozzle is held in place by magnets

STEP 6: Place the engine on the Stand

What you need (refer to the photos below):

  • 1x Engine from STEP 5 (a)
  • 1x Stand (b)

Assembly process:

  1. Simply place the engine on its stand.

Note: At this step, your bare Jet Engine is complete. To learn how to add the Nacelle to your engine, please continue to STEP 7

Subscribe
Notify of
guest
0 Comments
Inline Feedbacks
View all comments
0
Please vote & feedback on this product :)x