
My RAPTOR-M1 SpaceX Raptor engine 3D model was based on the existing SpaceX Raptor Rocket Engine model by Charles Lesher (see here). He has done a fantastic job modelling the Raptor engine. However, I found a couple of issues with his CAD model when I started to look deeper into the design. For example, some geometries overlaps each other, some parts are fitted together but there’s no clearance between them, and some parts are supposed to be symmetrical but aren’t.
So, I decided to give his model a complete makeover. I used his model, with his permission, as reference and added my personal touches.
My primary purpose in redesigning almost every part of the original model was so they can be fitted together without having to use super glue. Instead, all parts are held together by magnets. This has allowed my model to be fully stripped down and rebuilt as many time as required.
Here are the main differences and improvements my “RAPTOR-M1” SpaceX Raptor engine 3D model has over Charles’ original design.
Scaling up the model for easier FDM printing
The main goals for this project were to make an accurate scale model of the SpaceX Raptor engine, as well as making it easy to print. Finally, I wanted this model to be easily assembled and disassembled so that users could get a better look at the inner workings of the engine.
Charles’ original design is based on a 1/11 scale. I scaled the design up to 1/8 because I want to make small details easier to print on an FDM printer. As an added bonus, the 1/8 scale is more popular than 1/11.
I also removed some of the small bolts from Charles’ design, such as the ones on the flange at the ends of each pipe. They’re too small to be printed on an FDM printer.
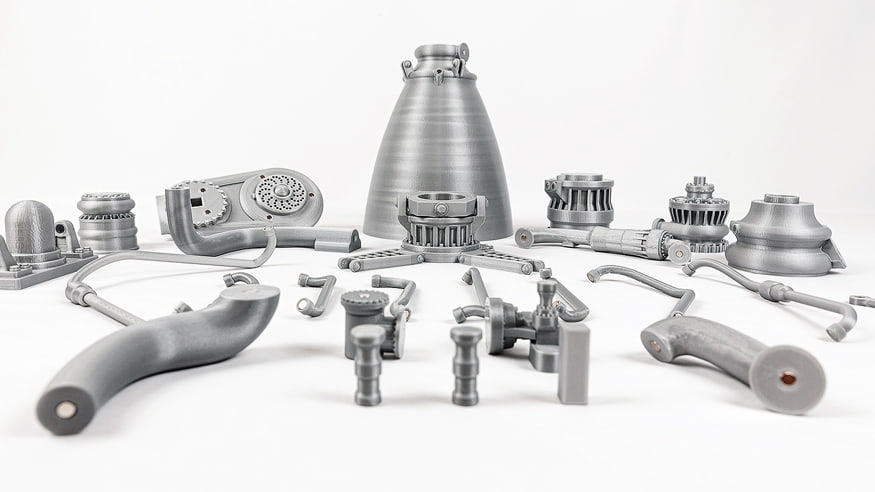
Additional enhancements were made for the purposes of easier printing, such as the LOX Turbopump. I redesigned it completely from scratch and it just looks a lot nicer.
Every part of the original model was modified so they can be printed either support-free or with very minimum support, hence, a better surface finish.
Redesigning the Raptor engine 3D model for magnetised assembly
You may have experienced the frustration with some 3D models of parts falling off while you are building them or even afterwards.
I thought to myself, is there a better way? So I redesigned the model so it could be assembled with magnets rather than super glue.
I modified how all the main components are fitted together. You can now fit magnets into them and they’ll stick to each other without having to use glue. This makes the model really fun to assemble and disassemble! The magnets I use are 5mm in diameter and 3mm thick.
I also added magnets to both ends of every pipe, small and large, so you can attach and detach them to and from the engine core at will.
Visual improvements and accuracy in my Raptor engine 3D model
Another goal of this project was to redesign the SpaceX Raptor engine 3D model to be more visually impressive and accurate by incorporating design cues from realistic diagrams of the Raptor engine.
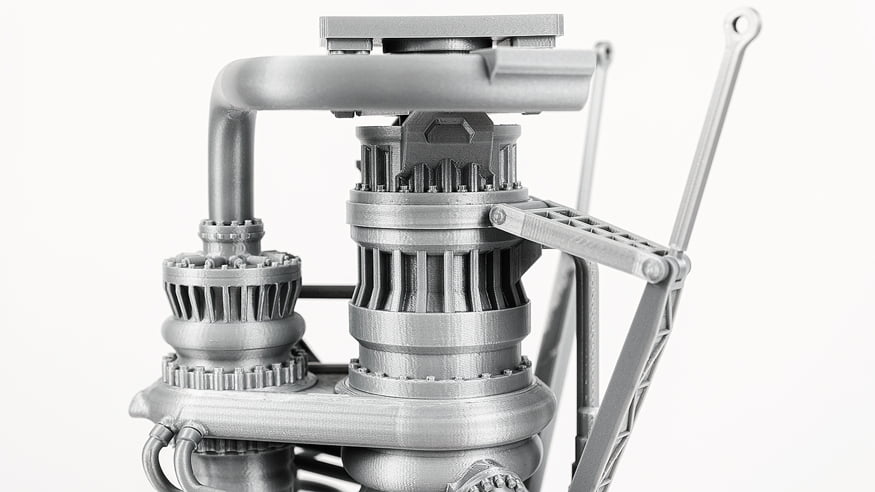
I merged some parts together so the pieces are located more accurately instead of gluing them into place by hand. Specifically, I merged the Mounting Plate with the 2 Gimbal Upper, and combined the Control Strut Collar with the 2 Gimbal Lower.
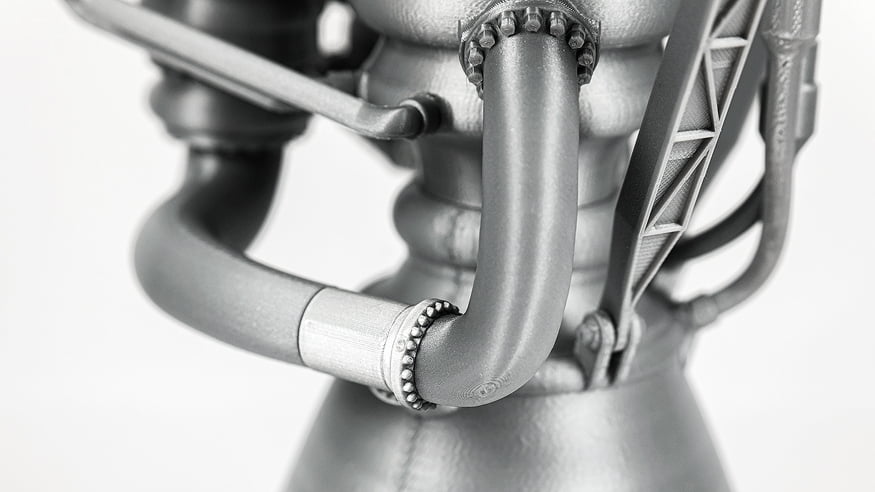
I’ve given all the pipes a facelift to make them look more realistic. Although they’re complex pipes that require bending, in real life they’re composed of straight sections and bent sections welded together. Most pipes that you see in an engine have straight sections as well as curved sections. It was hard to get the right orientation on those original pipes because they were so curvy, which made it tough to place them on the print bed of an FDM printer. That’s why I gave them sharp turns and straight lines, so they will be easier to print now.
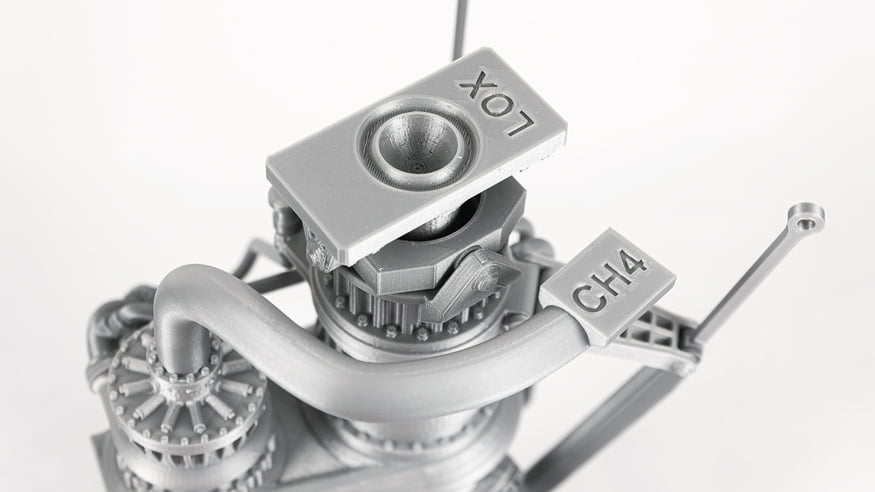
As a result of these modifications, I removed all the arrows from Charles’ pipes because they are not every visible Also, because the new pipes are detachable, you can simply print them in different colours to show the flow of LOX and CH4 around the core.
The finishing touch

As an aside, I came across this Crossed Arms Man model, designed by mcramblet on GrabCAD (see LINK) and I think it would be a really nice touch to print this model at the right scale and put it next to the rocket engine.
This would definitely help people, myself included, to understand the true scale of the real Raptor engine in reality. What do you think?
The RAPTOR-M1, my tribute to the SpaceX Raptor engine
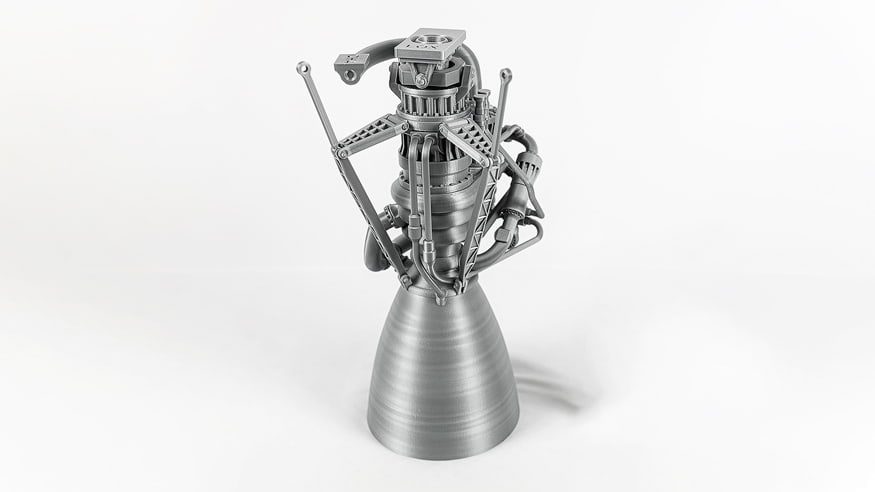
This is an awesome personal project. The result is a great model for anyone who is a fan of SpaceX and the Raptor engine.
It was fun trying to figure out the engine’s geometry and getting the measurements right. This was definitely a challenging project that pushed my skills to the limit. It felt great when I finally completed it and was able to see all the parts fitted together perfectly.
Are you ready to print and own your own SpaceX Raptor engine model? Head over to the product page now to grab the STL file download.