
If you want to save this How-To instruction as a pdf file (and print it out later if needed), simply copy the URL of this page and paste it to https://www.printfriendly.com/ . Printfriendly will generate a printer-friendly pdf of the page with all the texts and images for you.
Firstly, I would like to give my special thanks to Trevor Pages from Tesla Owners Online for the amazing review on YouTube about this model – very detail and informative! Please watch his video below if you want some more hints and tips to get this model printed successfully on your 3D printers! If you would like to subscribe to his YouTube channel, please click on this link.
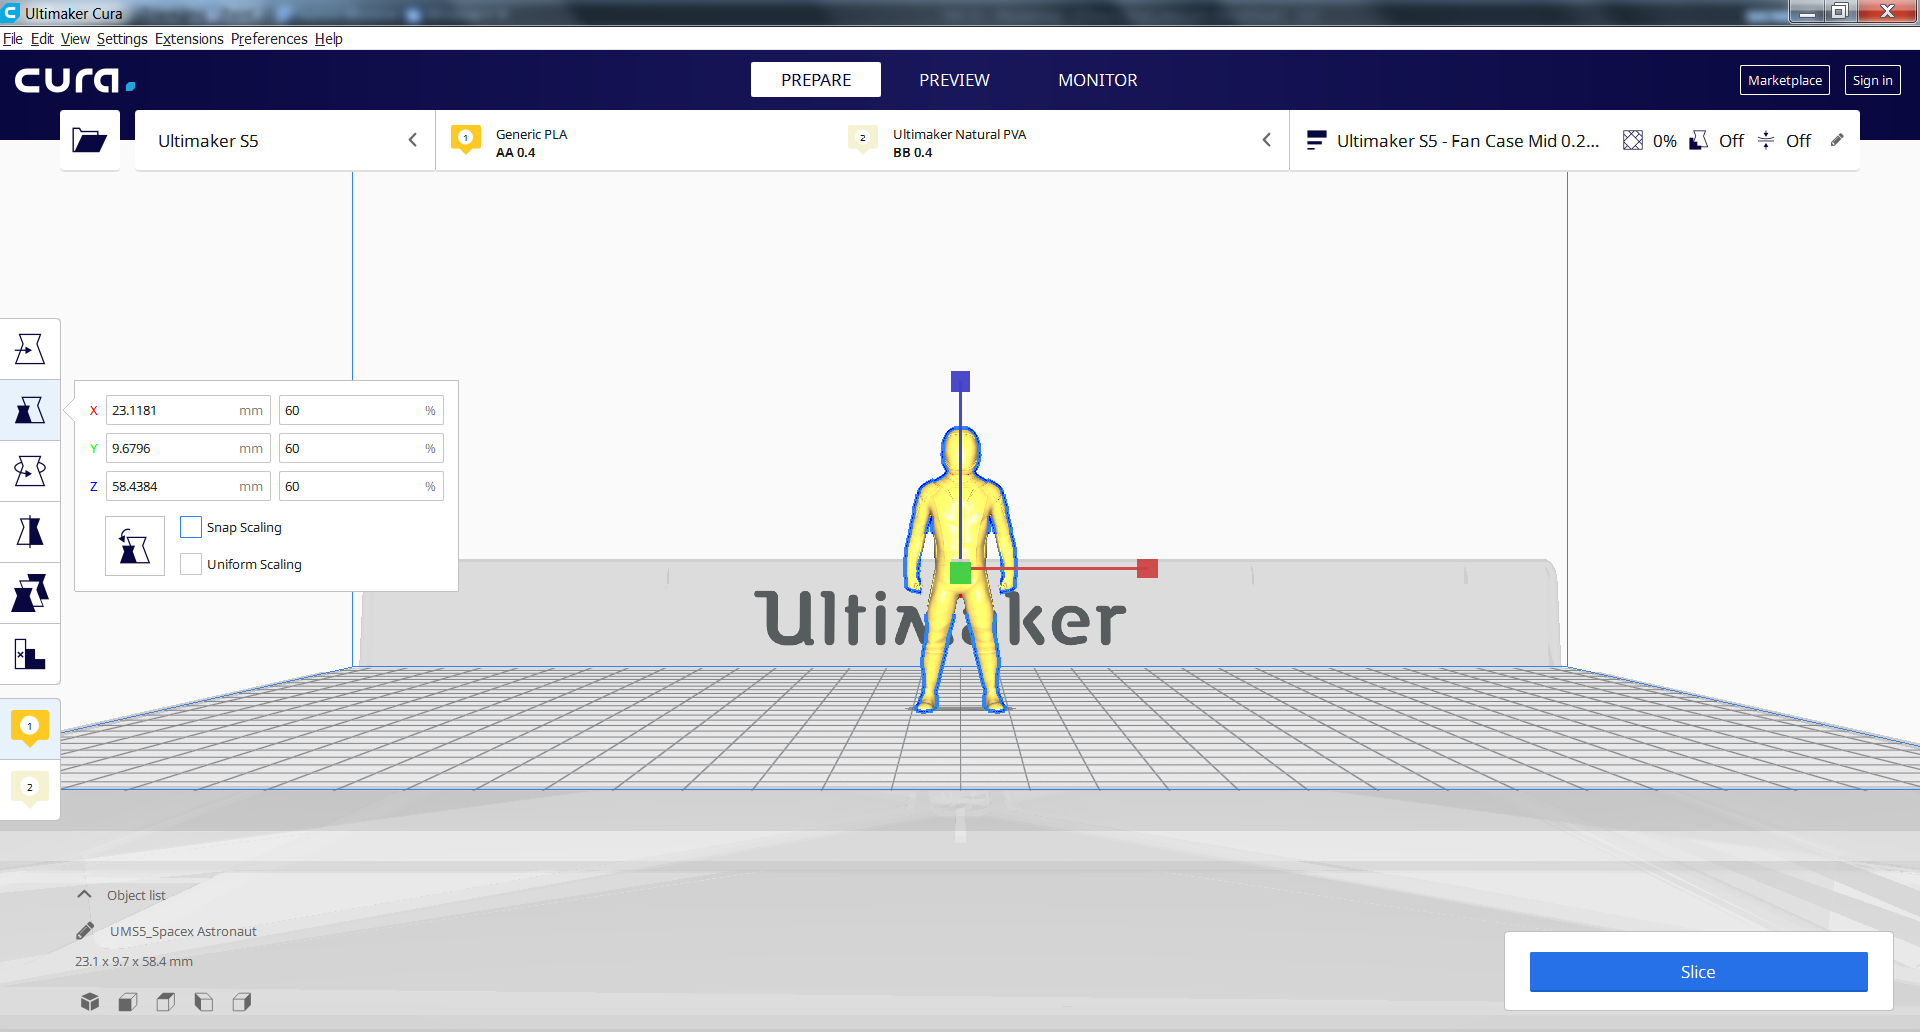
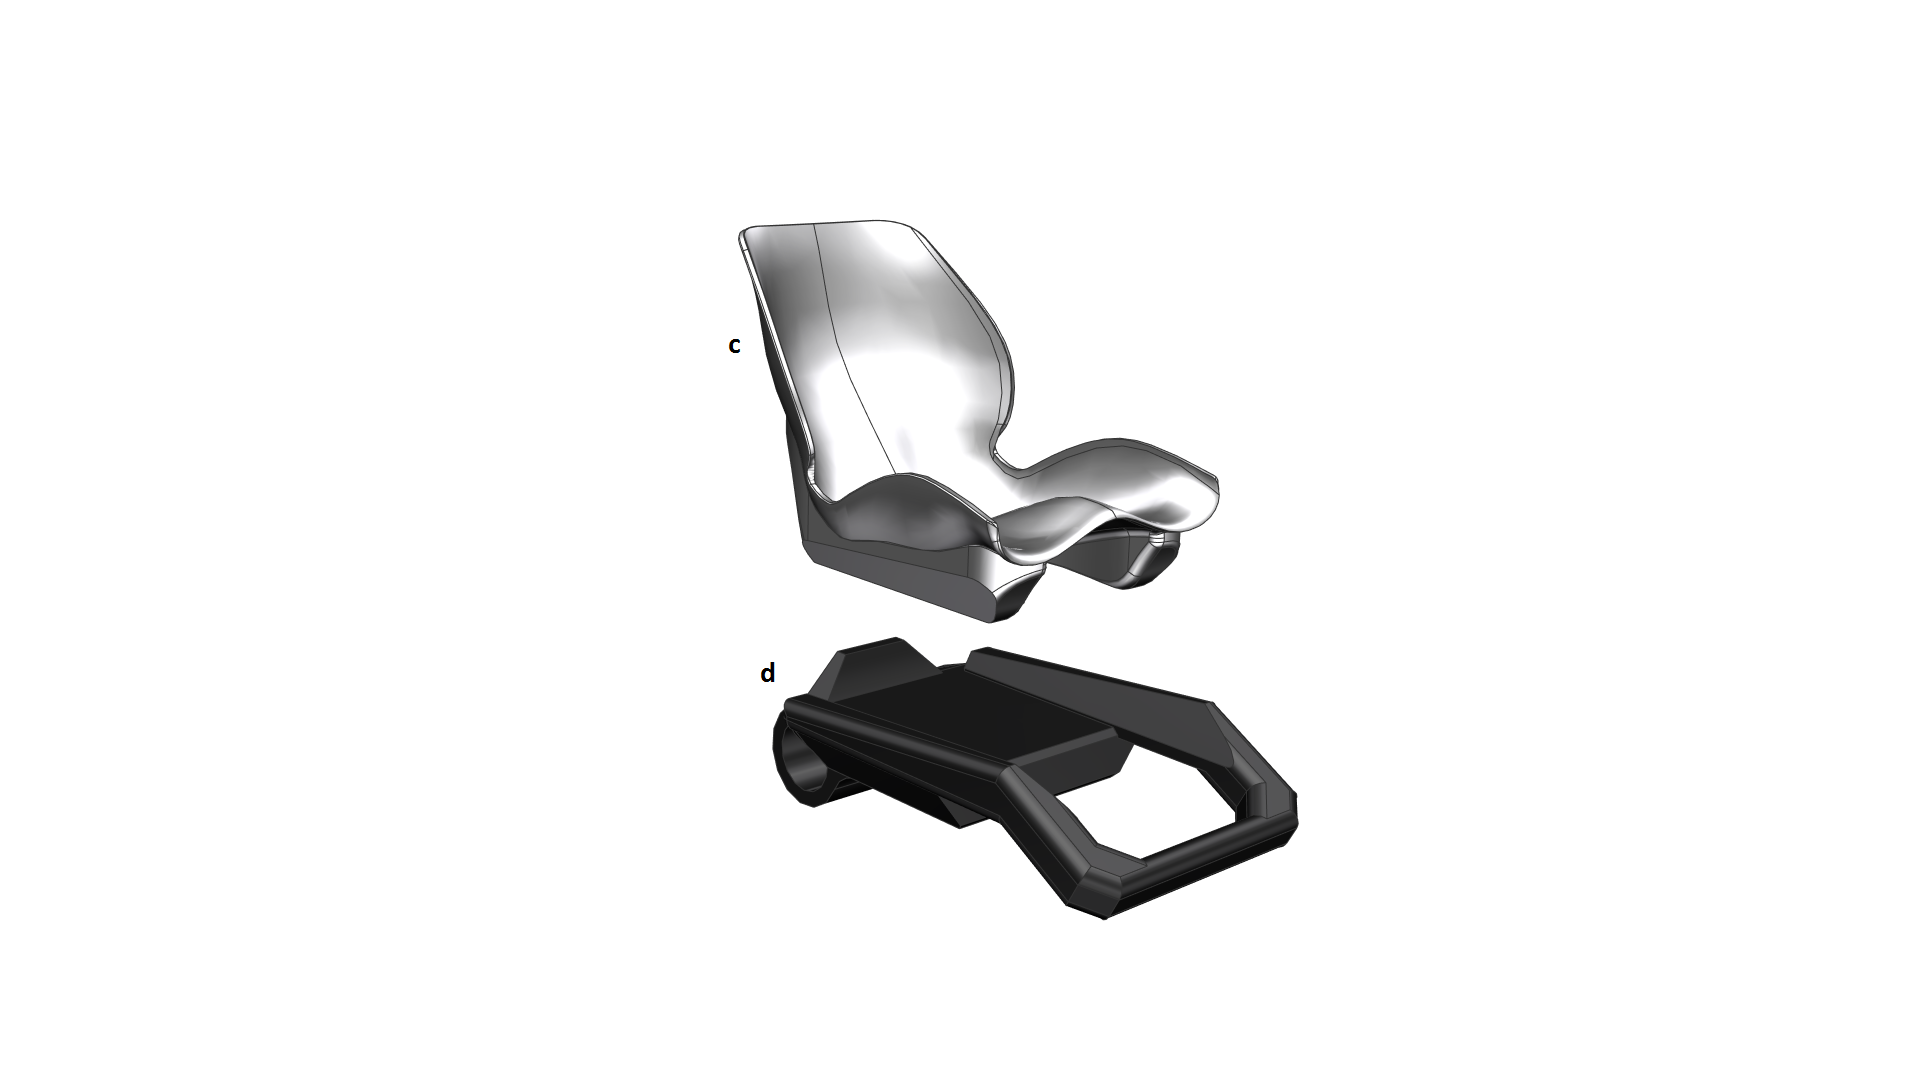
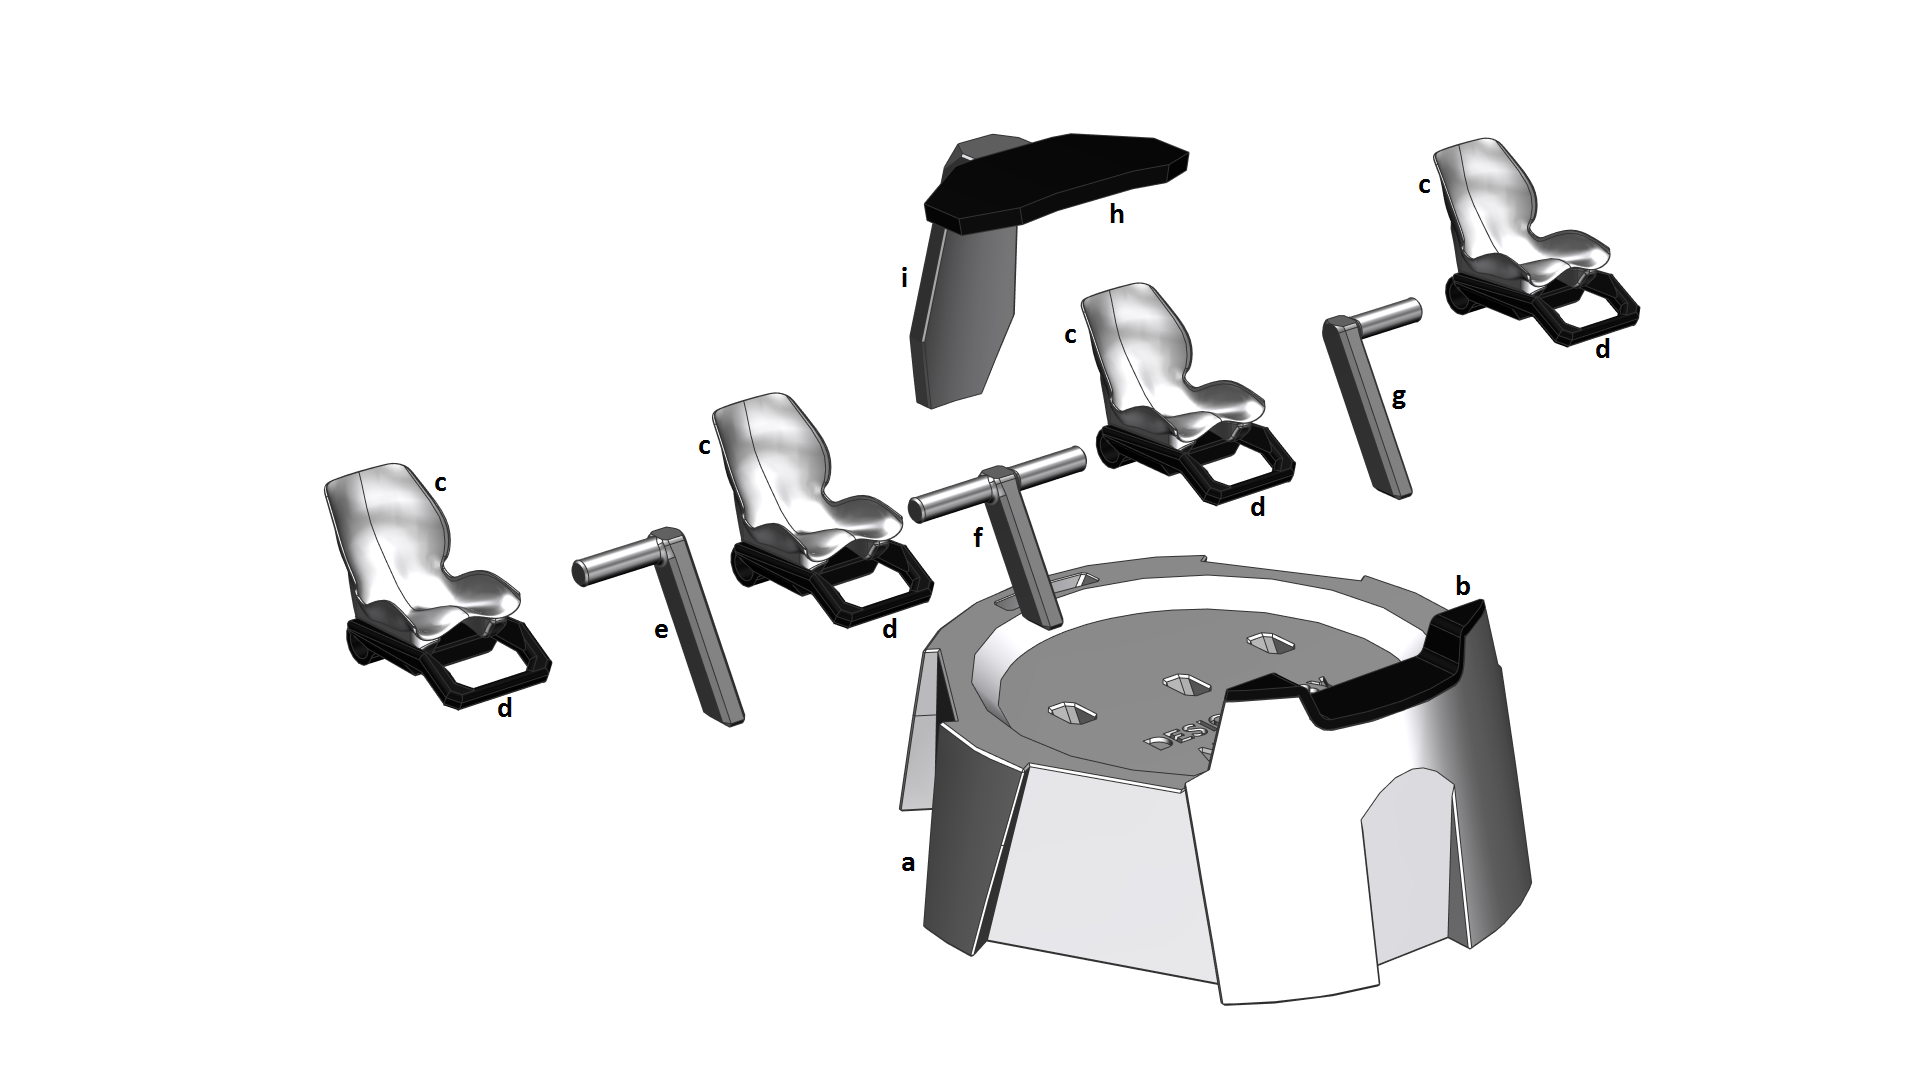
Most of the STL files are really straight forward to print. All you need to do is load them into your slicer software (I use Cura), select your desirable settings (e.g. layer height, infill percentage, etc.) and slice the parts. I used 0.4mm nozzle (0.2mm layer height) to print most parts and 0.25mm nozzle (0.1mm layer height) to print small parts (e.g. pins, washers, links, etc.)
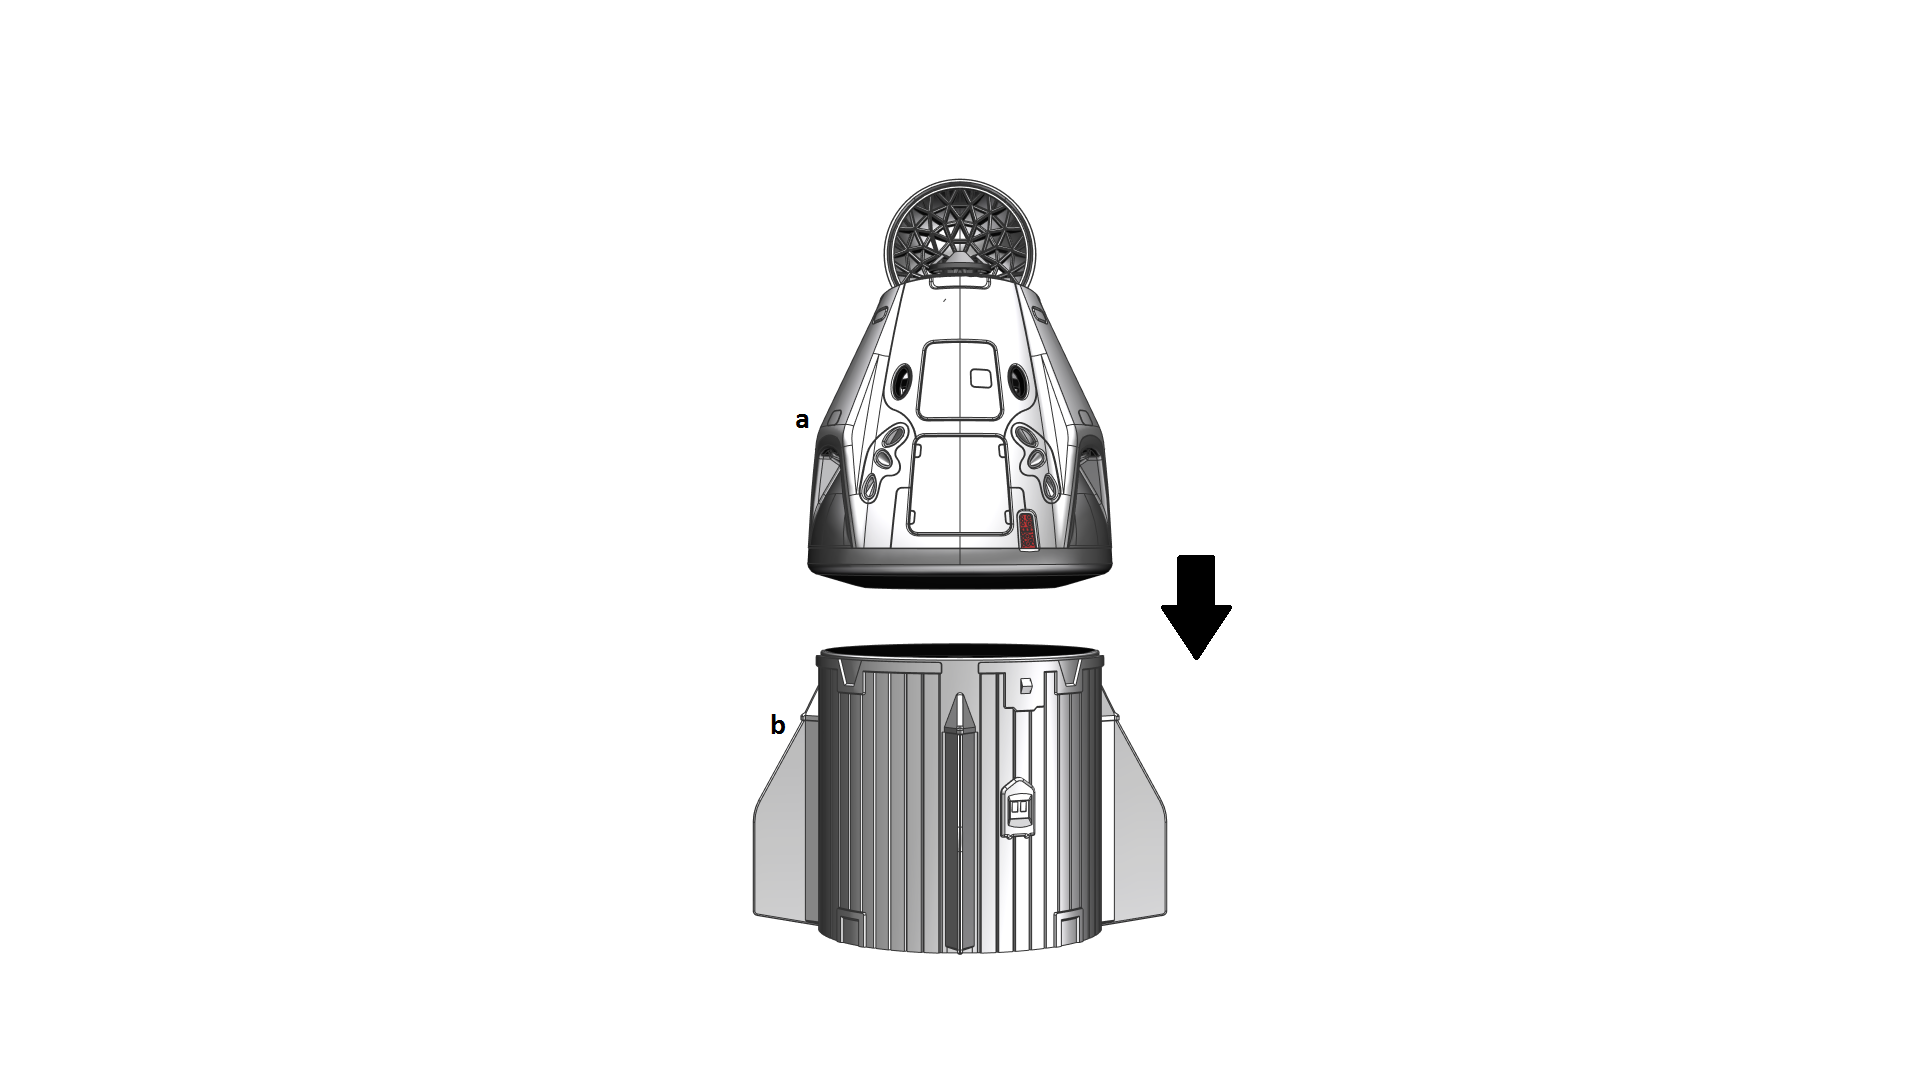
Please note: I already saved the STL for each part in the orientation I printed them on my FDM printer. Hence, when you load the STL in your slicer software, you don’t need to orientate them again, unless you want to try to print them in a different orientation.


Managed to finish everything. I have to say I’m super happy how everything turned out. The instructions were really good and straightforward. Thank you for everything.
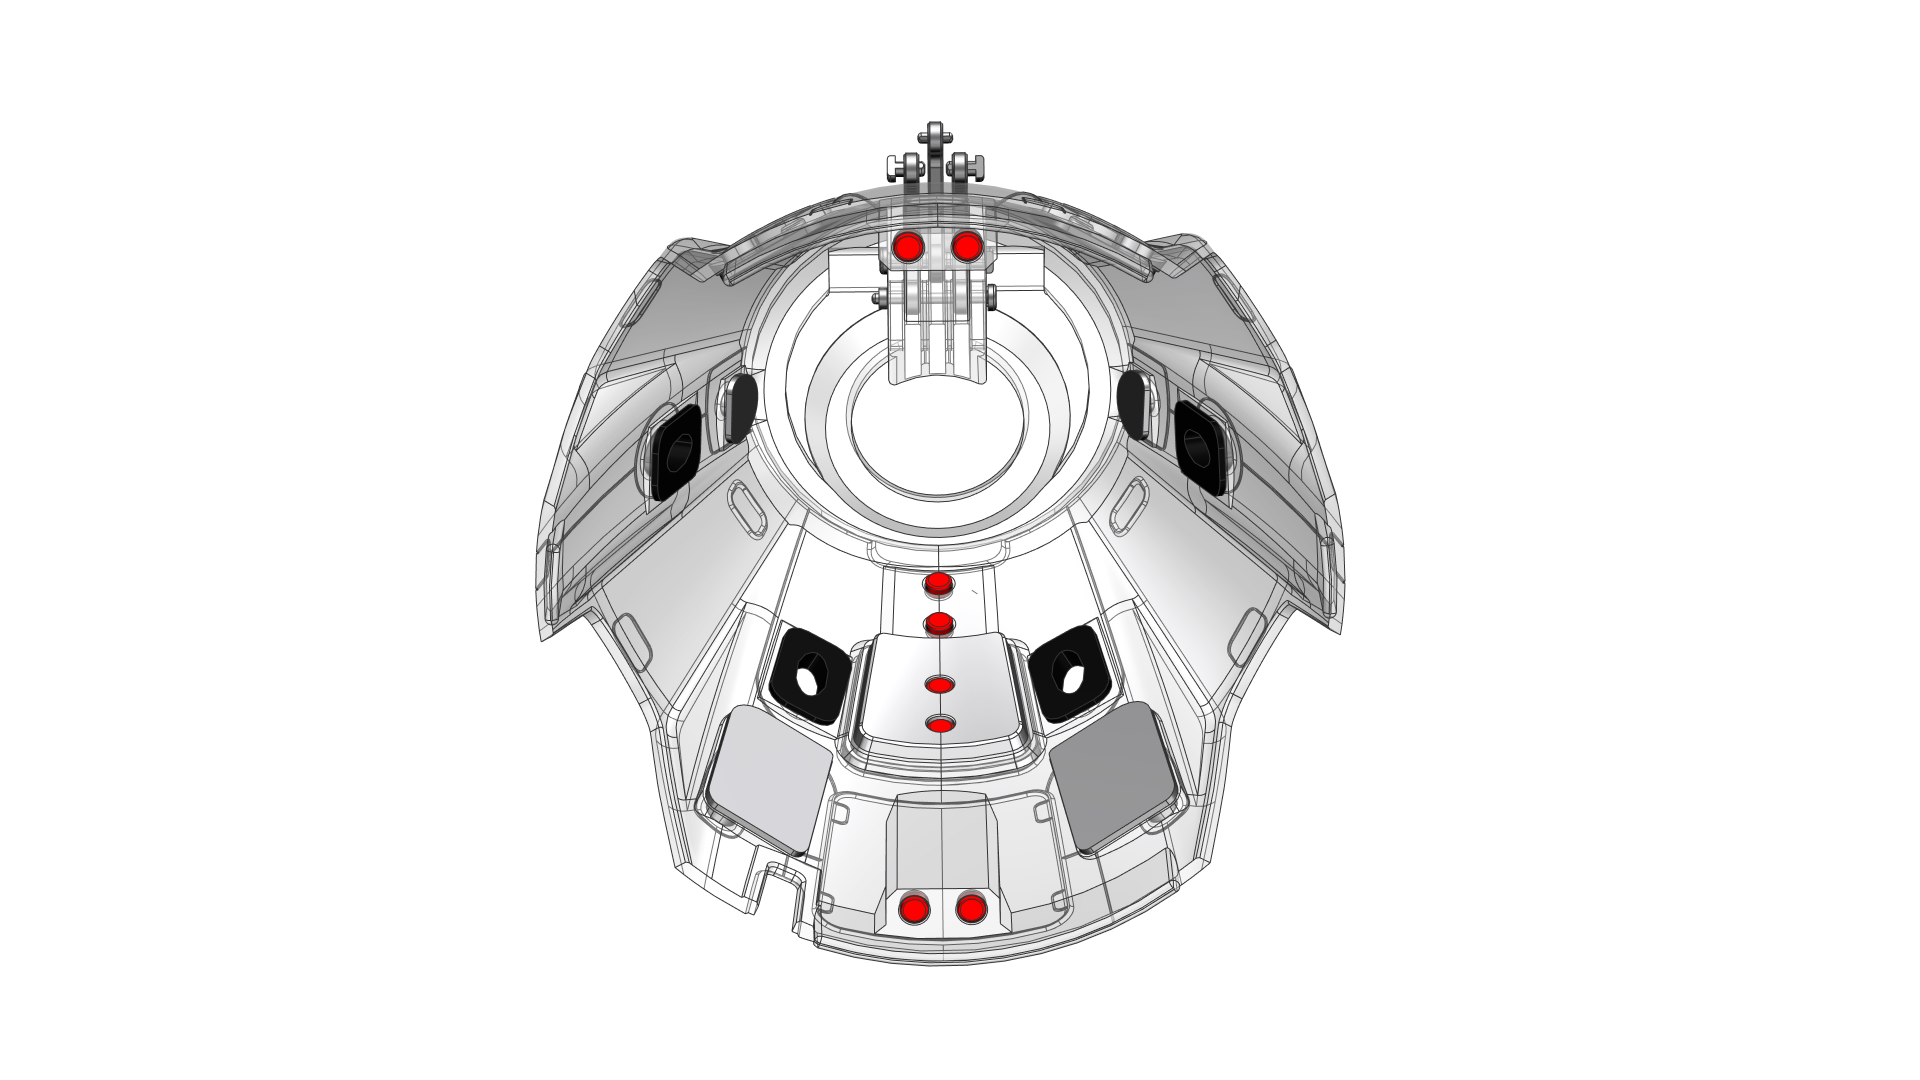
The mentioned heatshield was tricky with Prusa printer (although supports). Solution, in Prusa slicer change support style from Grid to Snug.
Thanks for making this possible.
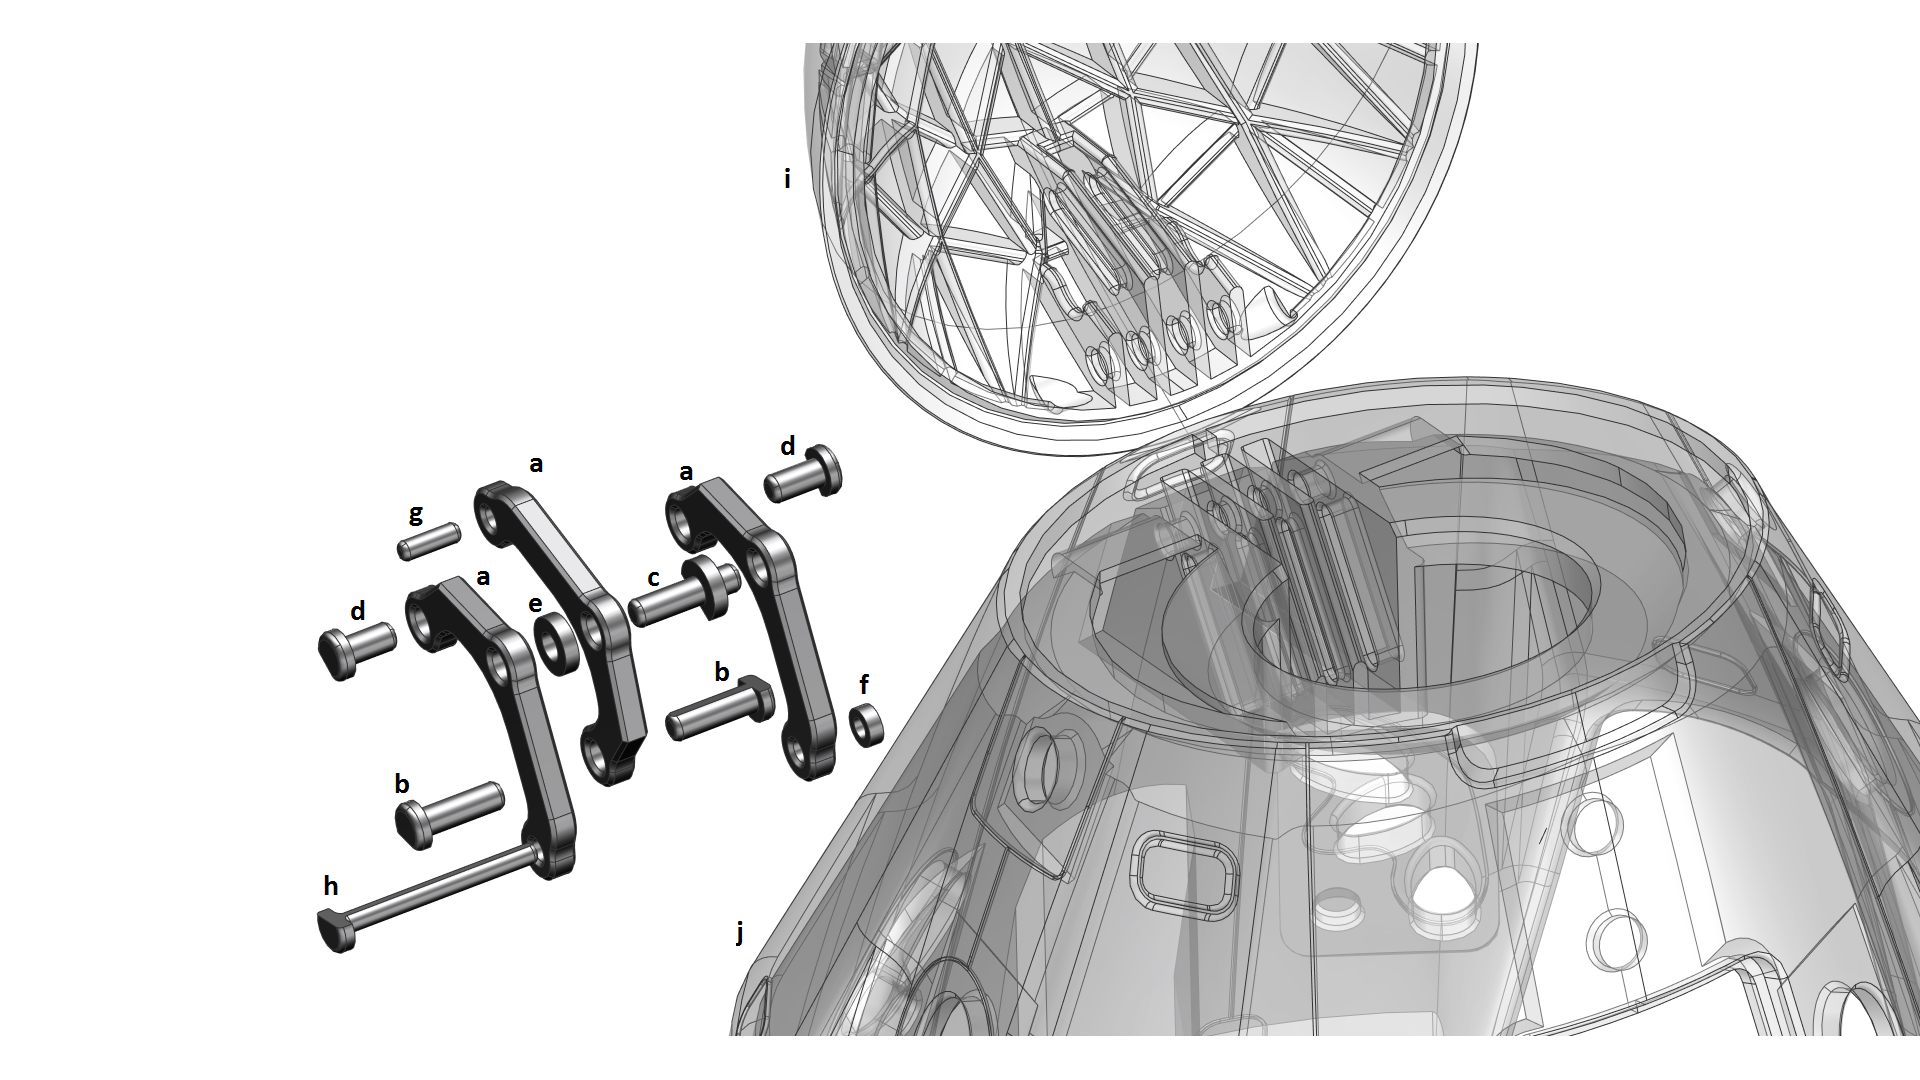
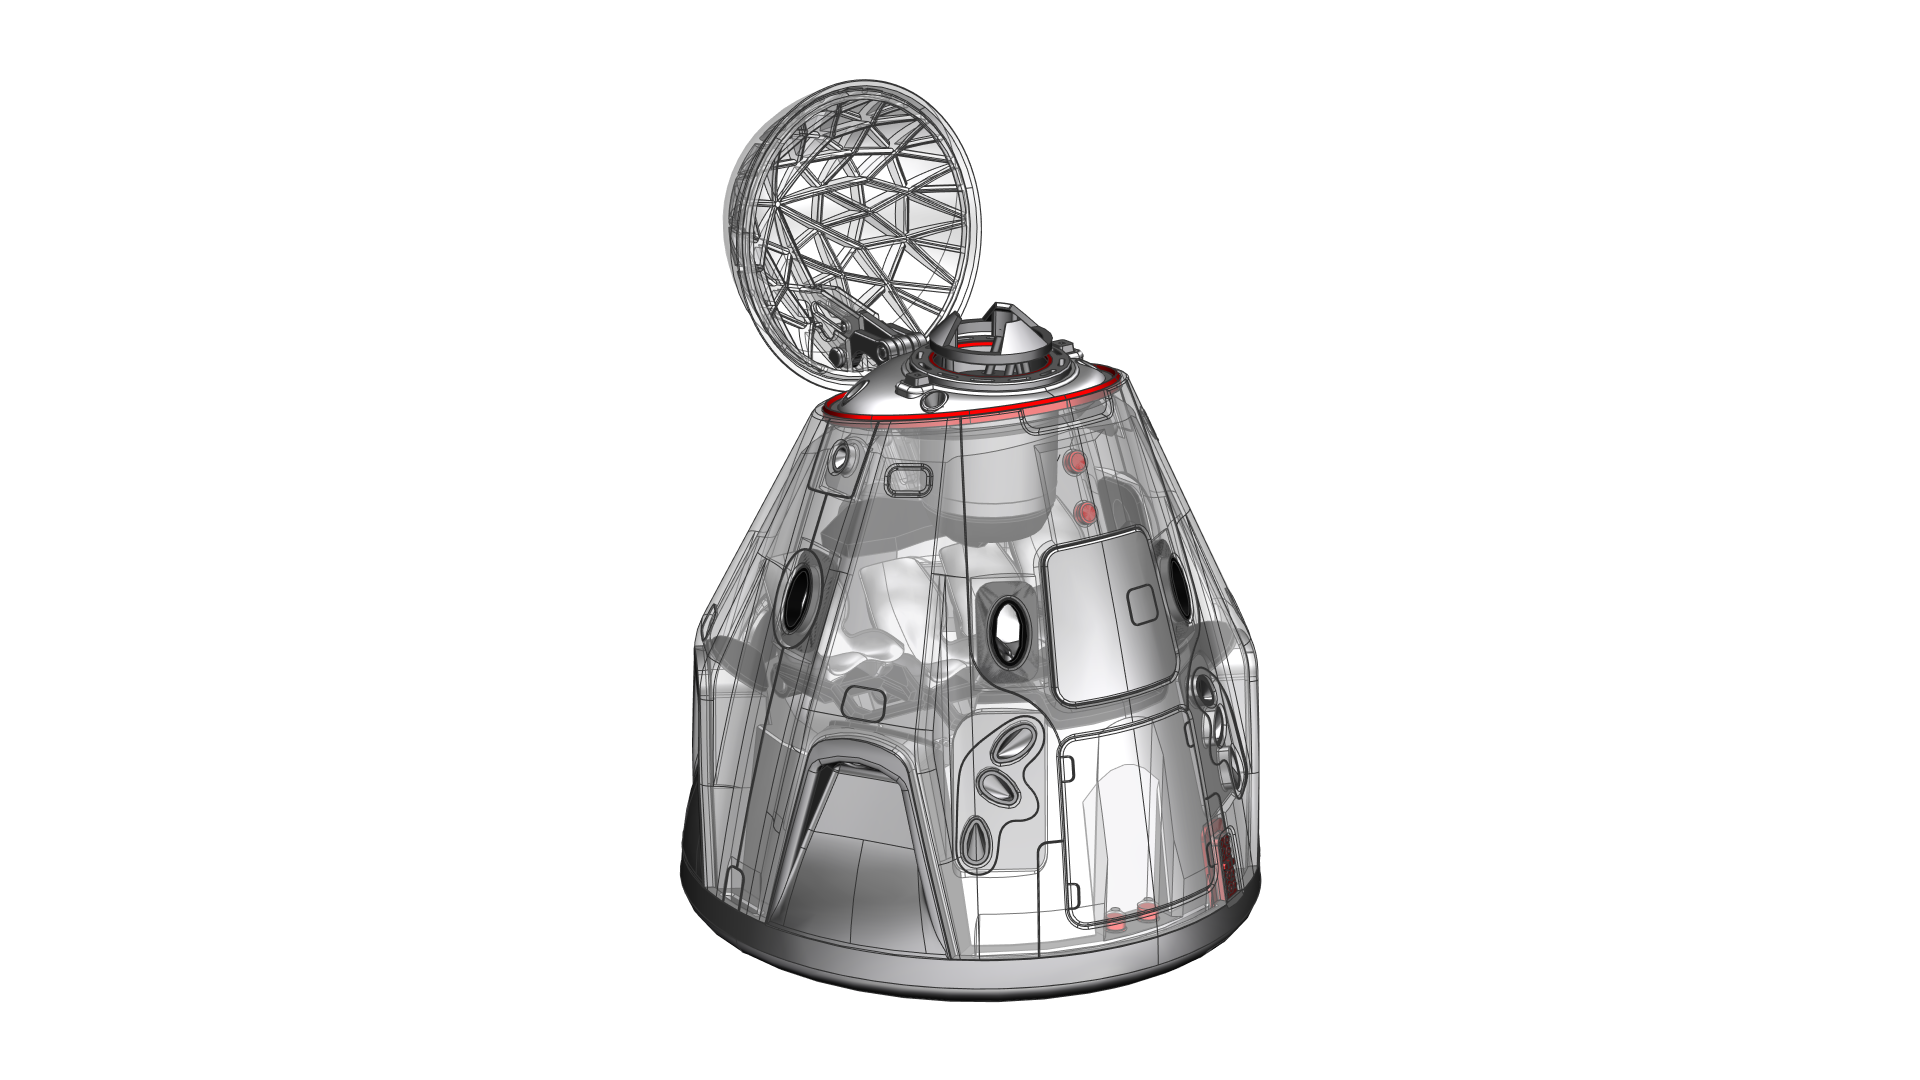
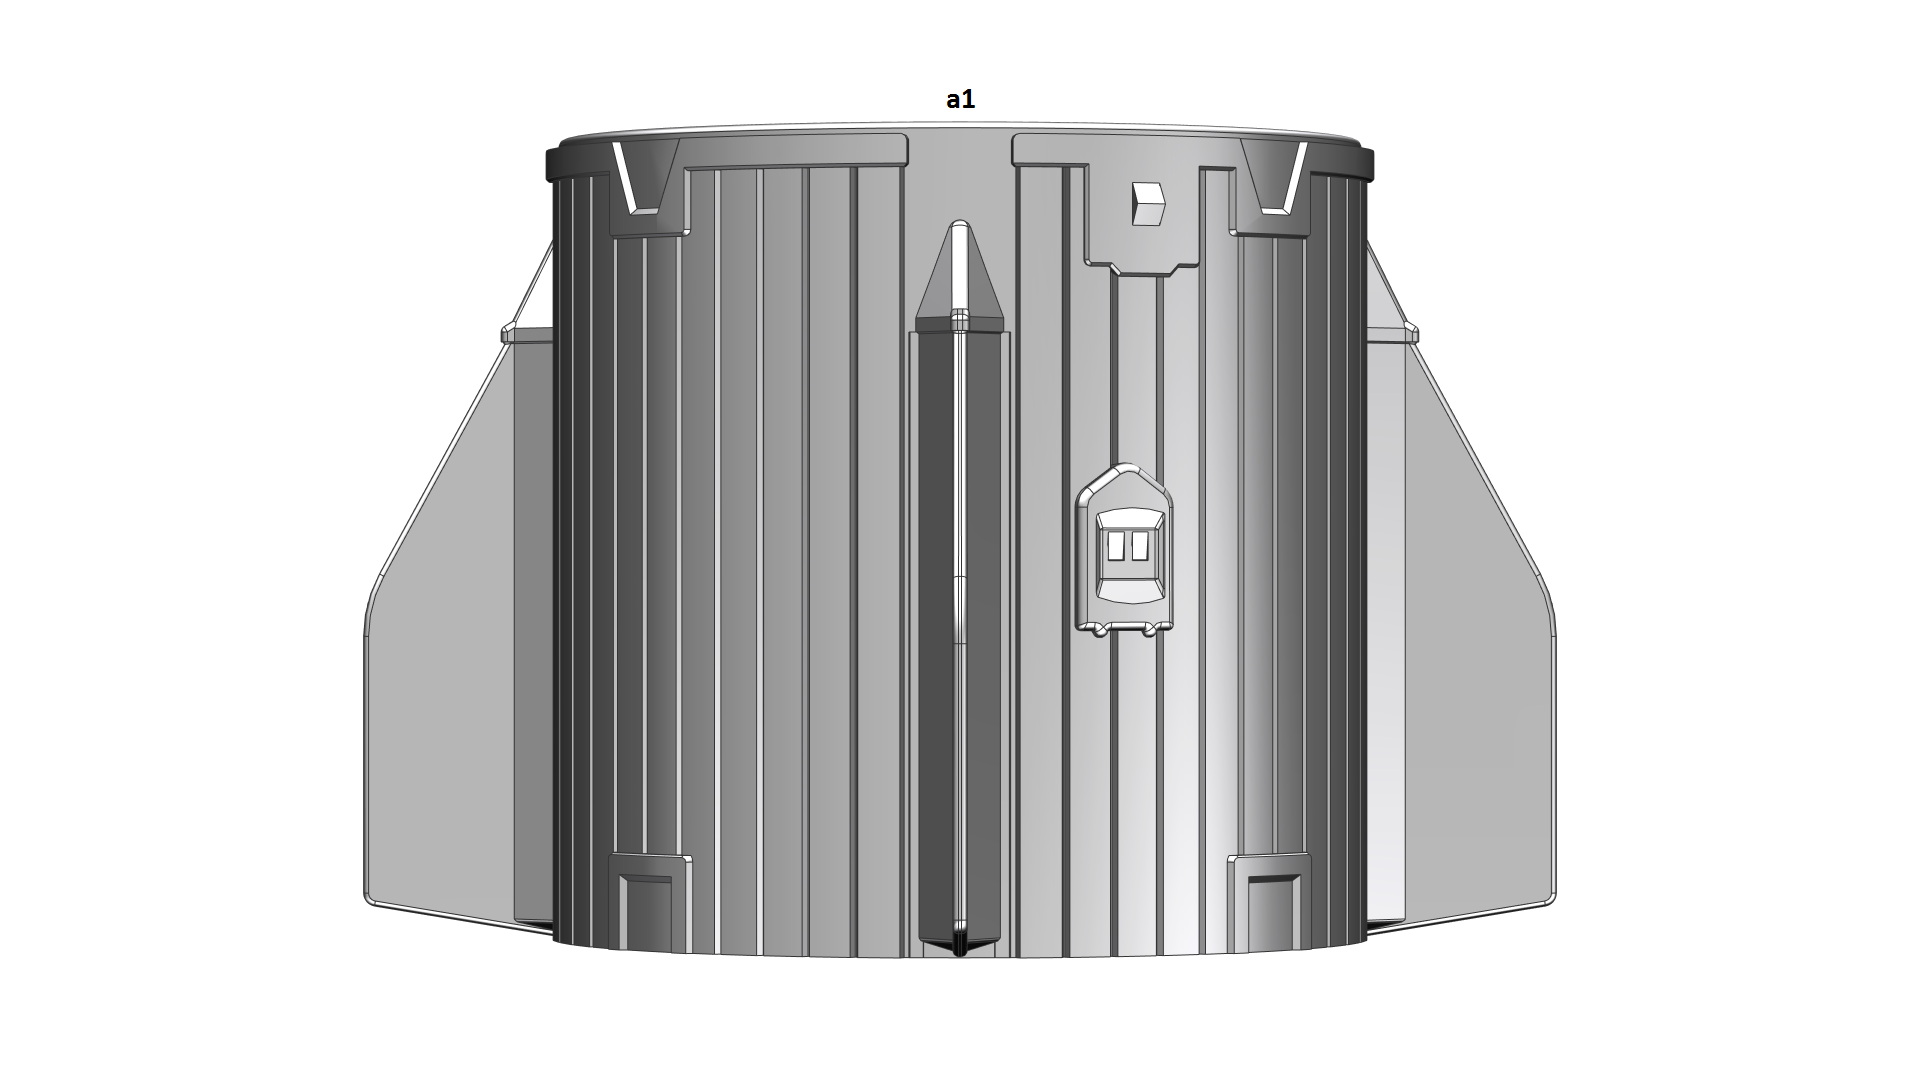
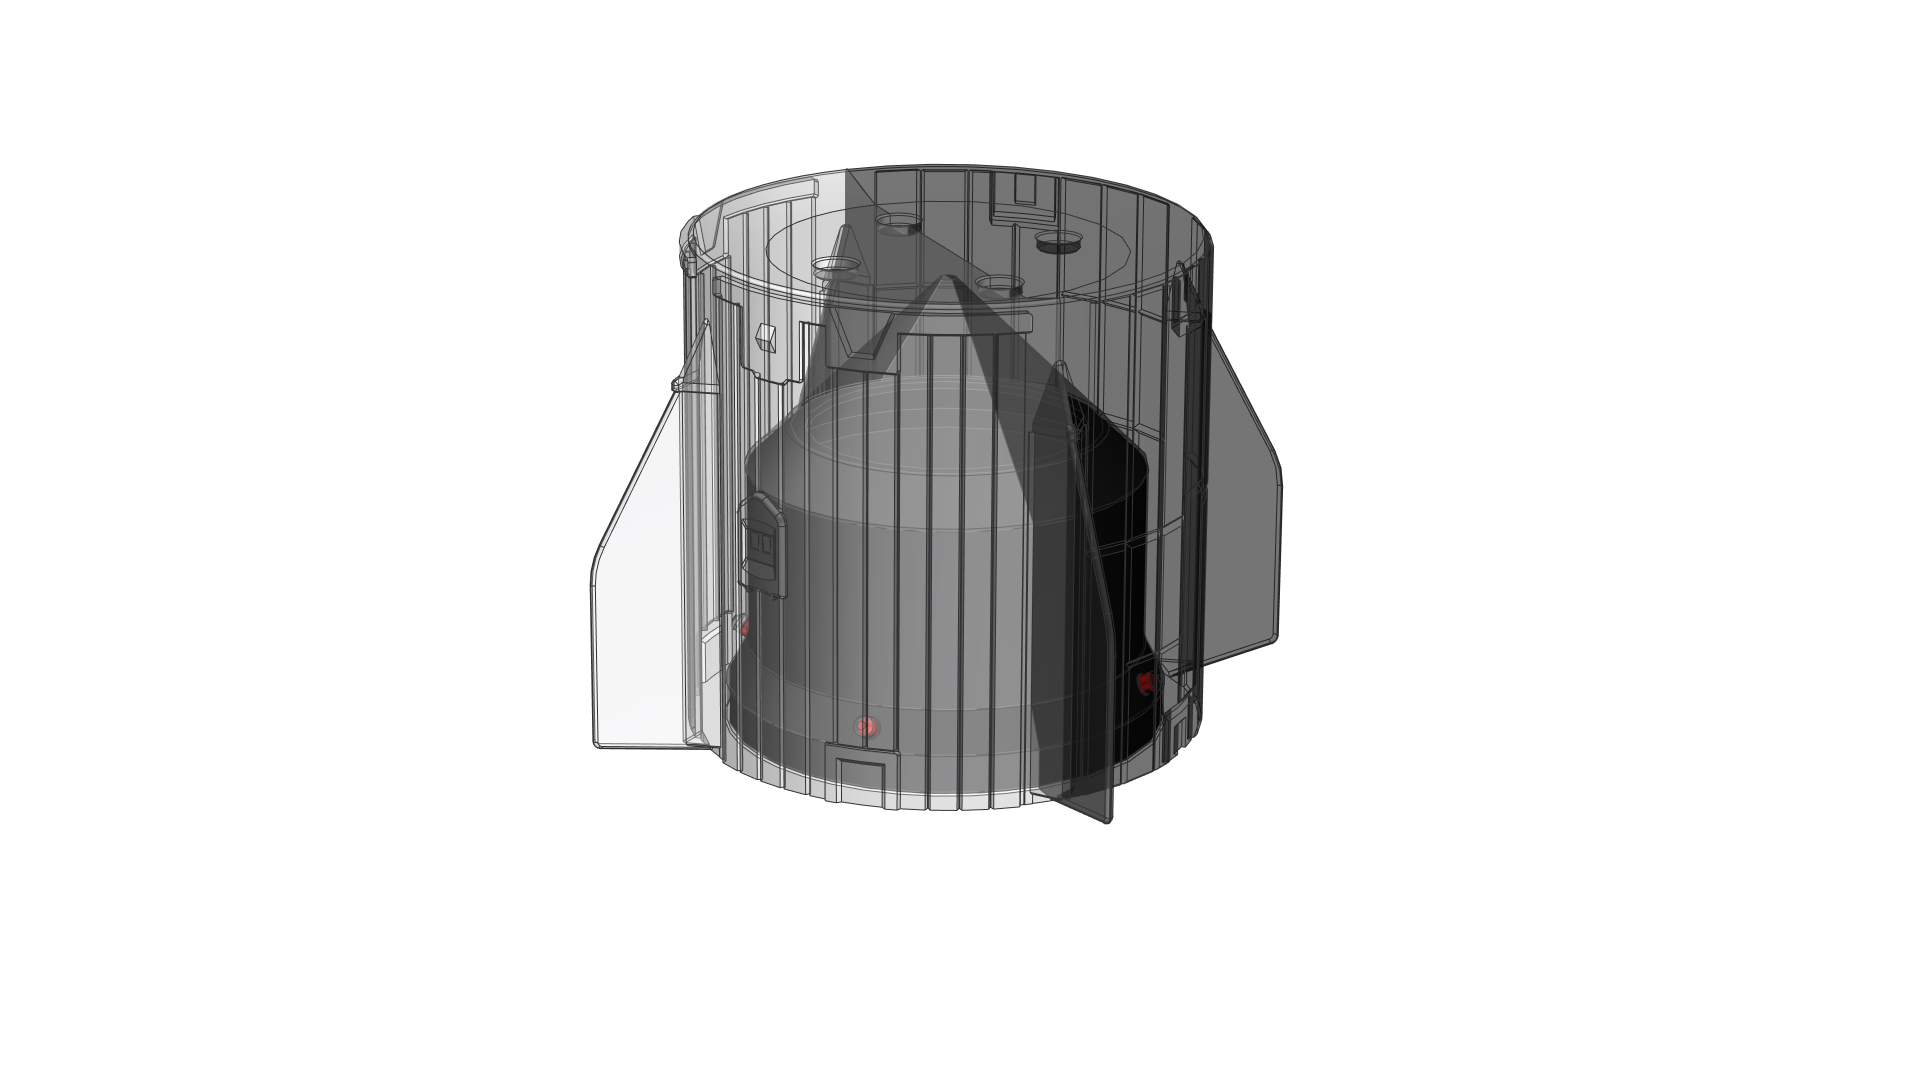
Hi team , nice work in this model . Let me share something that I didn’t fix yet , this is related to heat shield. I don’t know if you guys have the same problem when the below rounded part was printed.