How to Print & Assemble the DRACO-MJ Interior Lighting

How to install the interior lighting into the DRACO-MJ model?

If you want to save this How-To instruction as a pdf file (and print it out later if needed), simply copy the URL of this page and paste it to https://www.printfriendly.com/ . Printfriendly will generate a printer-friendly pdf of the page with all the texts and images for you.

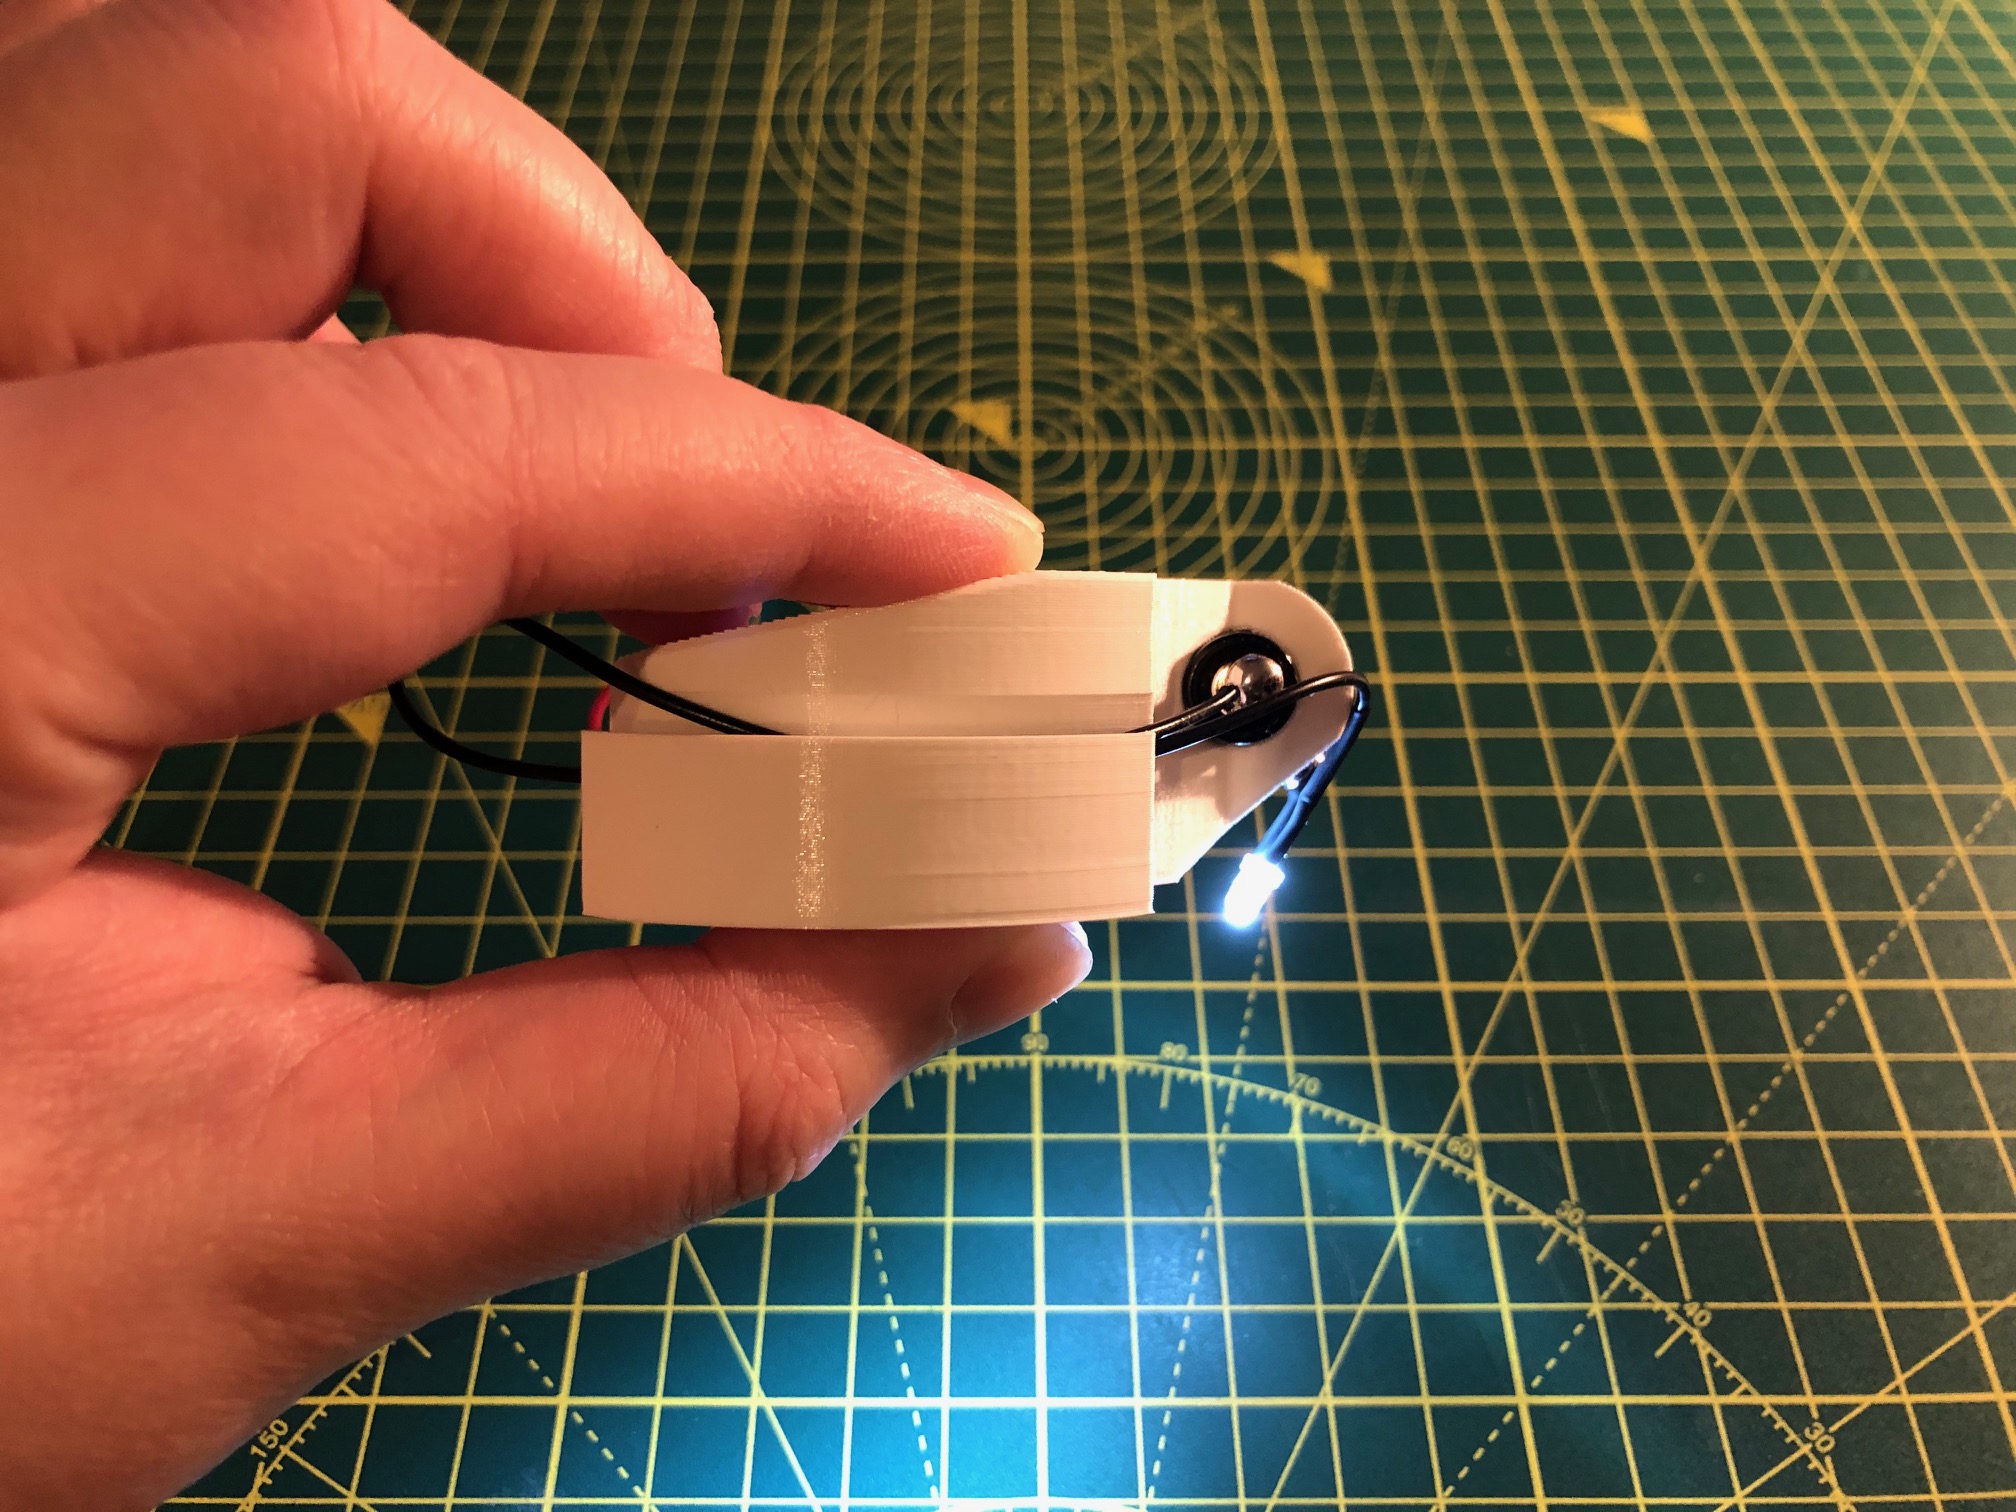
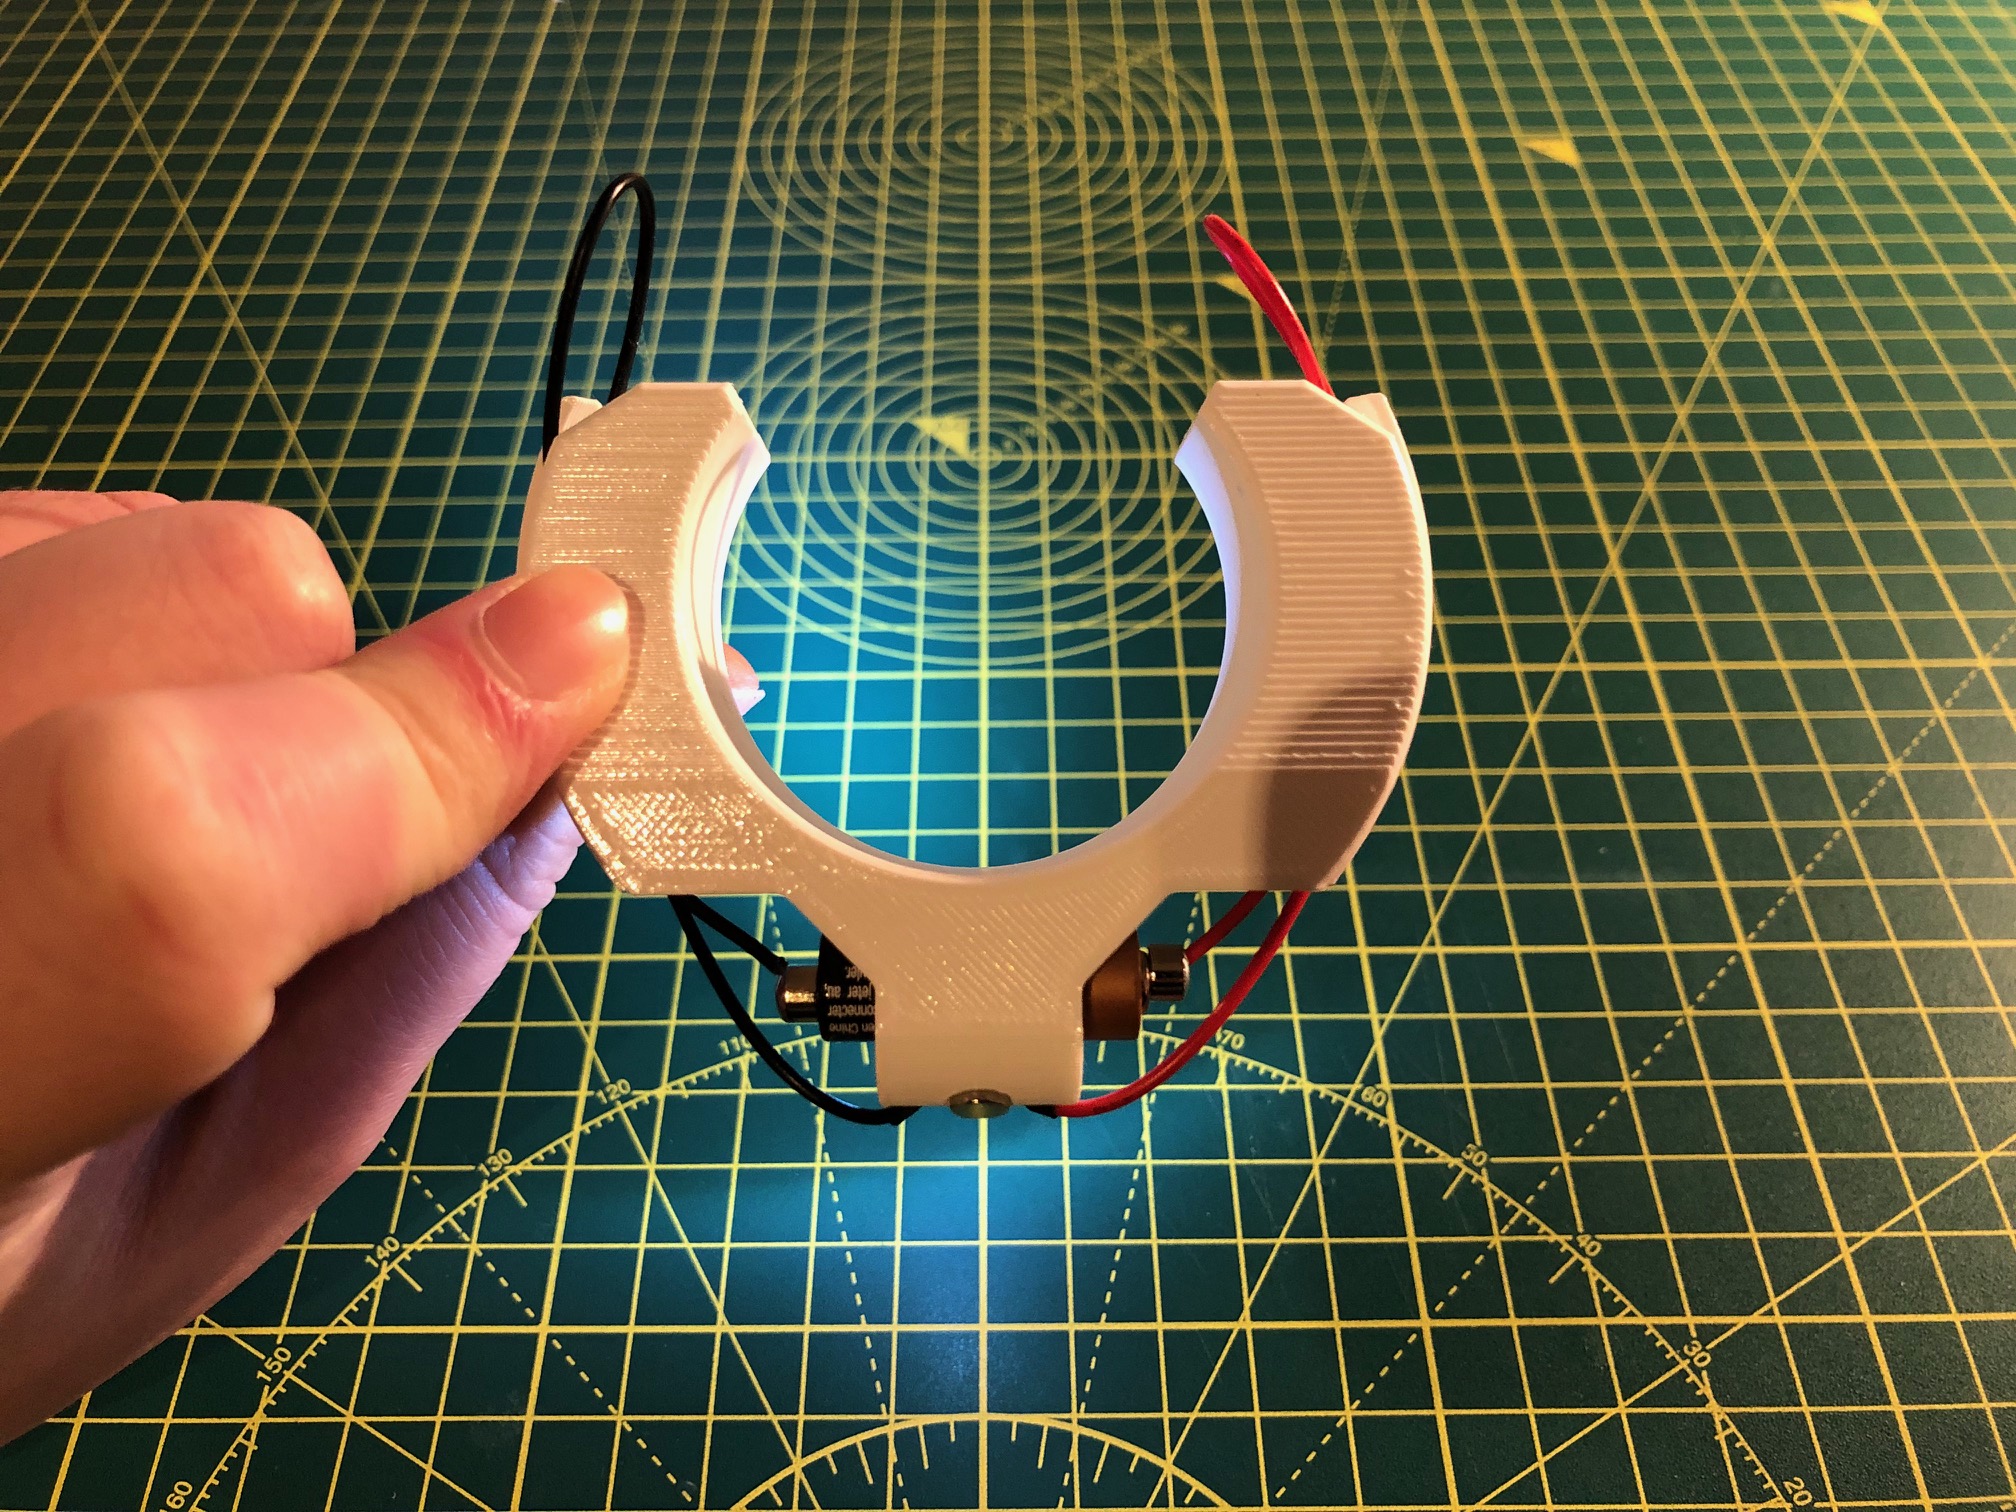
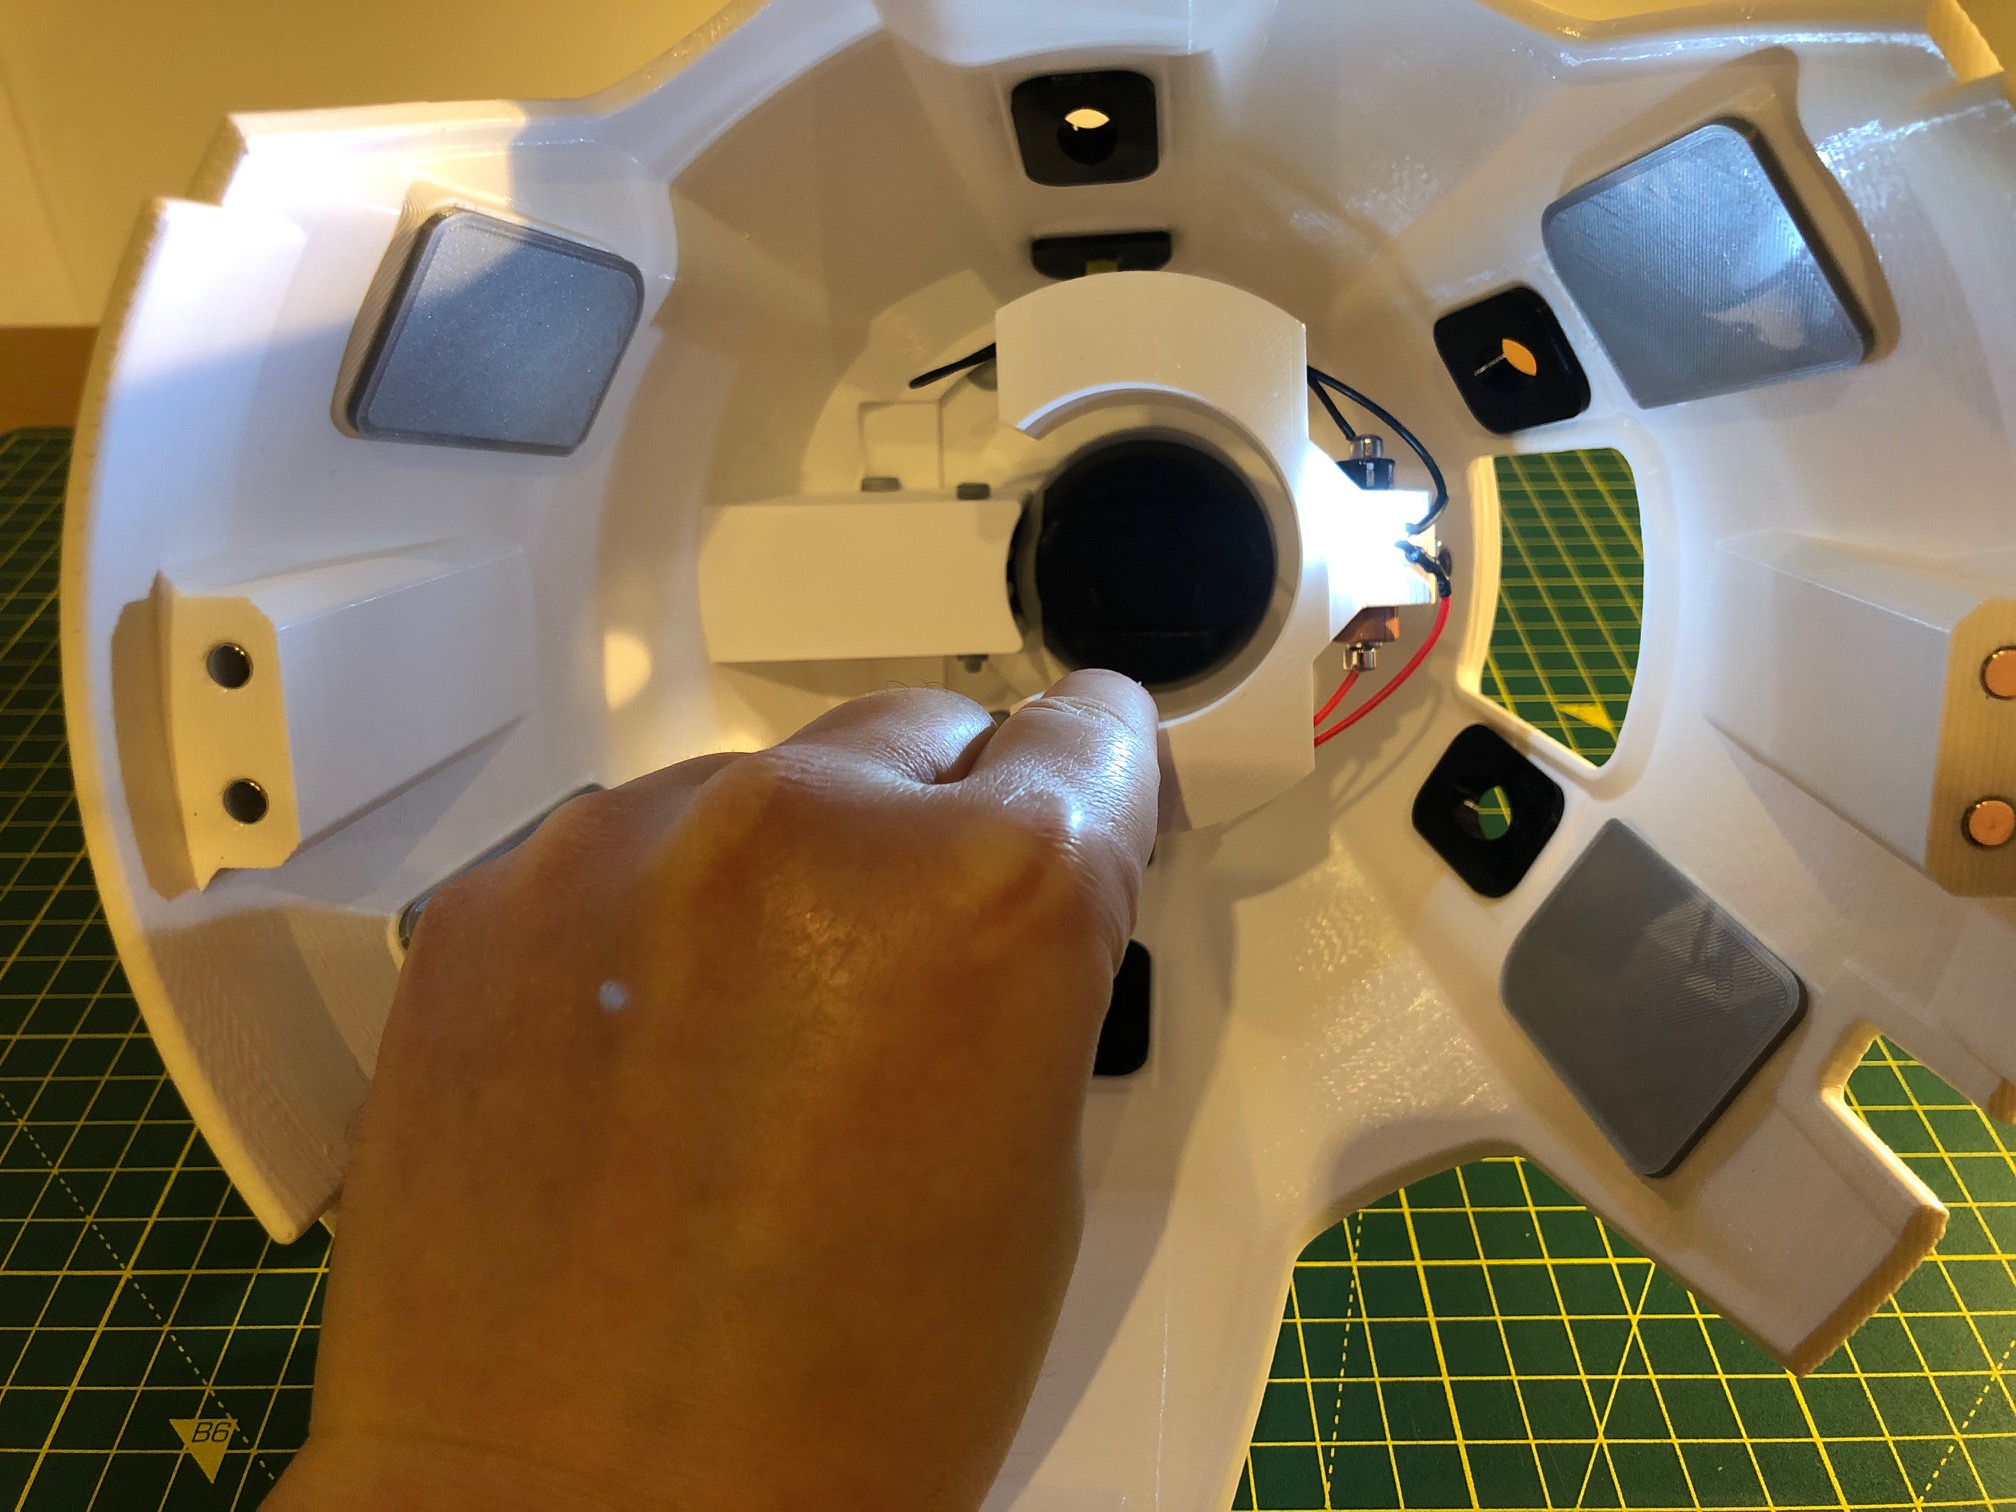
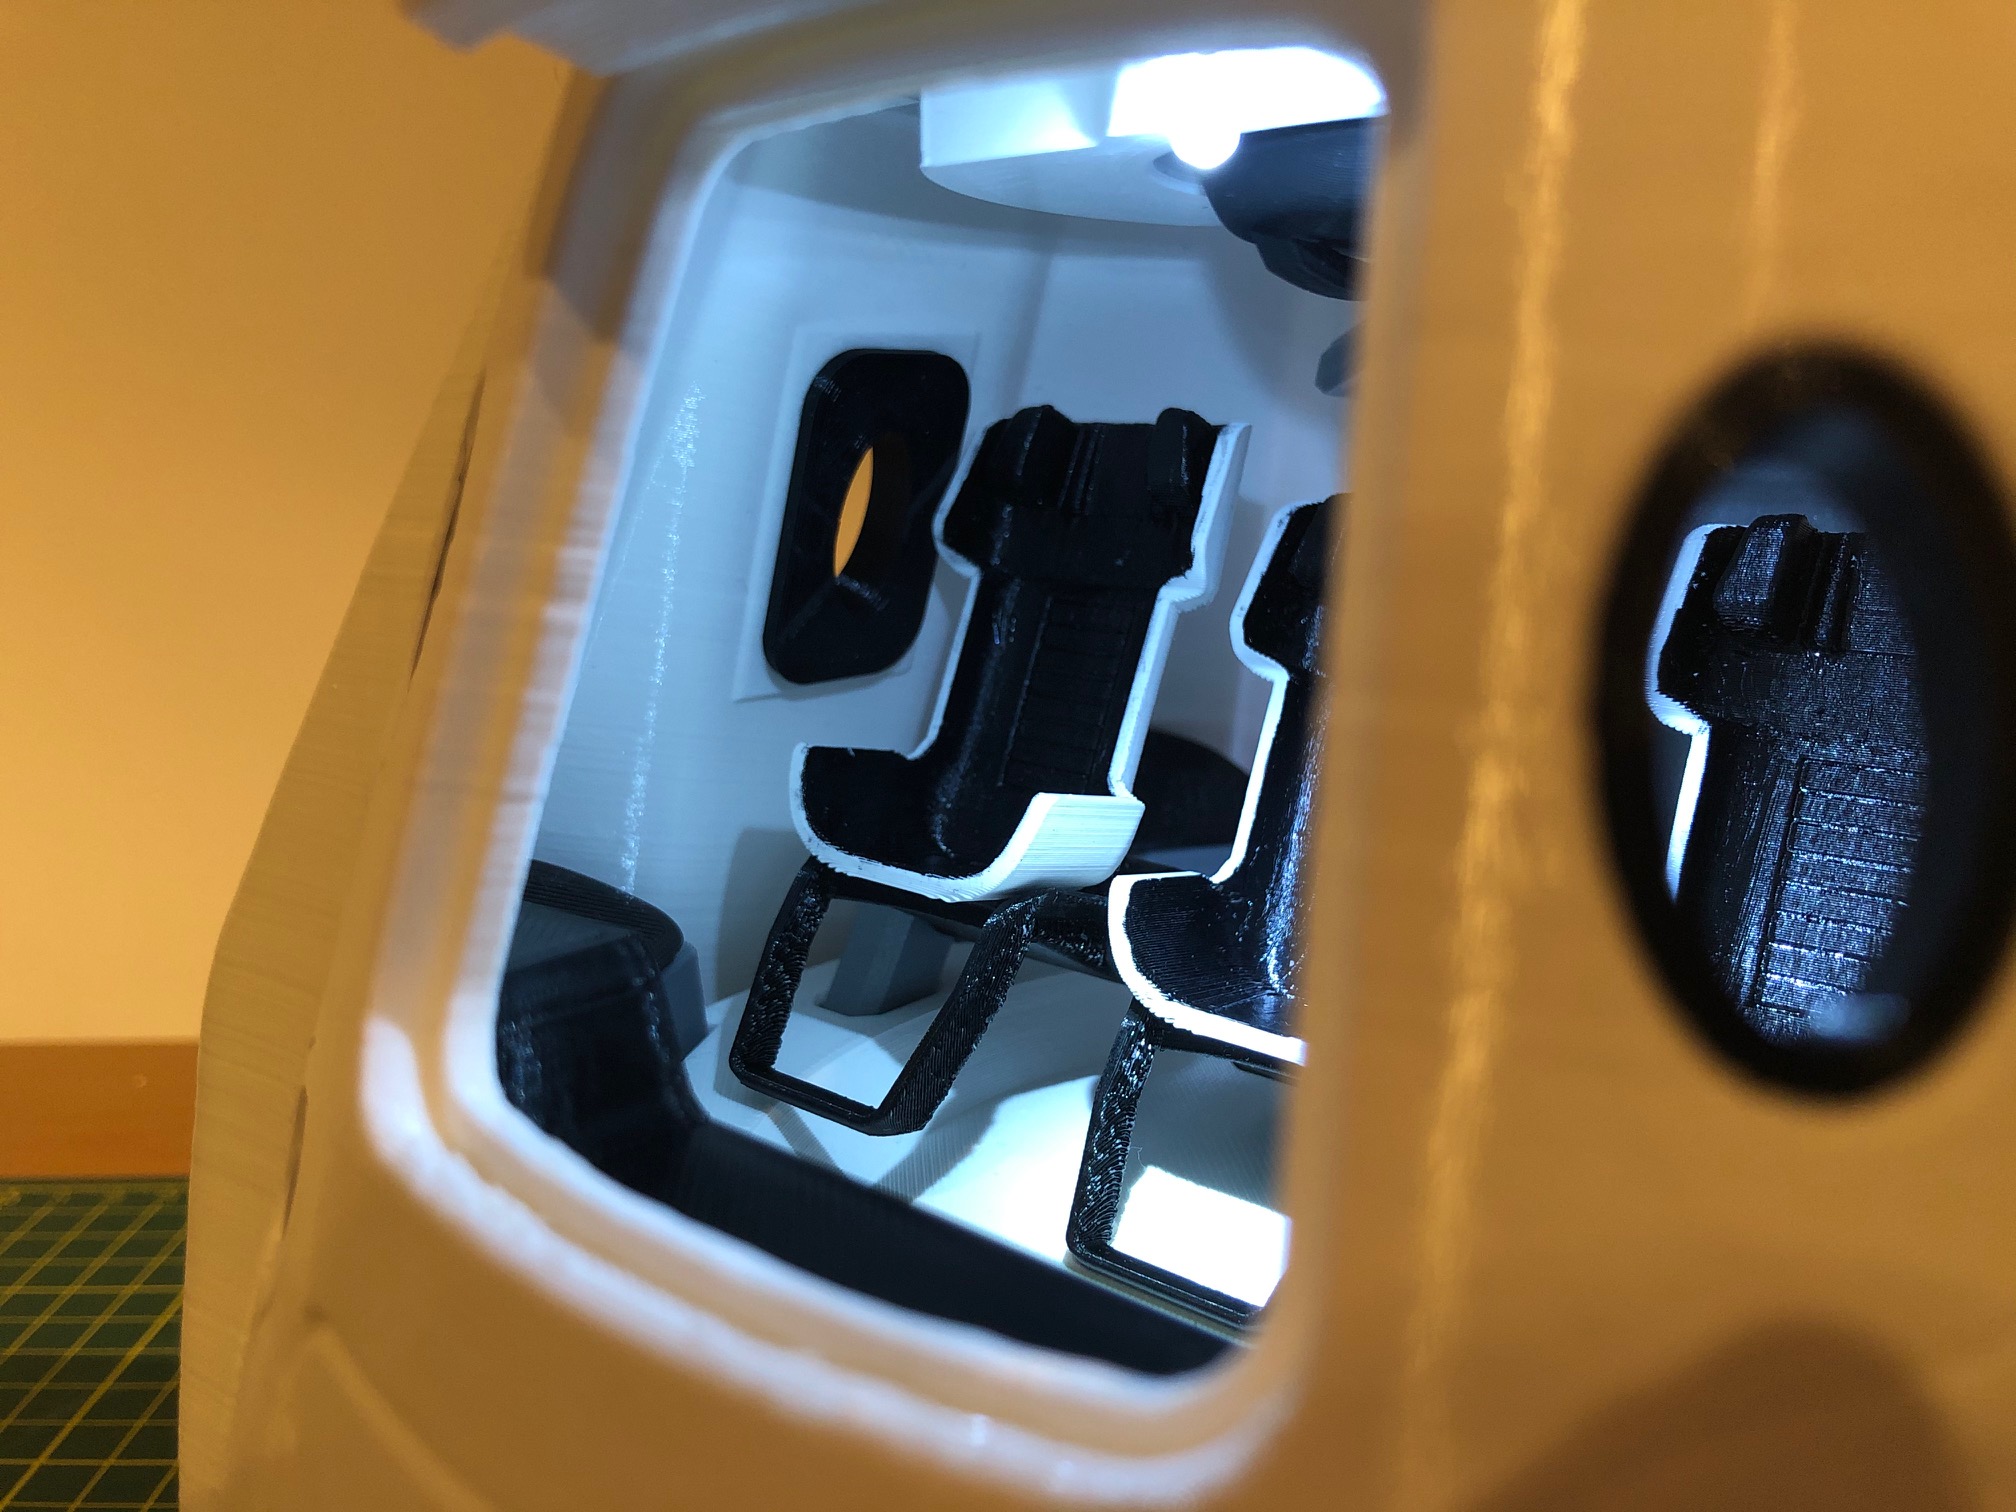
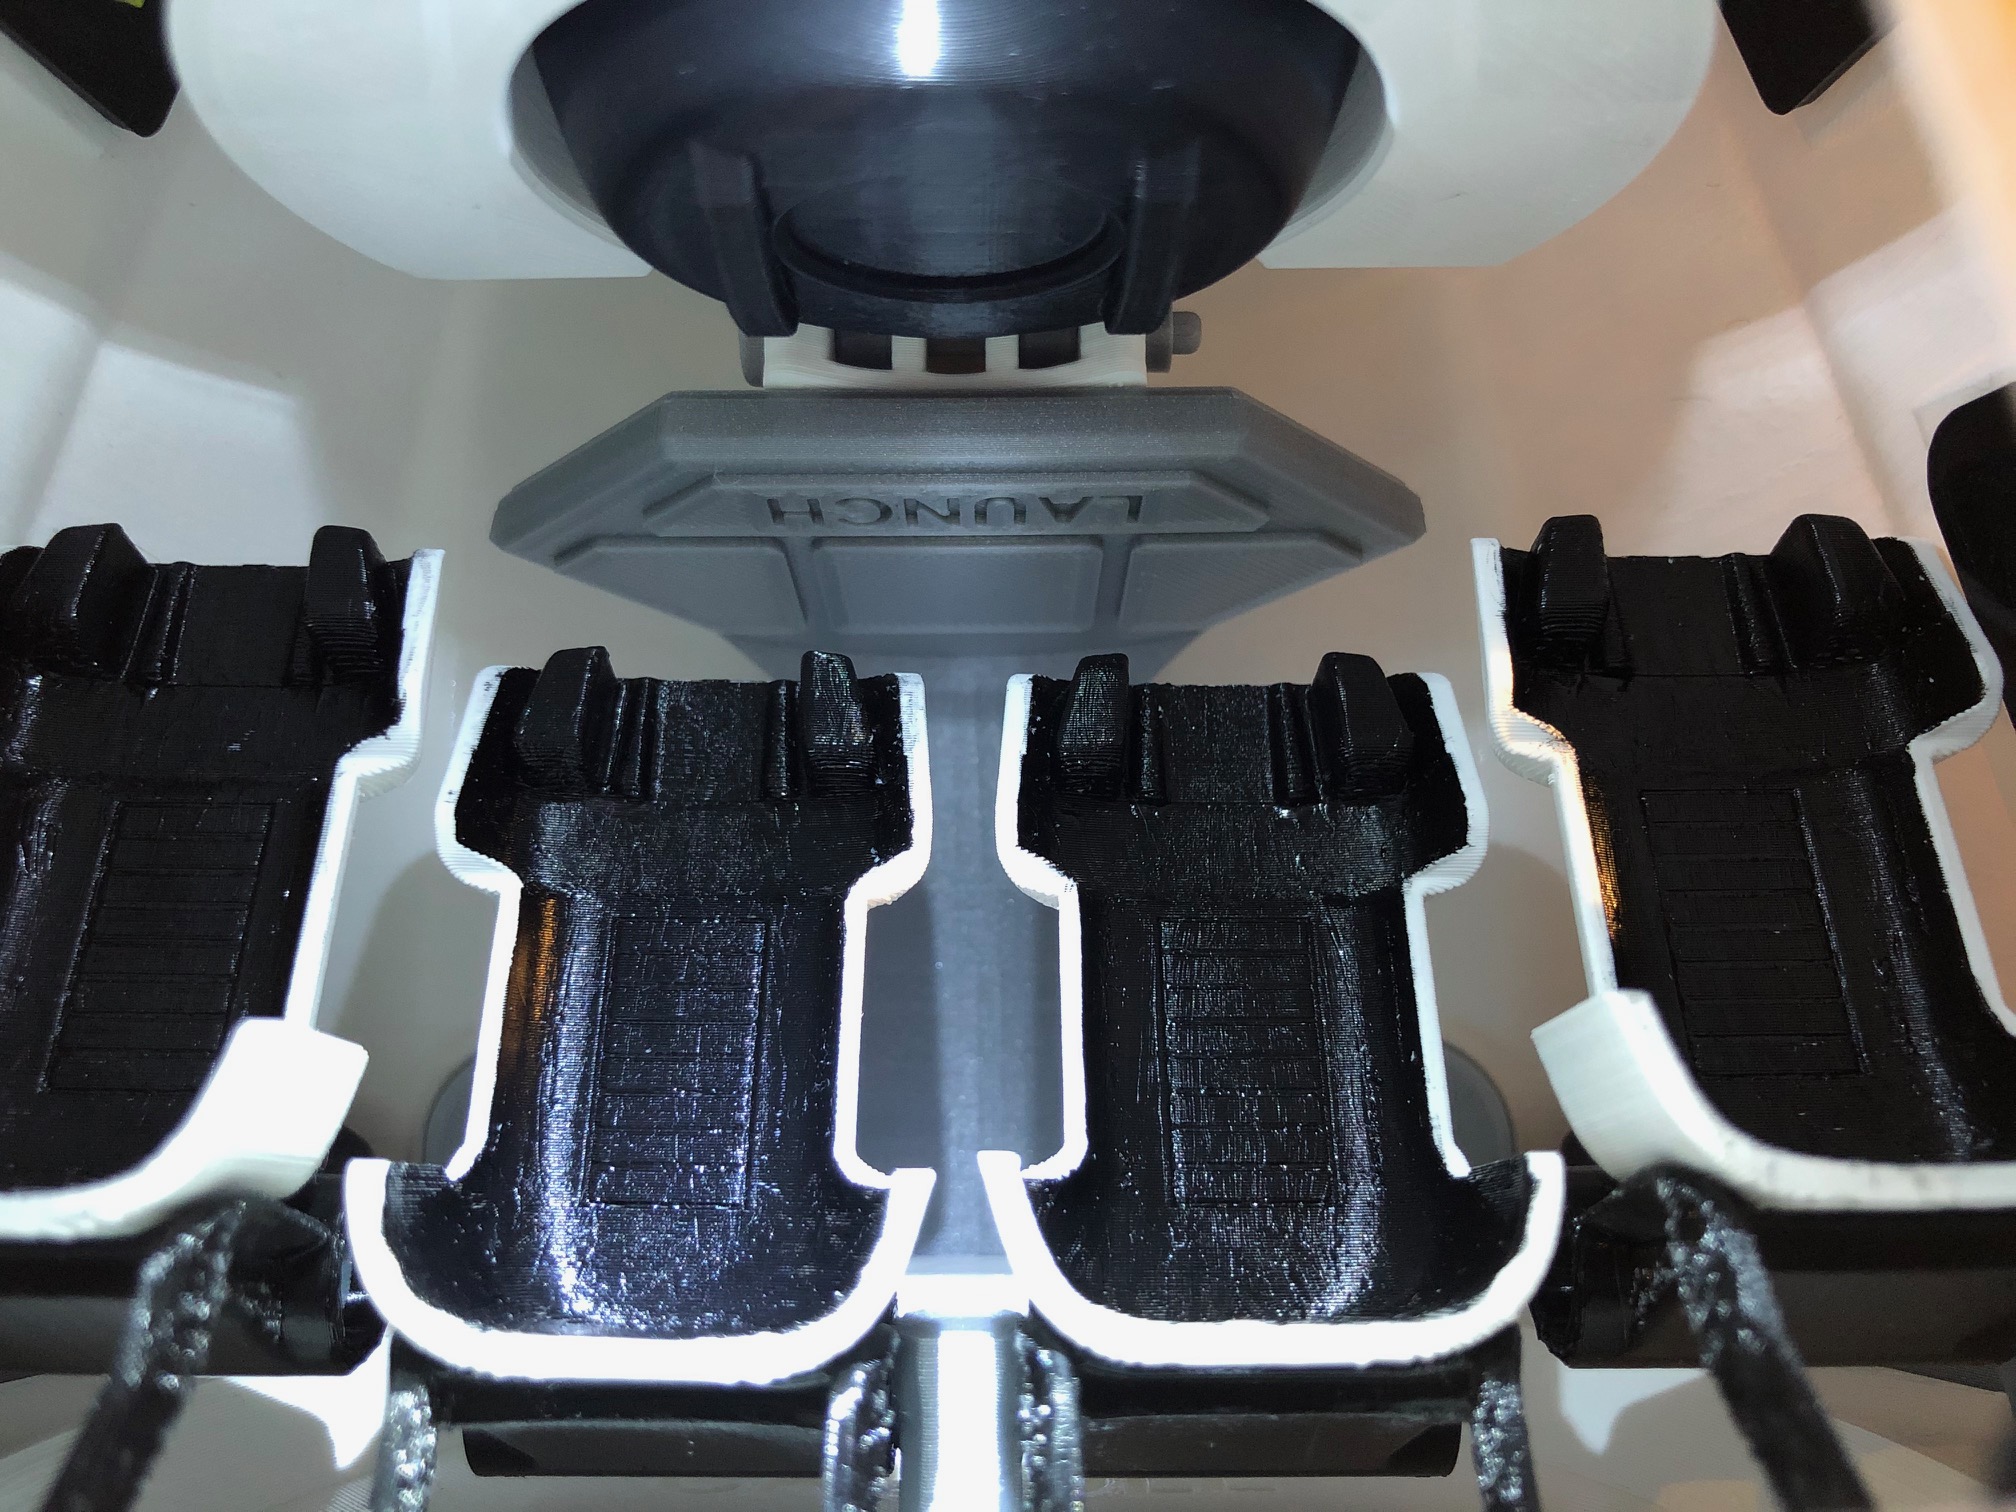
In this tutorial, I’ll explain how you can set up & install the interior lighting upgrade into your DRACO-MJ model!

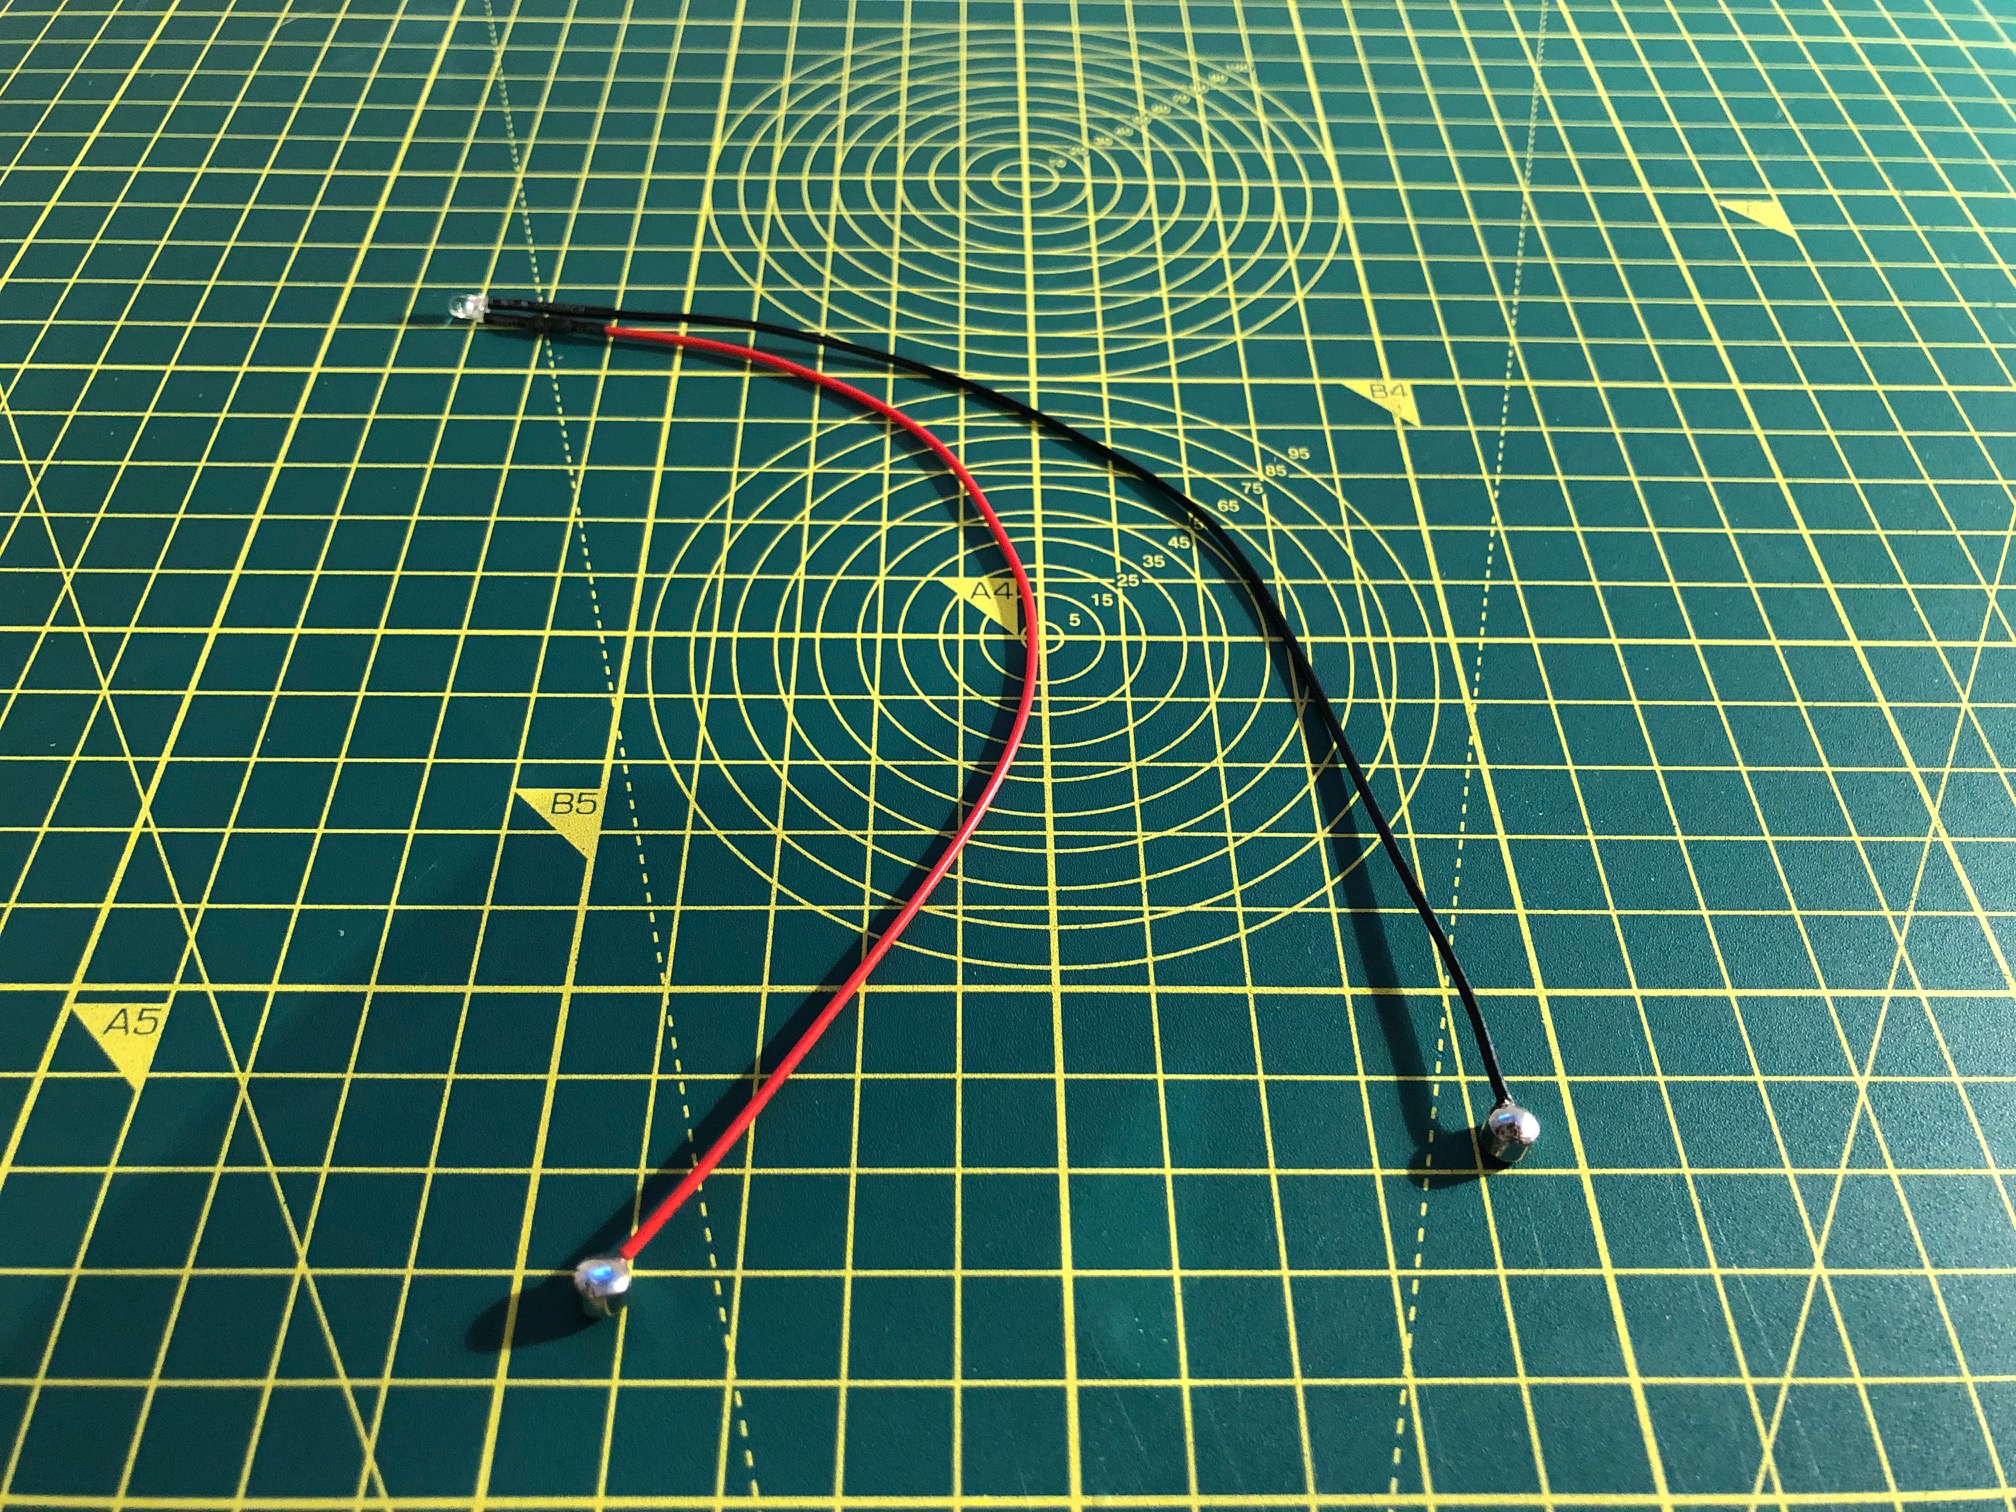
Before we start, you need to purchase these items:

  • 3mm 12V DC White LED (LINK) | Qty: 1-off
  • 5mm dia x 3mm thick N42 Neodymium magnets (LINK) | Qty: 5-off
  • 12v battery (size: MN21) (LINK) | Qty: 1-off

STEP 1: Solder magnets to the LED

Part required (refer to the photos below):

  • 2x Magnets (5mm dia x 3mm thick)
  • 1x LED light

Assembly process:

  1. Solder a 5mm Dia magnet to each end of the LED (if you don’t have a solder kit, you can also use duct tape or super glue for this step). Having said that, I strongly recommend soldering to ensure you have a solid joint and good connectivity

STEP 2: Install the 3D printed Interior Lighting housing

Part required (refer to the photos below):

  • 3x Magnets (5mm dia x 3mm thick)
  • 1x 3D printed Interior Lighting housing
  • 1x 12v battery

Assembly process:

  1. Take 1x 5mm Dia magnet and push it into the top hole of the 3D printed housing (warning: this magnet must attract the one you will install inside the Body of the Capsule at STEP 4 below! Read STEP 4 to understand how this magnet should help position and hold the Interior Lighting Module in place)
  2. Next, take 2x 5mm Dia magnets and push them into the bottom hole.
  3. Finally, slide the battery through the big hole and position it at the centre of the 3D printed housing.

Note: the 2 magnets in the bottom hole should be pushed all the way in until the inner magnet touches the battery. These 2 magnets serve two purposes: (1) the inner one locks the battery in place so it won’t move freely and (2) the outer one positions the LED light so it is pointing in the correct direction.

STEP 3: Connect the LED light to the battery

Part required (refer to the photos below):

  • 1x LED from STEP 1
  • 1x 3D printed Interior Lighting housing from STEP 2

Assembly process:

  1. Connect the LED light to the battery. Note that the BLACK wire should be connected to the negative end and the RED wire should be connected to the positive end.
  2. Carefully bend the LED light as illustrated in the photos below. Note that the light should be pointing down and slightly towards the rear of the 3D printed housing.
  3. Finally, tuck the wires into the slots on both sides of the 3D printed housing to tidy it up.

This is the fully assembled Interior Lighting Module!

STEP 4: Install the Interior Lighting Module

Part required (refer to the photos below):

  • 1x Interior Lighting Module from STEP 3
  • 1x DRACO-MJ Body Panel

Assembly process:

  1. Remove the Body Panel of the DRACO-MJ Capsule and fit 1x 5mm Dia magnet to the position highlighted in the photo below (this magnet helps position and keep the Interior Lighting Module in place).
  2. Slide the Interior Lighting Module all the way in.

Note: if correctly installed, the magnet on the top hole of the 3D printed housing that you previously fitted at STEP 2 should align and touches the magnet you just fitted inside the body of the Capsule at this STEP 4, meaning the Interior Lighting Module should not freely rotate or fall off.

STEP 5: Re-assemble the Body Panel to the Capsule

Re-install the Body Panel to the DRACO-MJ.

Note: If the interior lighting was installed correctly, the LED light should be pointing towards the cabin – where the seats are. If you want to turn off the LED light, simply disconnect one end of the LED from the battery 

Subscribe
Notify of
guest
0 Comments
Inline Feedbacks
View all comments
0
Please vote & feedback on this product :)x